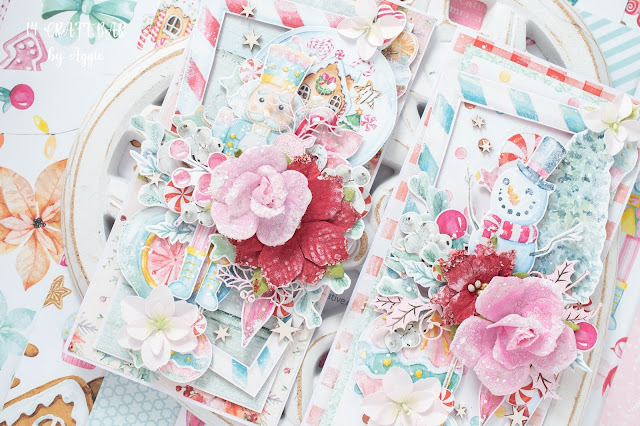
Hello, my dears! Today I'm sharing with you my final inspirational project with this fantastic November kit. Here I tried to use other materials from the kit, make it layered and dimensional. Hope you like all the details!
Sunday, 28 November 2021
Thursday, 25 November 2021
Christmas in pastel colors
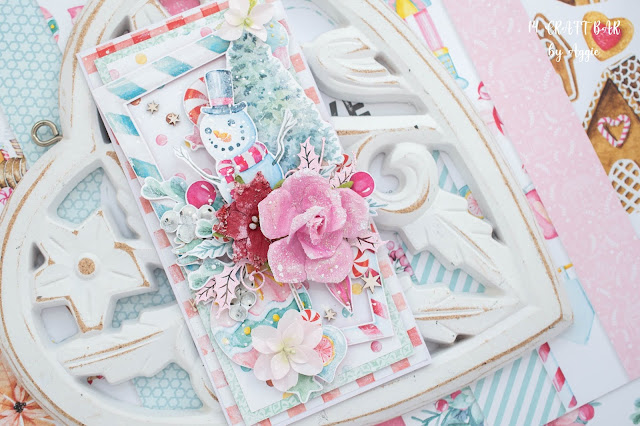
Usually I prefer very traditional colors for the Christmas cards. But I love this Crative Pad from P13 so much that I decided to make some in pink and turquoise as well.
Wednesday, 24 November 2021
Christmas Collage Journal
Hello lovely people !!
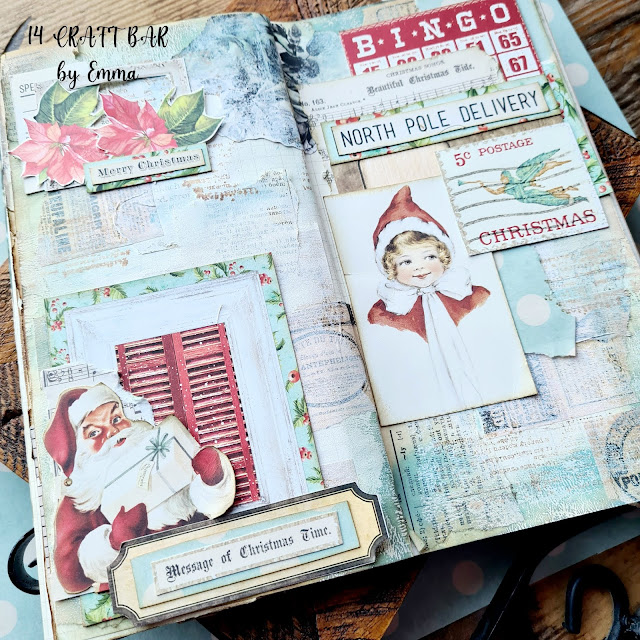
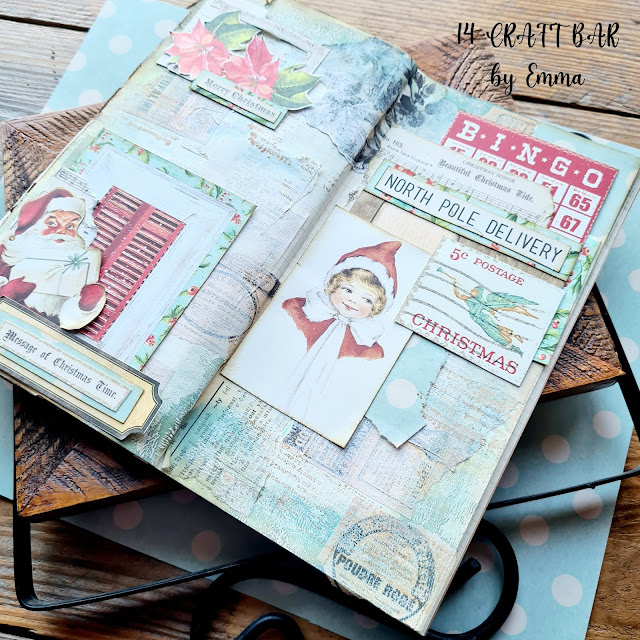
Today I am pleased to show you a Christmas collage spread in my travellers notebook using elements from Mintay Merry and Bright 12x12 papers, 8x8 Christmad Scrapbooking Papers and This Miracle Night junk journal set. I created a background with Washi and Stamping. I used some Liquarel watercolour to add some colour to the background.
I love the traditional Christmas images- reminds me of being a wee girl making projects in school at Christmas time. Happy memories!
Monday, 22 November 2021
Merry and Bright - house shaped mini album
It is definitely that time of year when most crafters are definitely in Christmas making mood and I am no different so for this post I have created a mini album using a House Shaped Album Kit. Yes it does require a bit of fussy cutting but I really do think that the effort is well worth it.
I started by covering both sides of the house pages with papers from Red Mood Paper Collection which is one of the gorgeous colour themed paper packs by Craft O'Clock meaning that left overs can be used at any time of year. I used Magic Glue as it dries quickly and comes in an easy to use format. Once the papers had dried I then used a knife to trim around the edges and then a sanding block to neaten the last bits up. For the "filigree" page I simply covered with Gold Embossing Powder and then heat set before adhering on the front page.
Each pageof the album was then decorated with the same "formula" - a pice of white card stock 5" x 7" edged with Festive Berries distress oxide and the edges stamped randomly with the bill stamp. This paper acts as a photomat and was adhered directly onto the page before adding in once corner an embellishment cluster. The edges of the album were also coloured with the red distress ink. The inside front and back covers had a corner pocket added made by tearing a scrap of paper and adhering along two sides.
The following photographs show the pages in my album with some close ups to help you see some of the details.
I chose to join my pages together by punching holes and using book rings this meant that I could then add layers of Brown, Green and Red shabby ribbons for ectra decoration. Finally I added a little dry brushing with white gesso.
I hope this project inspires you and encourages you to have a try at making mini albums as they are perfect for holding a small number of photos to commenorate a celebration.
-
Hello lovely people!! I am here today with a junk journal spread with one of my favourite pockets! I have used elements from the junk jour...
-
Beautiful yellow daffodils with their golden heads bobbing in the wind are a very quintessentially English sign that spring has arrived, and...
-
hi :) I'm coming with another foamiran flower. I haven't decided yet what I'm going to make with it but surely it will br...
-
Sometimes is good to have in your craft stash which you think you will never use. I am not a big fun of Stamperia papers and I use them ver...
-
Hello lovely people! Today I am pleased to be able to bring you a junk journal spread for our special week of gardening theme. I have used ...
