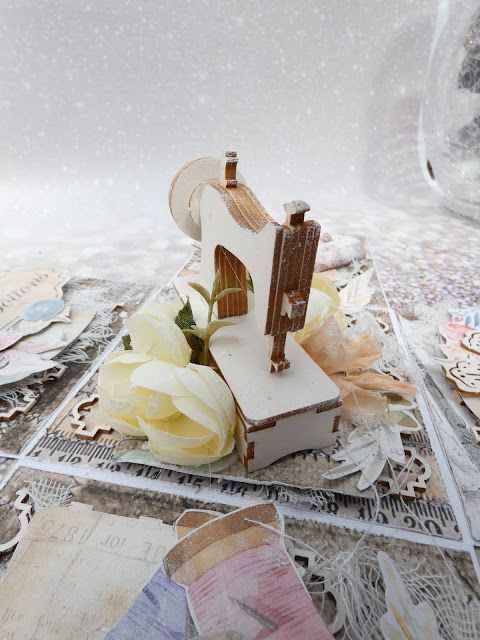
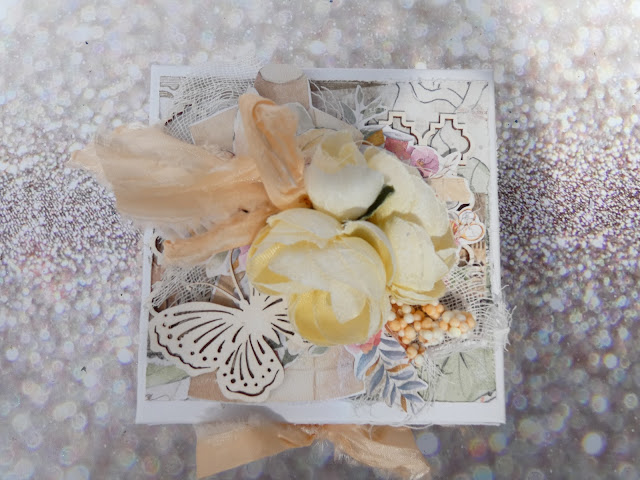
I guess its no secret that I love chipboard and adding lots of embellishments to my pieces and exploding boxes provide lots of areas for me to do this and so this project was born. I knew that I wanted to use a 3D sewing machine for the center of my box and Stamperia Threads collection for the papers.
I started with a exploding box in white although you could use the pearly pink one that is in stock or you can make your own from 12 x 12 white card stock. I then cut sqaures of paper 9.8mm to fit the outside and inside panels of the box - you will need 9 of these in total so you can use one 12 x 12 sheet to do this or alternatively 2 sheets from the 8 x 8 collection. I have to say that I tend to mix and match between the two paper sizes. For the lid I cut a base sqaure that was 10cm and for the edges strips that were 3.2cm by 10 cm. For a cohesive end result I scuffed the edges of the papers with a distressing tool and I glued all of my elements with Magic Glue if they were sitting flat and hot glue if they needed dimension or were textural.
Having covered the surfaces I then set about adding my elements to the inside of the box starting with the walls of the box. The base of each segment has a piece of ornament chipboard - I divided two pieces between the inside surfaces and lid of the box and then added a manequin cut from the paper collection,
On top of the manequin I attached some cheesecloth and then tucked in lots of paper elements cut fom the papers. This is were having both the 12 x 12 and 8 x 8 papers comes in useful.
I felt my pieces were still missing an extra detail and chose more chipboard for this using butterflies that I got from the shop a while ago - there are however a lot of alternativesewing themed pieces you could choose from.
For the centre of the box I added cheesecloth over the ornament chipboard and then another piece of paper lifted up using cardboard from a packaging box. On top of that I then placed my 3D sewing machine before adding more paper cut floral elements. I then added some silk flowers and foliage from the same flower pick before tucking in a bow made with light peach shabby ribbon.
The top of my box was then decorated using the same basic formula that I used for the walls of the box adding more shabby ribbon. Before finishing I then added a little dry brushing with white gesso.


No comments:
Post a Comment