For today's make I started with a 12" square canvas and then layered my pieces on top of it - starting with a solid base is essential when you know you are going to be adding lots of dimensional pieces as it means you have a solid piece for displaying.
I started by making my focal piece using a mdf kit - window with shutters. Before assembling the kit I covered the back piece with some white gesso and once that had dried added the lady from the Steampunk 01 rice paper using decoupage glue (watered down magic glue will work too). As this image is currently out of stock you could use Alcie or the Mad Hatter from Alice 01 rice paper, the lady from simply beautiful rice paper or the couple under the flower arch from wedding 01 rice papers making this a very versatile style of project. Next I lended the white edges of the rice paper into the base by colour mixing my own shade of paint as this means the paper looks continuous rather than just plonked on.
The frame and shuters were then glued together before painting with brown paint and dry brushing with more white gesso.
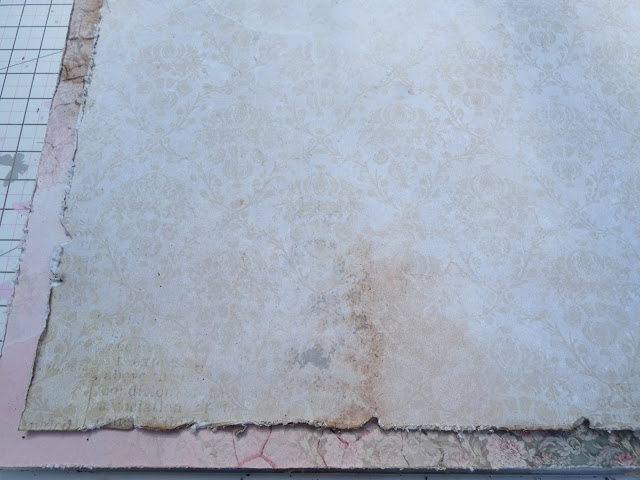
I chose two papers from the 12 x 12 Enchanted World papers deliberately selecting the side with no themed imagery on them as I wanted them to be back ground pieces. The first one I scuffed the edges with a pair of scissors and added some brown distress ink before adhereing directly onto my canvas base. The second piece I cut to11" square and again scuffed and inked the edges . I deliberatelt added sine dustressed slits and curled the edges back on each side of this layer too for added interest.
I then autdiionely lots of my pieces so I knew approximately what pieces needed to be glued in place first. I chose to work predominatly with the floral images fussy cut from Alice Flowers 12 x 12 sheet but also added some elements from the Enchanted world extras pack.
Before adding my shabby ribbon 059 bow I dry brushed the p[apers and floral elements with white gesso and added lots of splatters with some of the brown paint I had used to paint the frame.


No comments:
Post a Comment