

I have had the MDF large sea shell and stand in my crafty stash for a while waiting for just the right project and knew when I saw the Nautical Chippies and the CiaoBella Underwater love 12 x 12, 12 x 12 backgrounds and A4 Creative pad that they would work wonderfully with it and so the idea for this project was born.
This is a versatile piece as you don't need to put it into a base if you prefer not too or you could add it into the two place base and simple cover up one or the slots or add an extra decorative element such as the starfish behind although that might make it more difficult to flip the pages over.
I started by covering the base and the shell mdf on both sides with paper neatening the edges with sandpaper before using chipped saphire distress oxide to ink around the edge. I then found a set of large circular nesting dies and selected the biggest one that would sit within the shape of the shel. The first layer of my pages is approximately 17cm diameter cut from white 300gsm cardstock, the decorative mat is approximately 15cm diameter and was cut from patterned paper and the photomat is approximately 13cm cut from white 300gms cardstock. I added blue ink to the edges of all pieces and to the smaller one some text stamping before distressing the edges of the circles with the blade of a pair of scissors. The concentric rings were then adhered on top of each other. You will need 6 of the 17cm and 12 of both the 15 and 13cm circles.
Having created my pages I then added decorative elements to each page.

Each page has an embellishment cluster consisting of paper cut outs layered with a Mintay chippie and more paper. The cluster is balanced by some more cut of elements as shown approximately diagnonally opposite the larger cluster - the little fish are just perfect for doing this and there are lots of them to cut out on the papers.

The front and back of each card were decorated.

The elements pack contains lots of tags and ciruclar pieces and I added these so that they hang on a book ring which attaches the pages to the mdf shape

I mixed up the embellishment clusters putting some to the left and others to the right of the page.


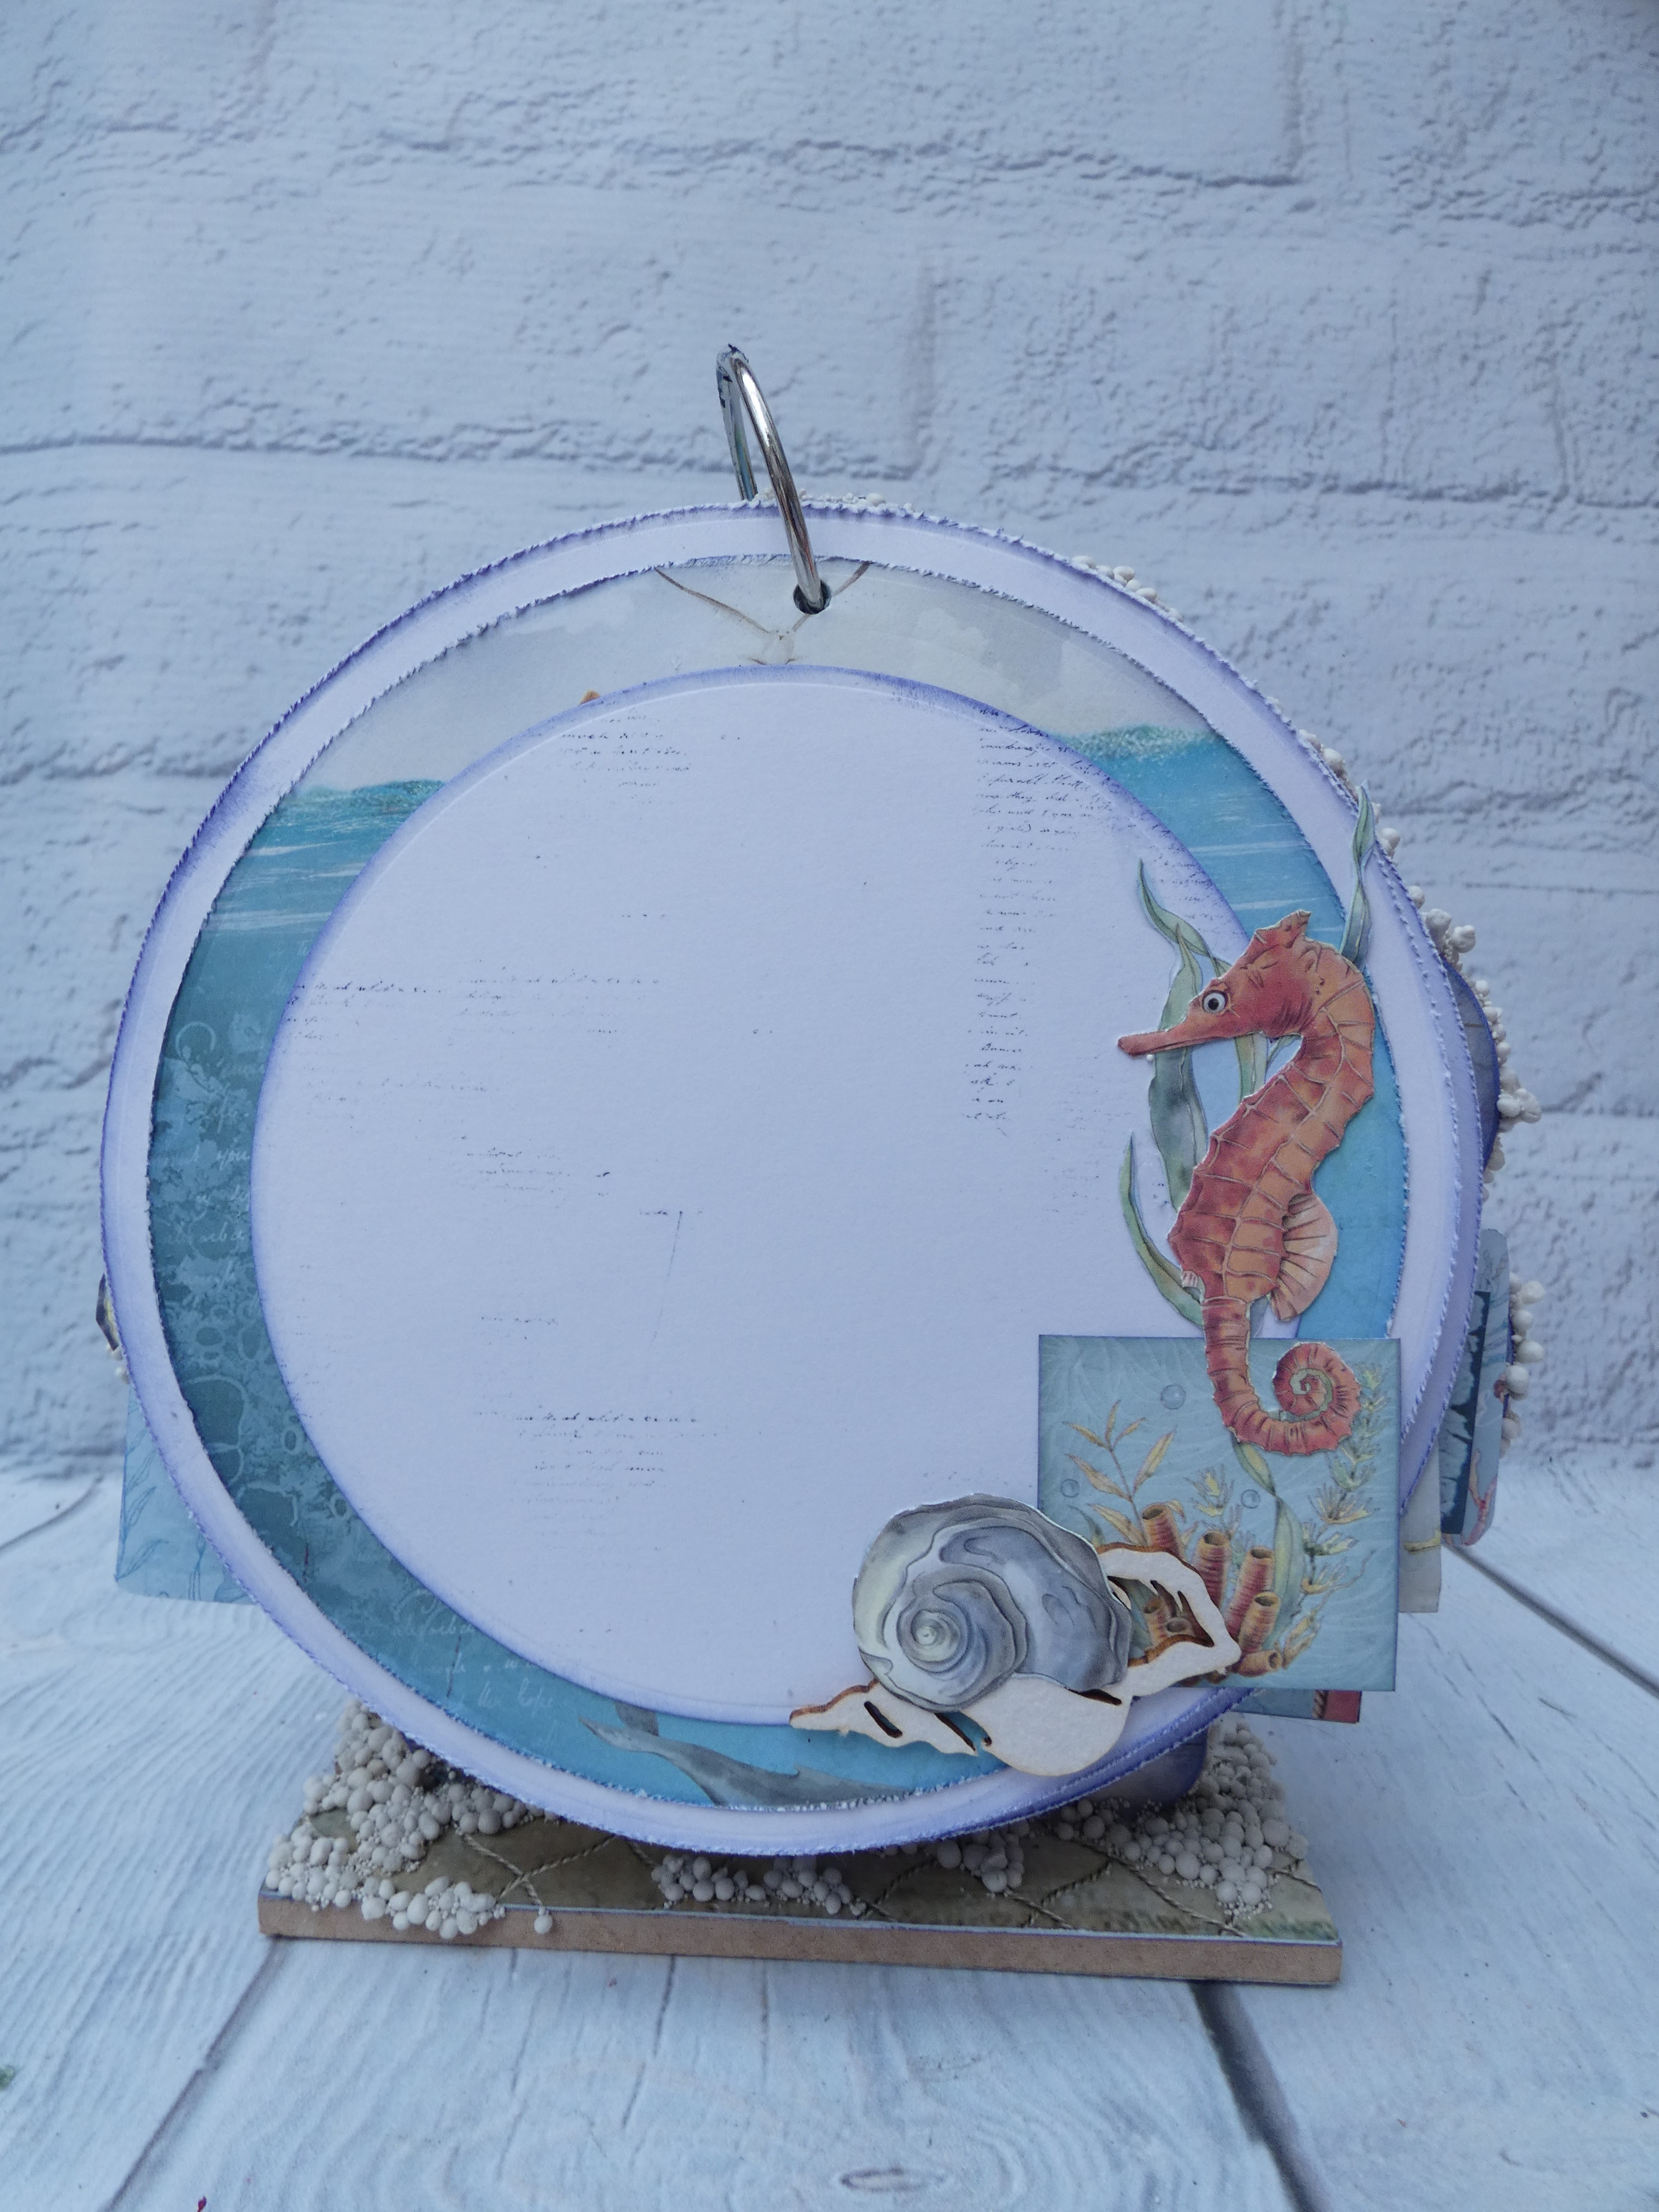


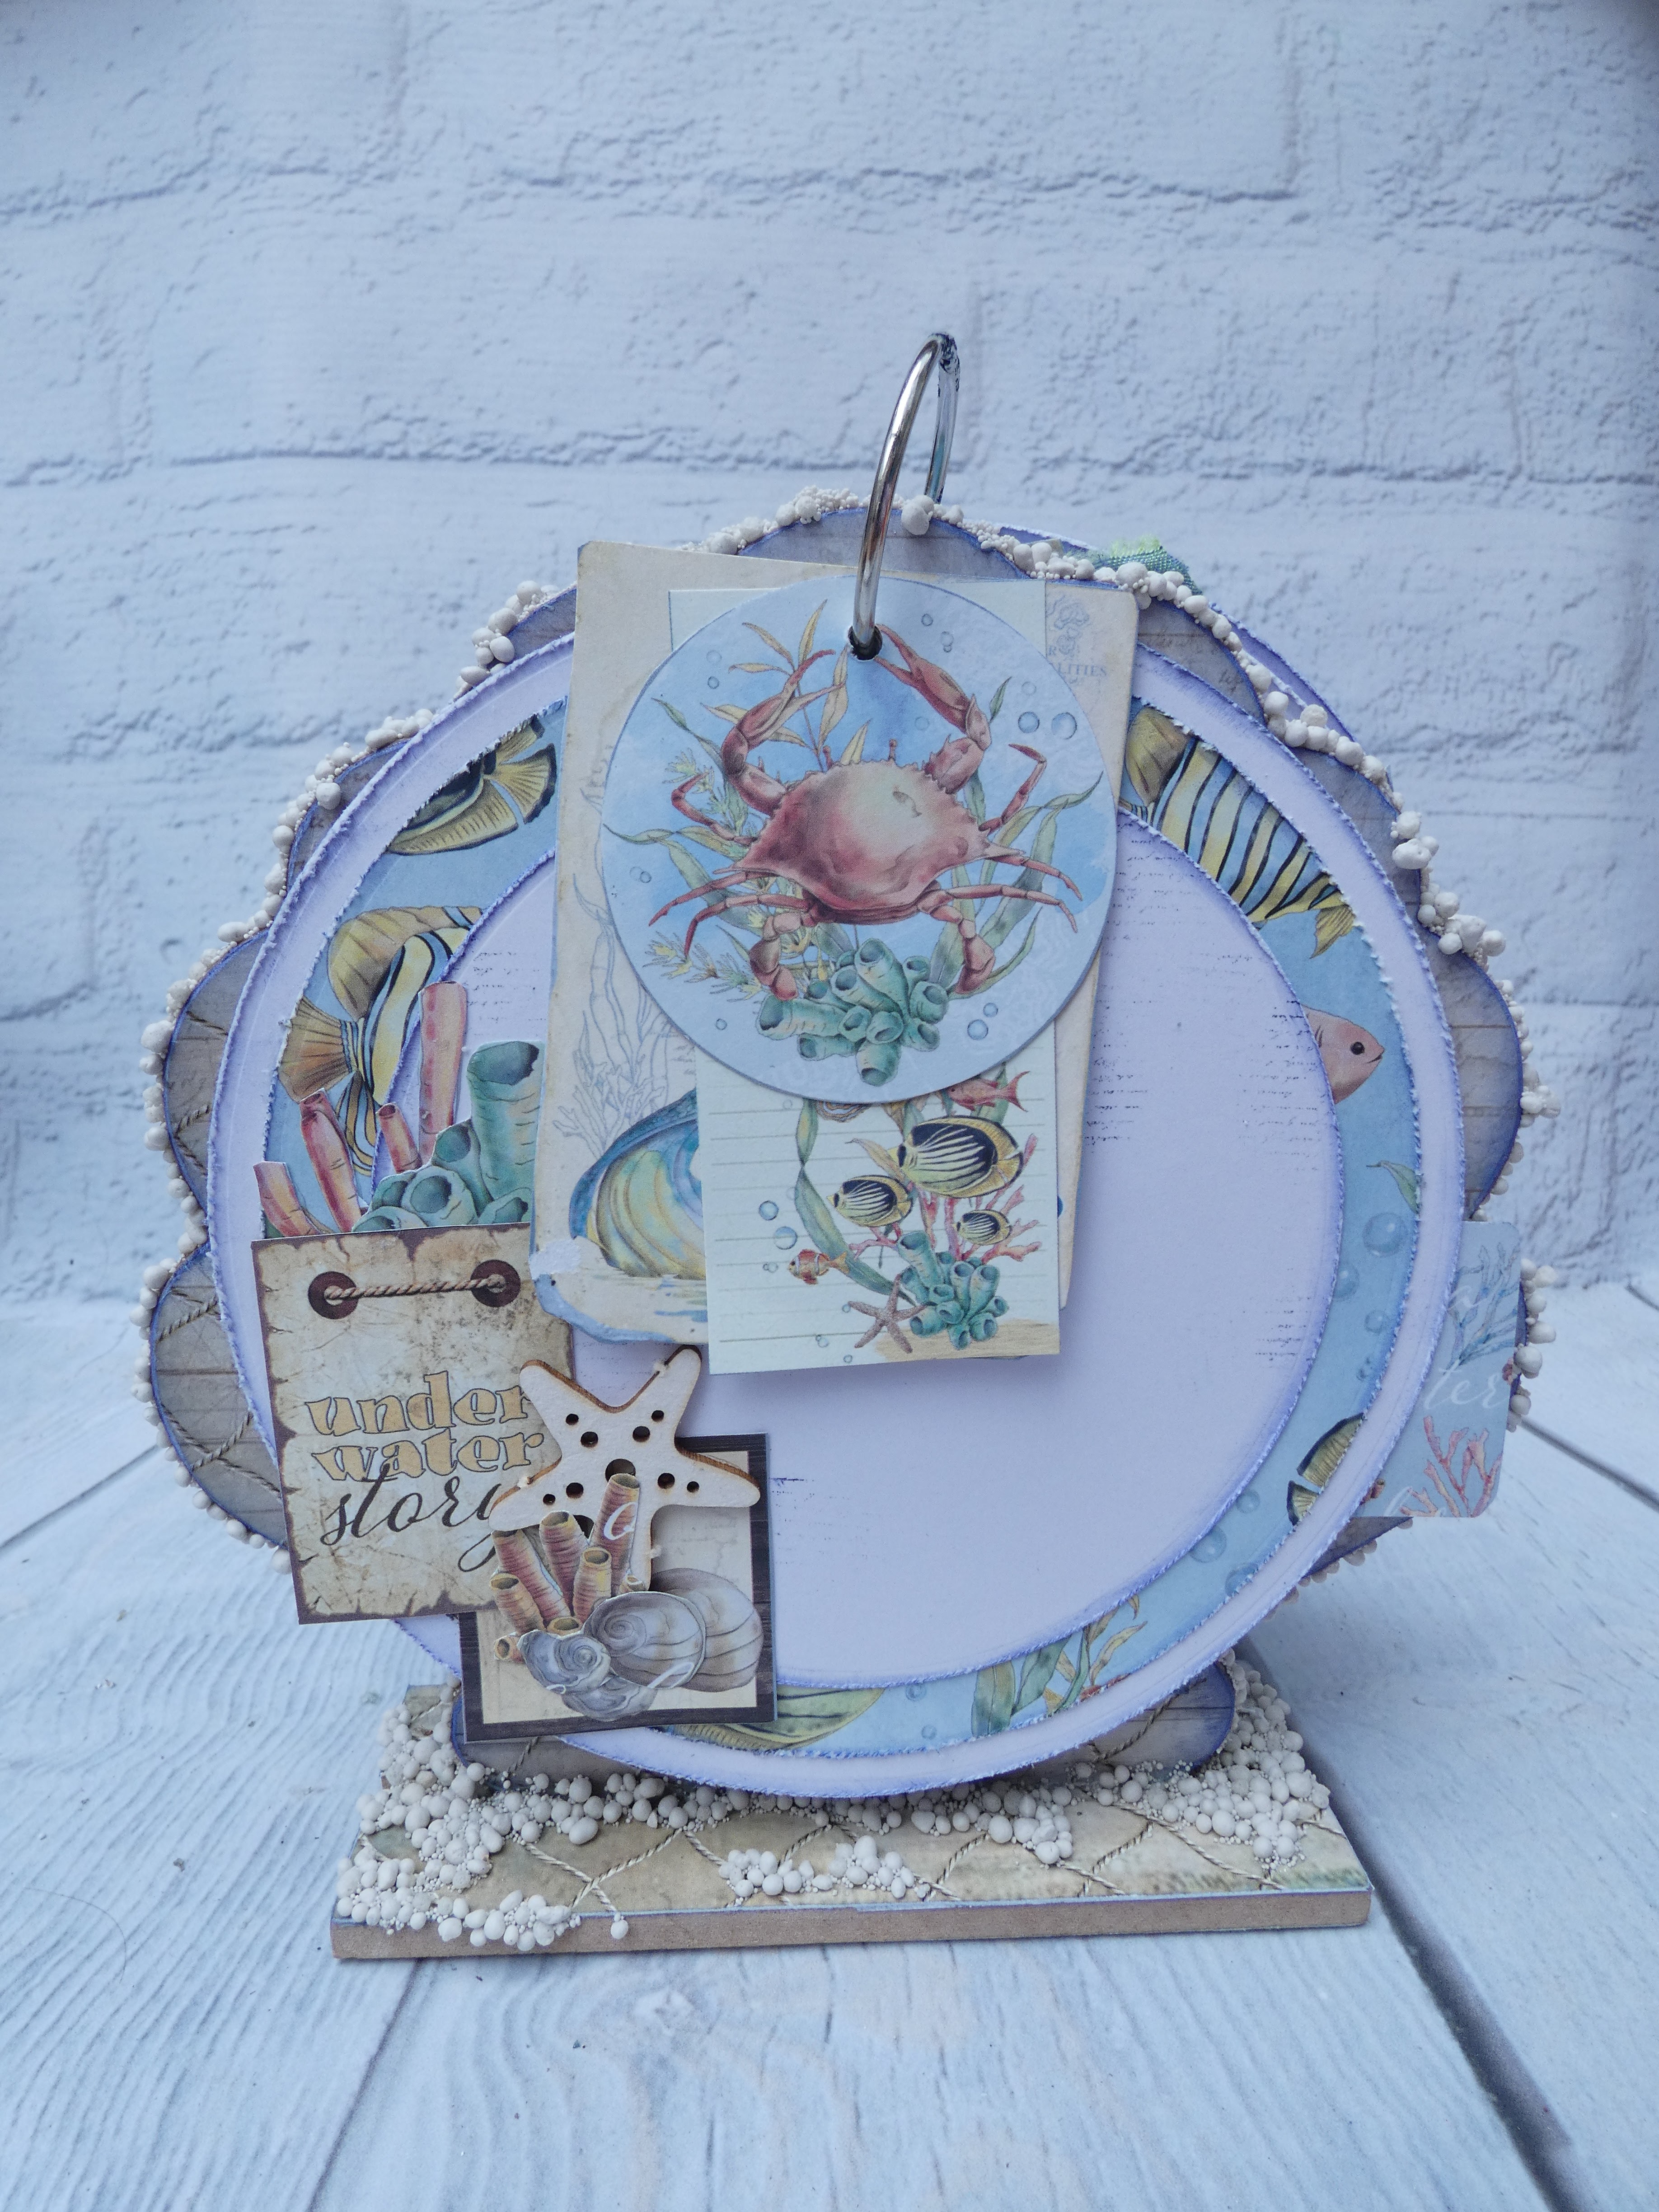


Once all of the pages were decorated I used my cropodile to cut a whole in the mdf shell and then adhered it into place on its stand. The base and edge of the shell were then further enhanced by adding small grain 3D balls with some Powder Grain. Once this had dried I added a book ring onto which I slipped the pages and paper elements. The book ring was then tied with pieces of shabby ribbon to complete the album.

I hope you like this very different style of free standing album which I think is a concept that could be used for many different occassions.


.png)


No comments:
Post a Comment