

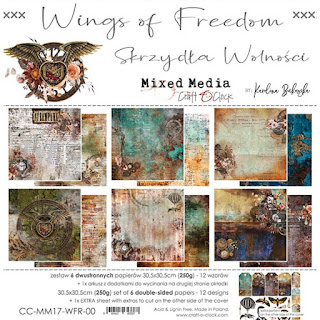
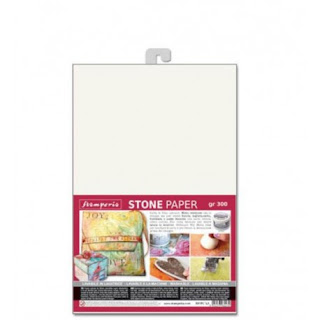
For my make this week I have a project that would work for both Halloween and also for those who like Steampunk style home decor pieces - two birds with one stone is always a good thing right. I chose to work with Wings of Freedom 12 x 12 papers and then co-ordinating extras pack but there are lots of images in the paper packes you can cut out though I would suggest you also pick up a set of the 8 x 8 and the 6 x 6 paper packs as this will give you a better variety of sizes than sticking to just one size set of the papers. I started by taking an MDF clock piece from my 14 Craft Bar stash - you could just as easily use a circular canvas or mdf piece and then add a ring to the outside by backing the paper piece with stone paper and layering it with scrap cardboard from your delivery packages. I added gold embossing powder to the hanging part of my piece and around the edges of the ring element.

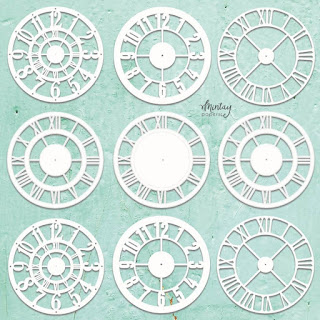
Having created the base for my make I then chose to add some chipboard clocks using the Mintay Clock Chippies to co-ordinate with the theme of the make. I then decided to focus on my composition giving it a trial run before adhering the chippies in place.

Once I was happy with my initial layering I then glued the elements in place - these sit on different layers of the project and that meant that I needed to add some cardboard packaging to balance the layers on top of each other - see images below.


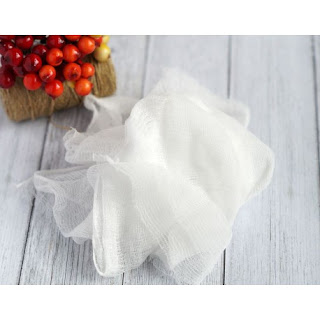
I dirtied some cheesecloth scaps with distress inks and then positioned them ontop of the cogs as shown before then adding lots of fussy cut imagery. I have deliberately left parts of the elements raised off the ones below to give movement to the piece and to allow me to tuck in extra images until I ewas happy with the overall composition.
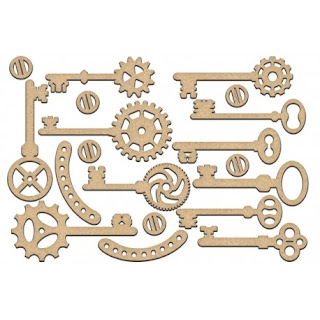
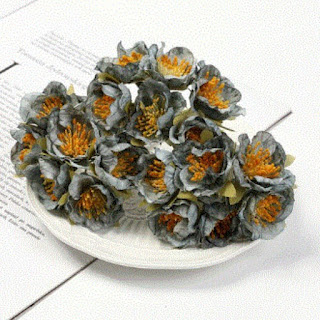
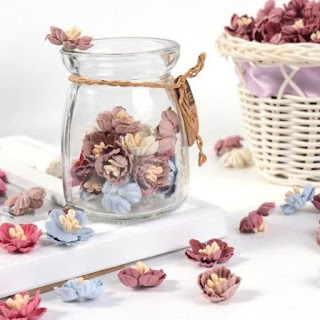
Once I had positioned all of the paper pieces I tucked in pieces of twigs before adding Dusty Blue Magnolia and lots of random mix suede flowers. I still felt my piec lacked something so raided my stash for some metal keys - you could substitute for chipboard keys coloured to match the project.


I then added lots of burnt umber chunky glitter around my piece before adding dry brushing with white acrylic paint. Finally I added splaters with the white paint and also with some black acrylic.


No comments:
Post a Comment