I wonder how many of your are like me - we acquire and I use that word very loosely all sorts of crafty goodies and then they sit in a pile that gets ever bigger. Well sometimes that pile just has to be reduced and I hope this project will show you that you can take an apparently disparate set of items and turn them into a single cohesive project with the help of some beautiful papers.
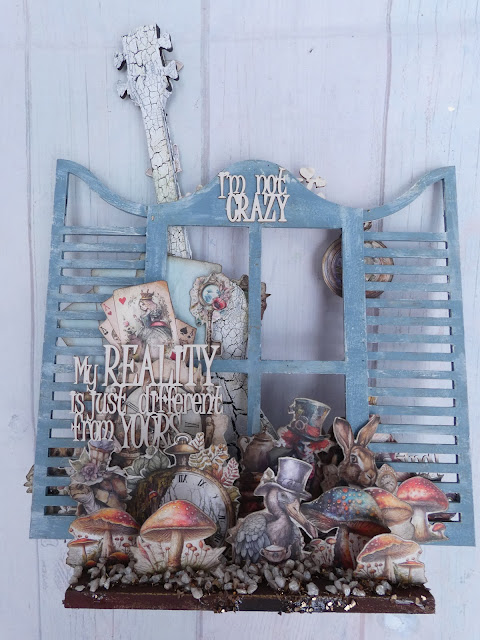
There are three MDF pieces in this project, two stand alone pices: window with shutters and the large MDF Guitar that have been combined with a small base allowing me to make my upright arrangement.
To start with I assembled the guitar and painted it with a dark brown paint before applying white crackle paste. I then had a play with the other mdf pieces so that I could prop the guitar upright. By adhering the shutters to the window the piece then fitted nicely into the slot in the base providing a base for the guitar to sit on and something to prop it up against.
The small base was painted with brown paint and then the window assemble with denim blue paint dry brushed with white gesso. There is a good selection of
paints in the shop to choose from according to your taste and room decor.
The MDF pieces were then glued in place using a combination of
heavy body gel for longevity and hot glue for instant grab.
The finished base was then decorated using lots of fussy cut paper elements taken from enchanted world 6 x 12 extras each piece edged with vintage photo distress oxide around the edges. The pieces were then layered in place as shown in the project. Note the piece has two sides meaning you can change it round if you get bored of one side. This is a useful trick when making see through pieces and also when you have double sided papers as the images on the back of the project can still be a part of the front of the project.
I rummaged thorough my stash of chipboards - no surprise if I tell you its big! unitl I found some that I felt were appropriate. The title chipboard I used is no longer available but this one we are all mad here will work very well. I also used Reality is a prison on the front side choosing only the words in the set. On the reverse of my piece I used both pieces from I'm not crazy set again adding some brown distress ink to the edges.
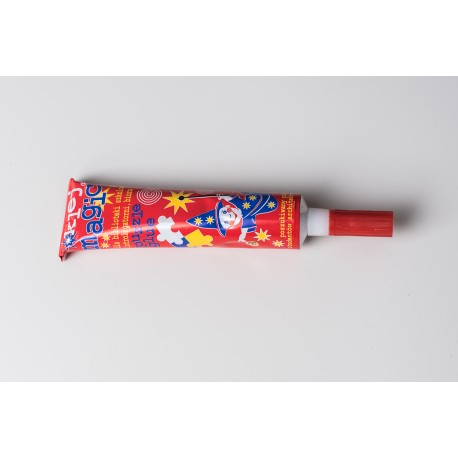
To fill in the base of the stand I applied some Magic Glue randomly before sprinkling over some stone chips and brown coloured chunky glitter.
I hope I have shown you can combine lots of different products together to make a project you can be truly pleased with providing you have a cohesive idea - in this case the Alchmey of Art Alice papers was the spring board with the guitar added to link with the title we are all mad here.
