
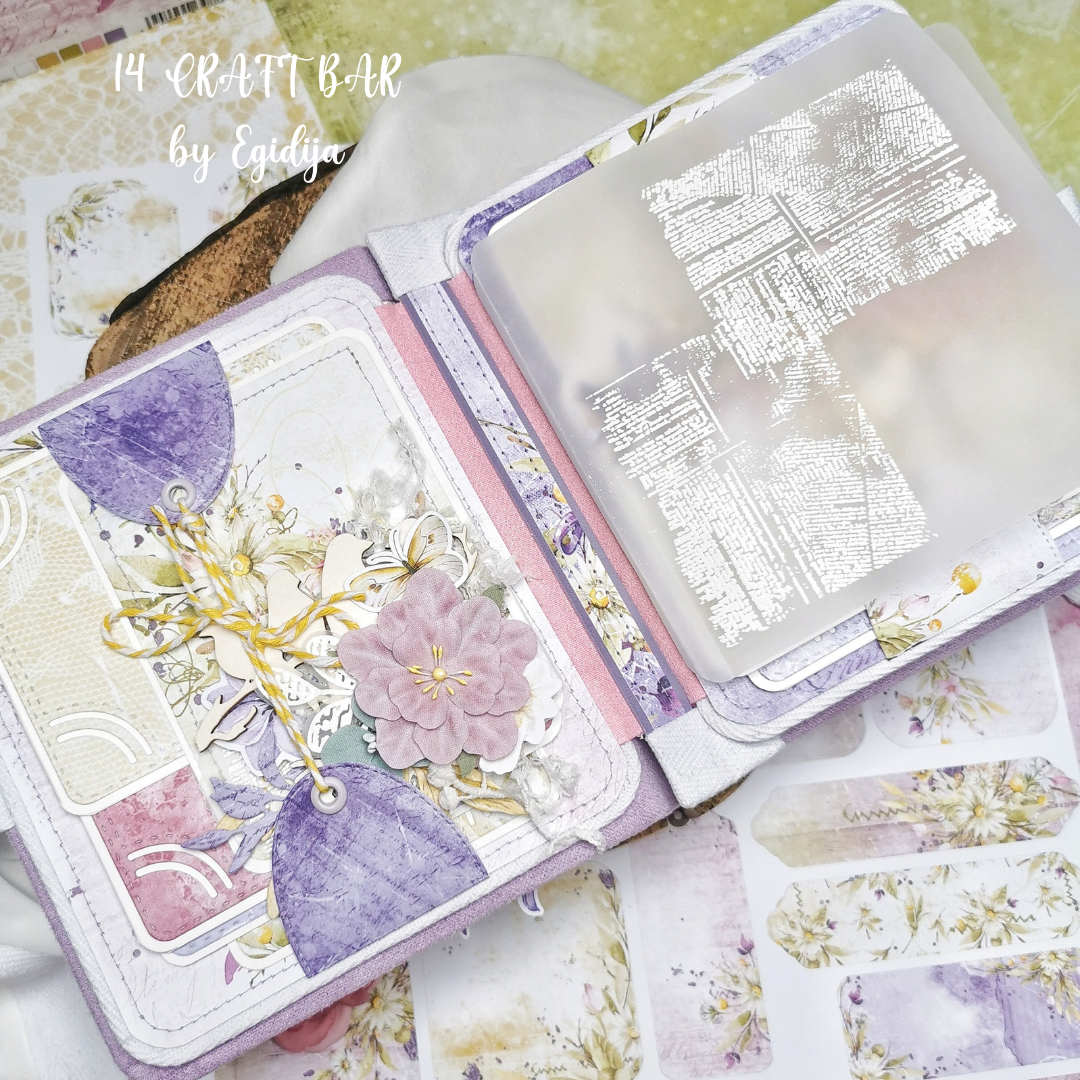
The enigma code breakers are a very important part of British history and so when I saw the Enigma collection of papers I knew that I just had to create something with them. I chose to work with the Enigma shabby ribbons set, 12 x 12 patterns, A4 Creative pad and the 6 x 6 backgrounds/fussy cut collections of paper to make an album using 12 x 16cm kraft album base. Through out the album I used magic glue as my adhesive of choice.
This album uses the 12 x 12 papers to create base pages with flaps maximising the use of the papers and creating lots of interactive elements in the process. The album base is formed from pocket pages and I have put a 7 x 6" piece of decorative paper with the top edge corner rounded along the long edge into each pocket. The backs of these pices have an added 6" x 4" watercolour card photomount edged with Vintage Photot distress ink added by adhering on three sides to create a pocket into which I have slipped fussy cut tags.

The inside front and back covers have pockets. To create these I took a pice of paper 15.5cm tall by 18cm long and adhered it close to the spine. I then added a piece of paper that was 15.5cm tall cut to approximately 10cm wide and then the edge torn off to give a shabby finish in keepint with the vintage vibe I was going for. I added fussy cut elements on top sandwiching inbetween elements pieces of chipboard gears. I used various sets of chipboards through the album including the long gears set which I broke up into lots of pieces making it quite economical to use. I slipped 4 x 6" watercolour card photomounts into the pockets as shown along with more pieces of fussy cut ephemera.
Page 1:
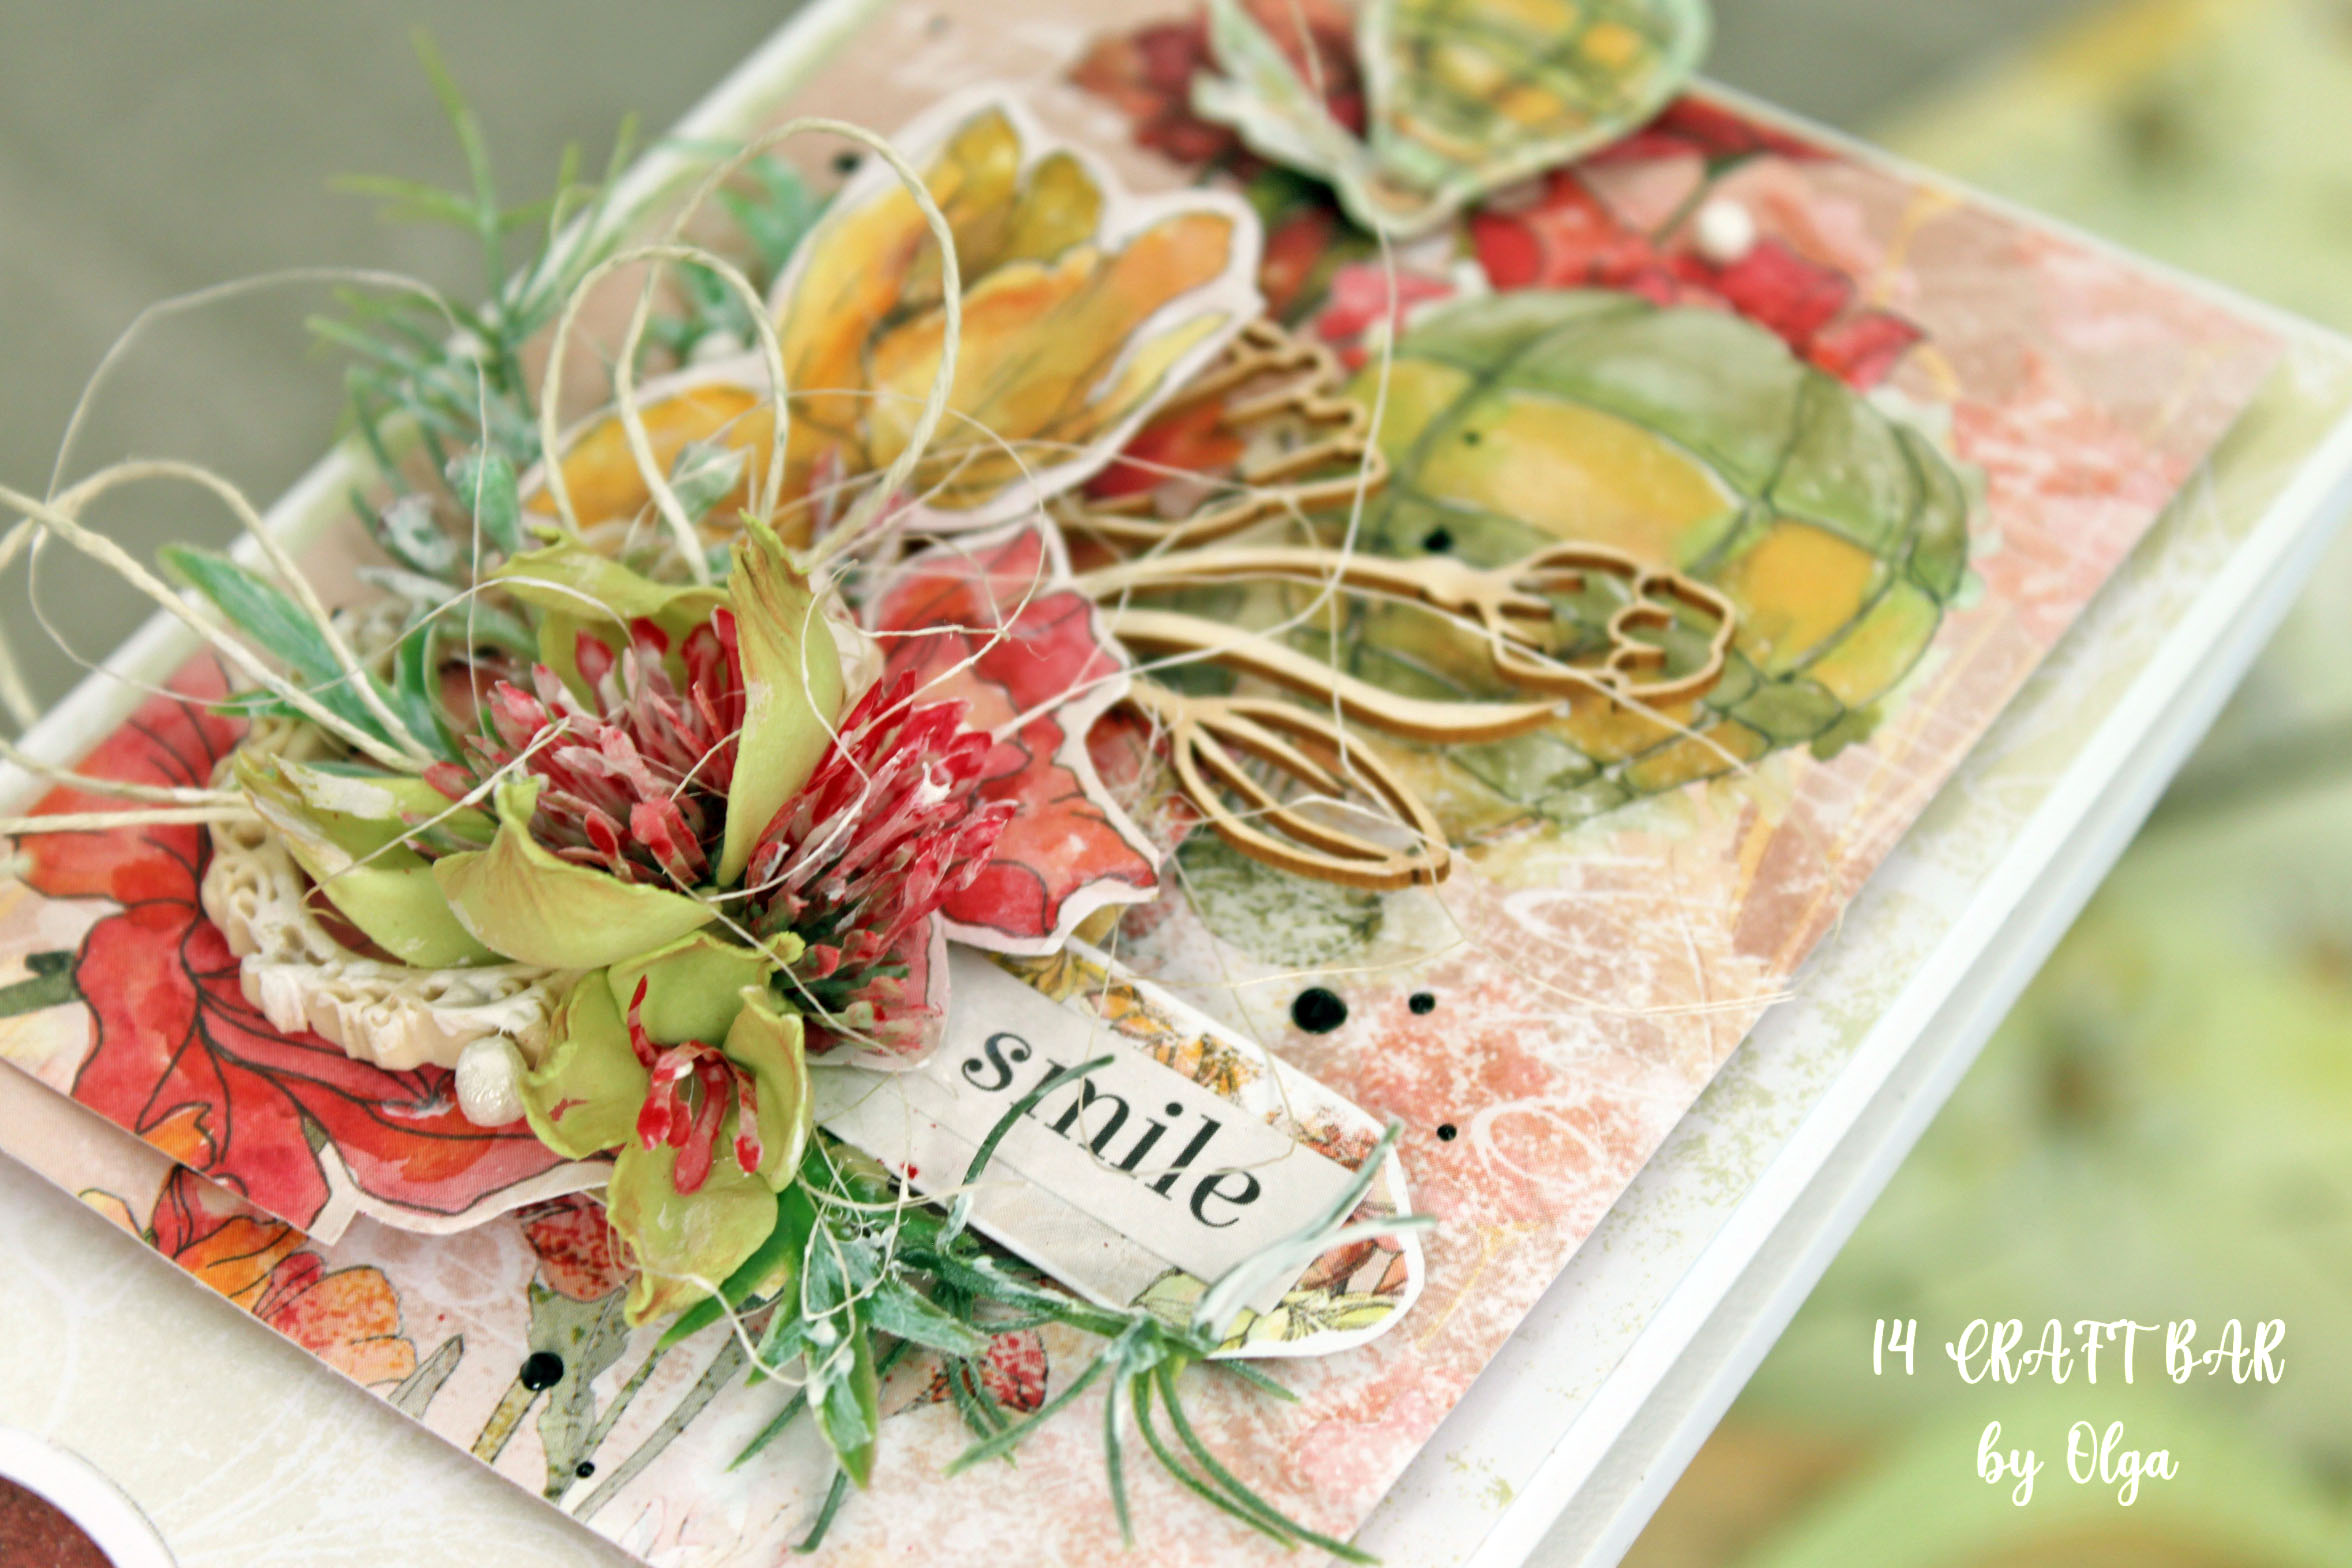
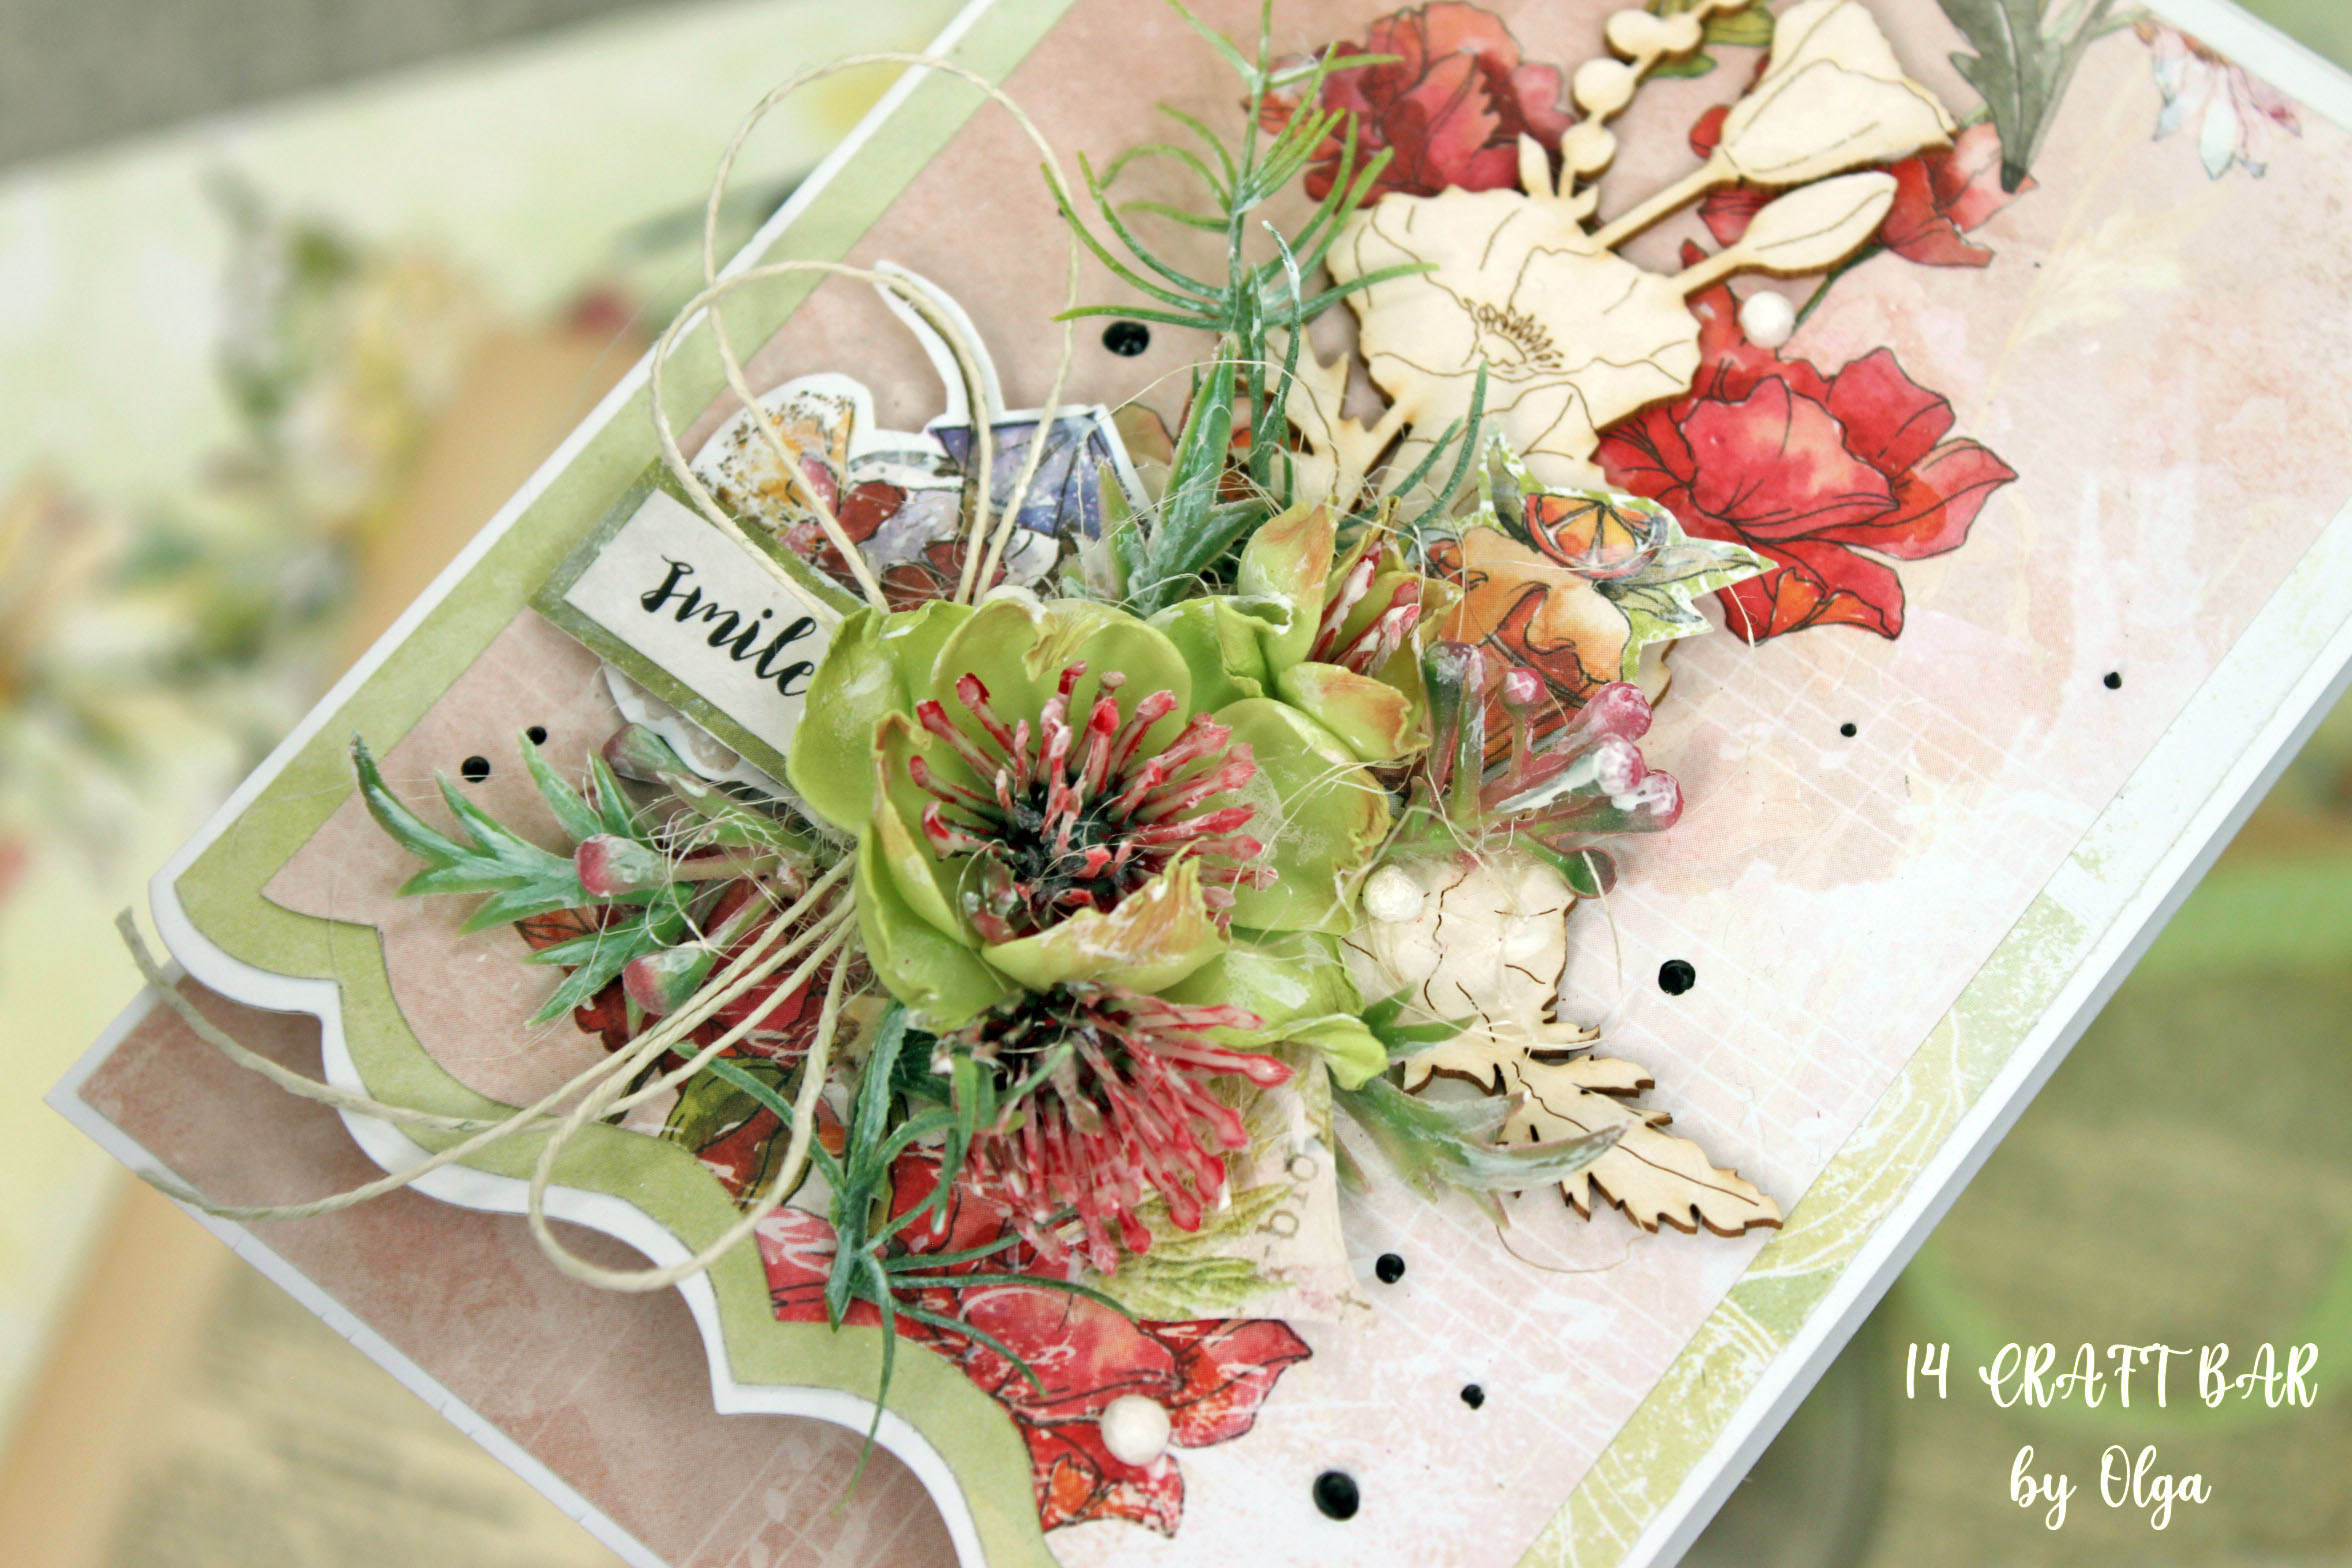
For this page I cut down a piece of 12 x 12 paper to 20.5cm wide and then scored it at 10cm along the long side and 25.5cm to create two uneven flaps. I tore a small amount off the edge of the lower flap. Before adhering the page into the I added shabby ribbon from the collection set. Once the page was in place I added a large topper and additional ephemera to the outside. Inside I added photomats 3.5" x 5" and more ephemera. In the album the ribbon is tied to keep the folds closed.
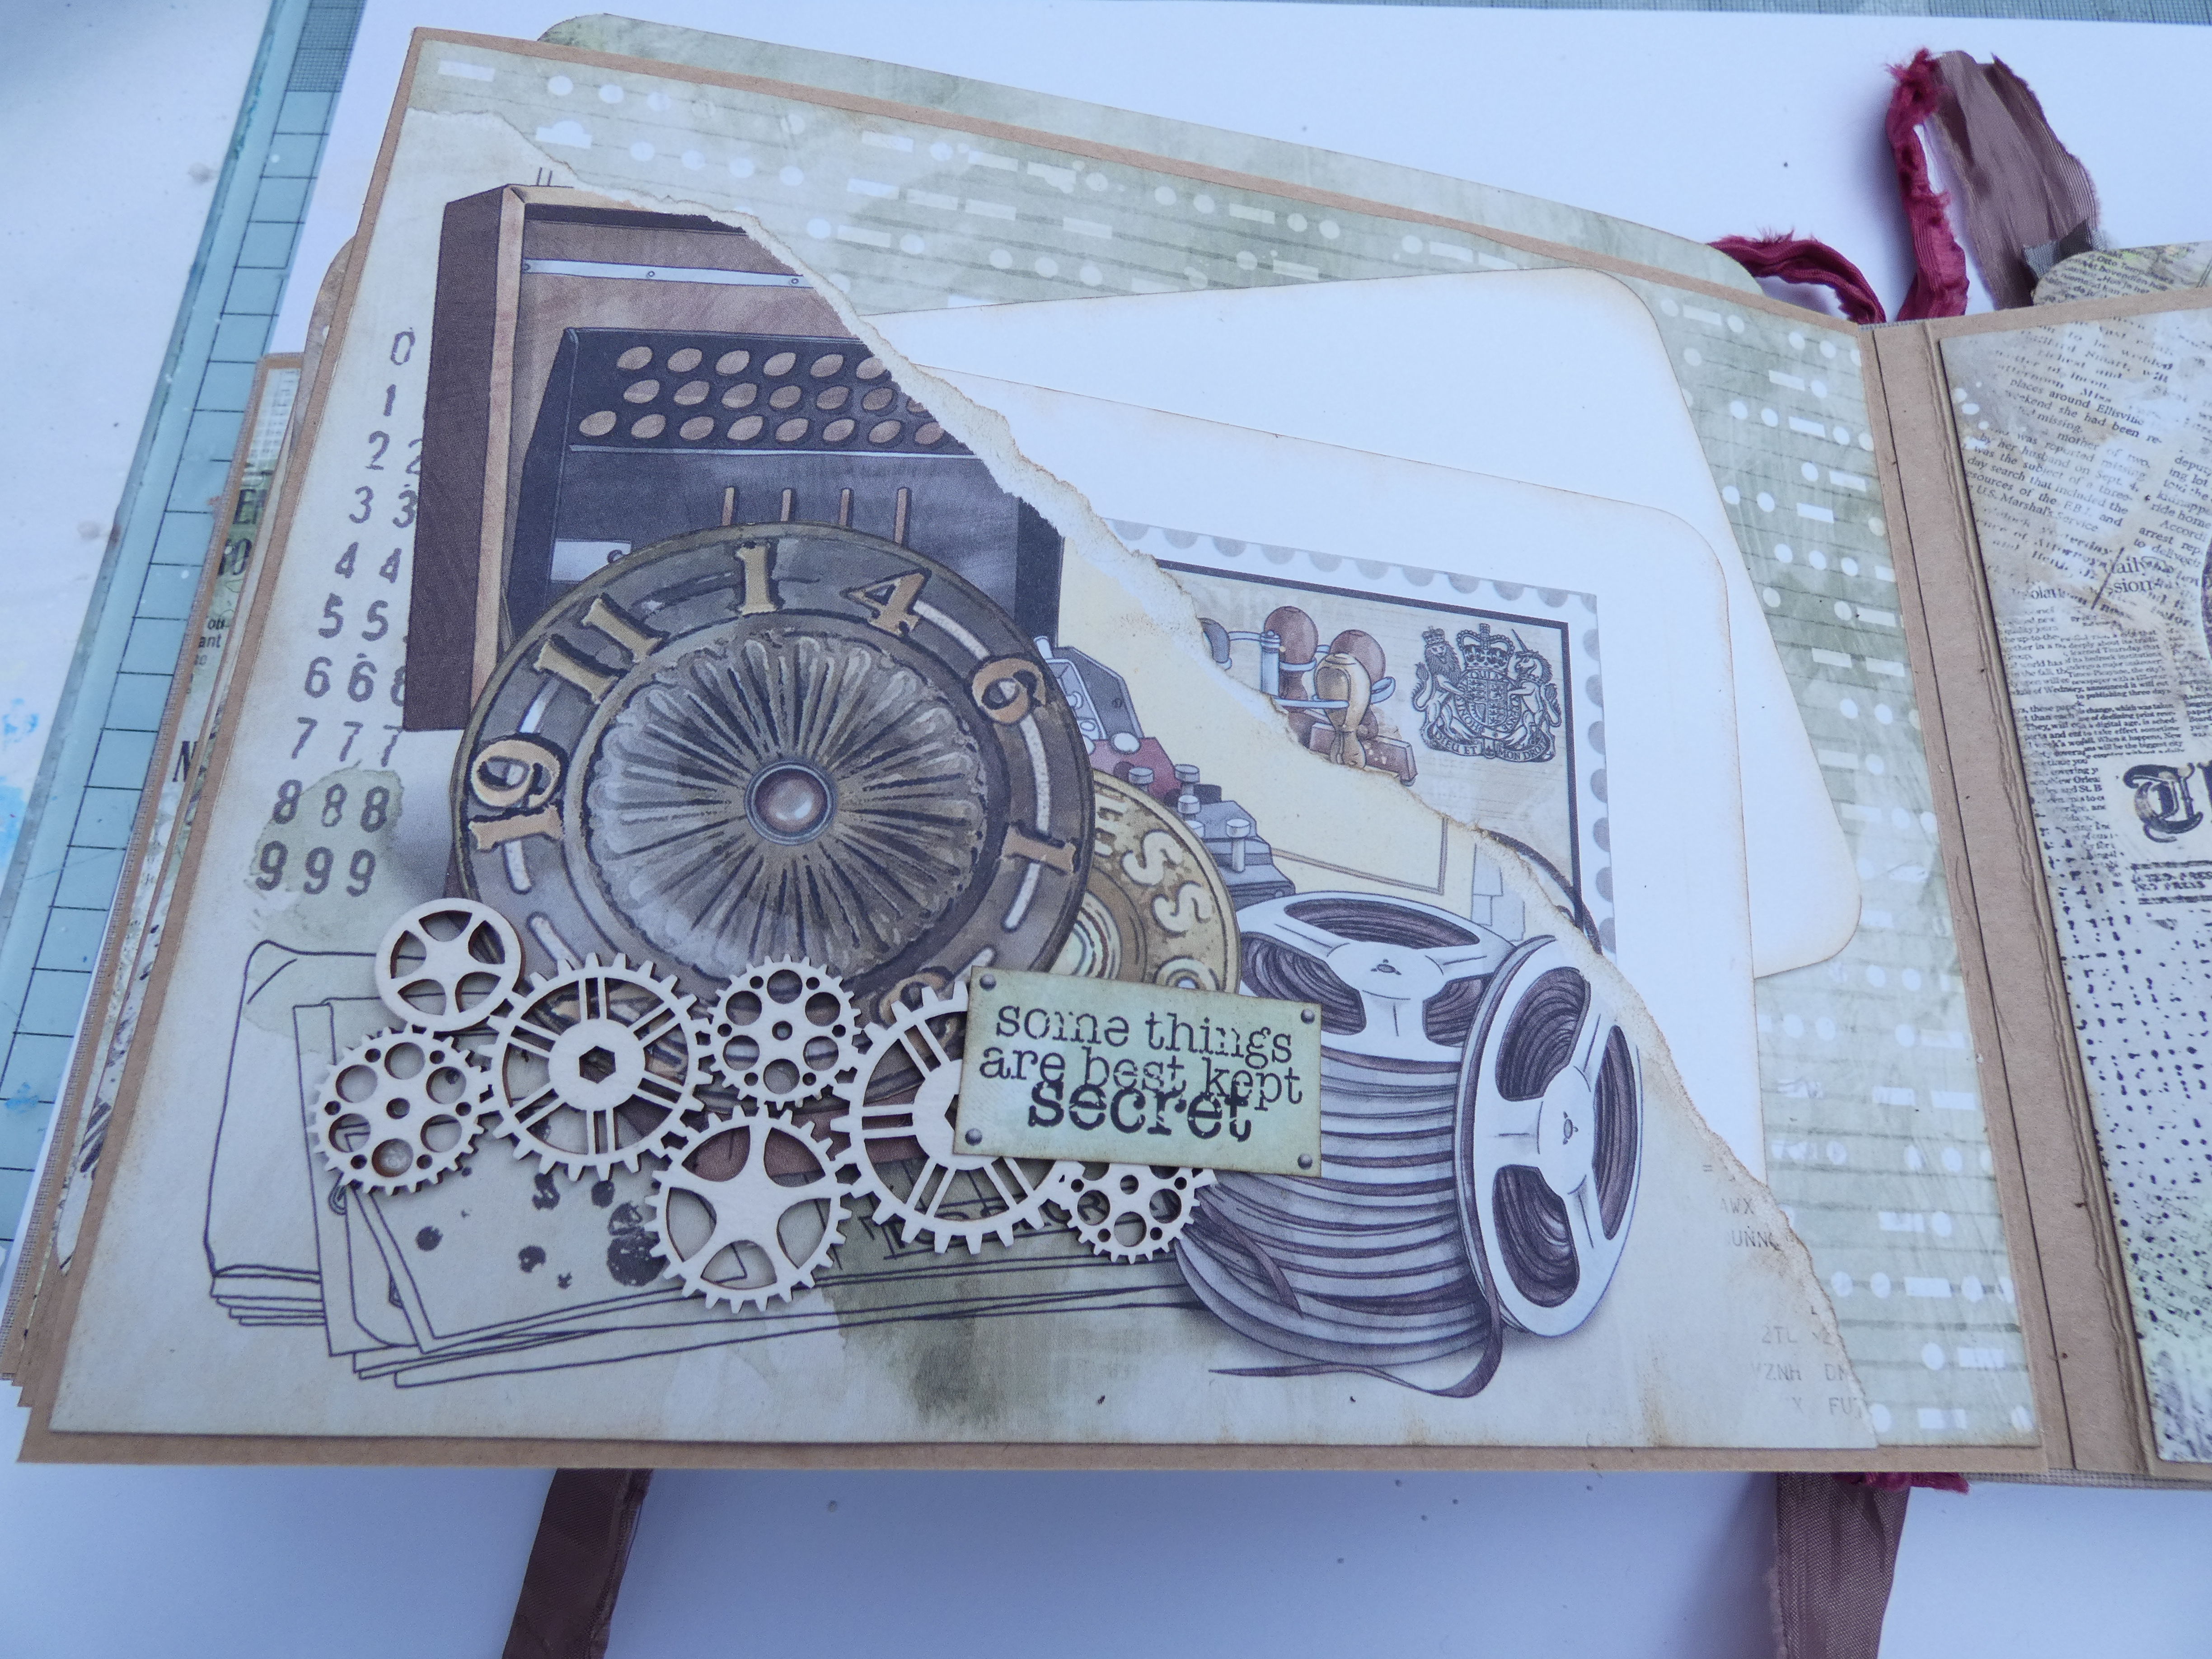
Page 2 and 3:
These pages were created by cutting a 12 x 12 piece of paper to 15.5cm high and then scoring at 20.5cm to give either a left hand or right hand opening flap. Before adhering inplace I added two extra flaps along the top edge. These were created by cutting the larger one to 10cm x 17cm scoring at 15cm and using the flap created to adhere behind the base paper. The second flap was made in the same way using paper that was 10cm by 13.5cm socred at 11.5cm. Having created the base decoration and flaps I added photo mounts to the inside of the page and also onto the backs of the flap pieces. To the front of the smaller flap I took a card topper from the A4 set adhered it along two sides to create a pocket and added another small piece of water colour card inside. For the outside front flap I added a topper panel adhering on three sides only and placing it so it overhung the flap - this creates another pocket accessible from inside the flap into which I also placed additional photomounts of water colour card. I added ephemera and cogs to complete the pages.


Pages 4 and 5 are corner pocket pages. The page were first covered with paper cut to 15.5cm by 20.f and then a corner pocket was added by taking an off cut approximately 14.5cm high by 20 wide and tearing diagnoally to create a rough triangle which was then adhere in place along the straight edges. Photomats and ephemera were added to the pockets which were then decorated with fussy cut elements and chipboard gears.
Page 6 has a waterfall element on the top. To create the base page a 12 x 12 paper was cut vertically to 20.5cm and then scored at 15.5cm from the bottom to create a top flap. This was then adhered in place and photomats and ephemera added to the inside. On the outside flap a waterfall was created by adding 7 flaps of paper cut to 6cm wide by 10cm tall scored at 1cm to create a flap to glue down. The flaps were then decorated with water colour card photomats cut to 8.5cm square.
Page 7 was constructed in the same way as page 6 but because of the bulk of the waterfall I kept the deocration on the front flap to an absolute minimum adding only a topper element from the paper packs as a pocket into which I placed a photomat.
Pages 8 and 9 are flap pages made in the same way as pages 3 and 4 with the addition of pockets to the front flaps.
Pages 10 and 11 are corner pocket pages.
Pages 12 was created in the same way as page 1.
For the cover of the album I added fussy cut elements and a background clocks chipboard before adding lots of powde rgrain and small balls for texture. I then added some fussy cut elements to the back before tying more of the shabby ribbon around the center of the book to decorate the spine.
I wish you all a safe month and hope to be able to meet some of you in September at the next 14 Craft Bar retreat details of which are in the shop.


