Showing posts with label plywood. Show all posts

Wednesday, 6 September 2023

A Little Wheel Barrow


This week I have a little floral deocation to share with you - for me this is a little project but it still has lots of details so I hope you like it.

The base for the project is a plywood wheelbarrow as the base to hold a pretty floral arrangement. As usual I started by laying out the pieces so I knew how it would be constructed.

I glued the pieces for the bucket of the wheel barrow together and then let them dry.


For the wheel and handle pieces I started by gluing the two wheel pieces together and then when they had dried painted all of the plywood with a copper metallic paint - the antique gold creamy acrylic by Pentart  would also work really well with the autumnal shades of the rice paper that I used for decoration. The wheel base was then adhered in place.

Next I added a crackle medium to the "bucket" - shhhhhhhh don't tell anyone but it will appear at the retreat in September so hopefully will be added to stock however you can use any crackle that works in a sandwich between two layers of paint. Once it had dried I then painted on some white acrylic paint. Alternatively you could use a thin layer of the Stamperia white crackle paste in which case there is no need to add a layer of white paint over the top.

Next I selected images from the flowers rice paper (there are lots of options if you want different flowers but you will need a paper that has small images on it). I tore out the images I wanted and then glued them in place over the body of the wheel barrow using decoupage glue making sure I covered the images on the outside with the glue too so they were sealed in place. Watered down pva glue will work if you don't have a specialist rice paper glue. Once the glue was dry I added some more of my metallic paint around the edges of the bucket.


To fill the wheel barrow I then added some floral foam deliberately cutting it so it was proud of the top of the wheelbarrow. Then I added some moss using hot glue.


To fill the wheelbarrow I then added a selection of flowers in colours that I felt complimented the rice paper I had used - rose and yellow crimped hydrangeas - pushing the clusters they come as into the floral foam (you may need to trim the stalk a little and also use a pokey tool to make a hole in the foam for the stalk to go into.

 Next I added a few yellow cherry blossoms


Finally I tucked in some greenery - leaf 127, leaf 091 and leaf 105/ Adding until I was hapy with my overall composition. 


Monday, 15 May 2023

Positive Affirmations - plywood wheel

So for this weeks post I am continuing on the how to use rice paper theme - and yes I can assure you there is plenty of rice paper in this project although I accept that you can only see snipits of it in the completed piece. However, the joy of creating is watching how a piece evolves as you add the layers to it.

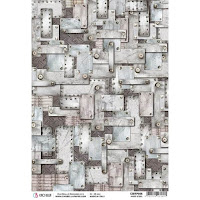
This piece starts with a wooden wheel which is designed to have a central hub front and back making it quite dimensional. Ever one to not follow the rules the circular elements designed to stack have been used as embellishment pieces on my project.  The birch wood ply is quite pale and so I did not bother priming my piece before adding torn scraps of two rice papers - our love words and hard steel using decoupage glue. I continued until I had the whole surface covered. The joy of using rice papers for this is that it is easy to fold back the excess and also to sand it back - no need for precise paper cutting or getting the craft knife out. 

I love the collaged background this creates and I have no edges to disguise as the layering of piece over piece conceals where one is added because you can see through the layers to the one beneath so they merge beautifully together.


Next I spent a reasonable amount of time fussy cutting lots of elements from Wings of Freedom Extras set using almost all of both sets of the floral elements. I also cut out butterflies from teh extras set and also from the 12 x 12 papers. Whilst I had the papers out I also covered the ring shaped pieces of ply with paper too - sanding back the edges of these. I had a play about with the composition and added in lots of chipboard elements - botanical diary and spring flowers - there are lots to choose from if you look under chipboards floral and nature section. At this point I then glued everything into place - if you look at the finished piece you will see that elements got moved about quite a bit during this process.


My project still needed to feel complete and have a purpose. I love words and decided that I would add lots to this piece creating a piece full of positive affirmations. The words come from several different packs of die cut inscription chipboards by craft o'clock just have a look at the sets available and choose the ones that speak to your heart. Before gluing the chipboard pieces in place they were edged with gold wax. 


Finally I added a piece of shabby ribbon so I can hang my project up where I can see the words everyday and a shabby bow to complete the piece.


Monday, 24 April 2023

The Artist Sees - wooden book

For this make I chose to decorate an MDF lockable box kit - wooden pattern book. Like most kits this takes a little bit of working out when it comes to construction however it is not complex. I started by constucting the box and my recommendation is that you add the hinge elements to the box lit first and let them dry BEFORE you then add them to the base of the box. The hinge pieces that go thorugh the box lid itself have to go though the box lid outer and then the panel for the inside of the box so they look strange as they are shaped to do this in layers. The rest of the box goes together in a very obvious way apart from teh locking mechanism  - there is a larger piece on the front as seen above and inside the box there is a samller piece and a little triangle - it is the little trianngle that locks the 3 pieces together and allows the lock to be slid in and out.


Having consturcted the box I then painted it all with white gesso and left it to dry. Once dried I covered the front and side of the box with plantarium rice paper and thhe inside box part with a second complimentary rice paper - the manuscriptbotanical or bicycle rice papers would all work or a second piece of the planatrium paper - you will need two A4 sheets so bare this in mind when ordering as there is nothing more frustrating than finding part way through you don't have enough product. I used decoupage glue and varnish to attatch my rice paper but watered down PVA will also work - it needs to be the consistency of single cream or thinner if you are using the pva method.

For added details I then used Vintage Photo Archival distress ink and applied it thorugh Christmas Stencil 153 - it is so worth buying more generic stencils as a swirly one labelled Chiristmas can be used all year round making stencils a hard working tool in your crafty stash.


To decorate the front of the box I added a little piece of lace (there are lots in the haberdashary section of the website) with chipboard botanical floral chipboards, mint gilly flowers and a sentiment from the Da Vinci papers as these toned really well with the vintage photo ink. I added a scattering of chuncky glitter and then distressed the hinges, lock mechanisum and the flowers with umbra antique paste.

The world of rice papers is so worth exploring, the texture means they blend with the surface beautifully making them ideal for covering MDF but also for backgrounds on mixd media canvas project.


Monday, 4 July 2022

A "little" kitchen

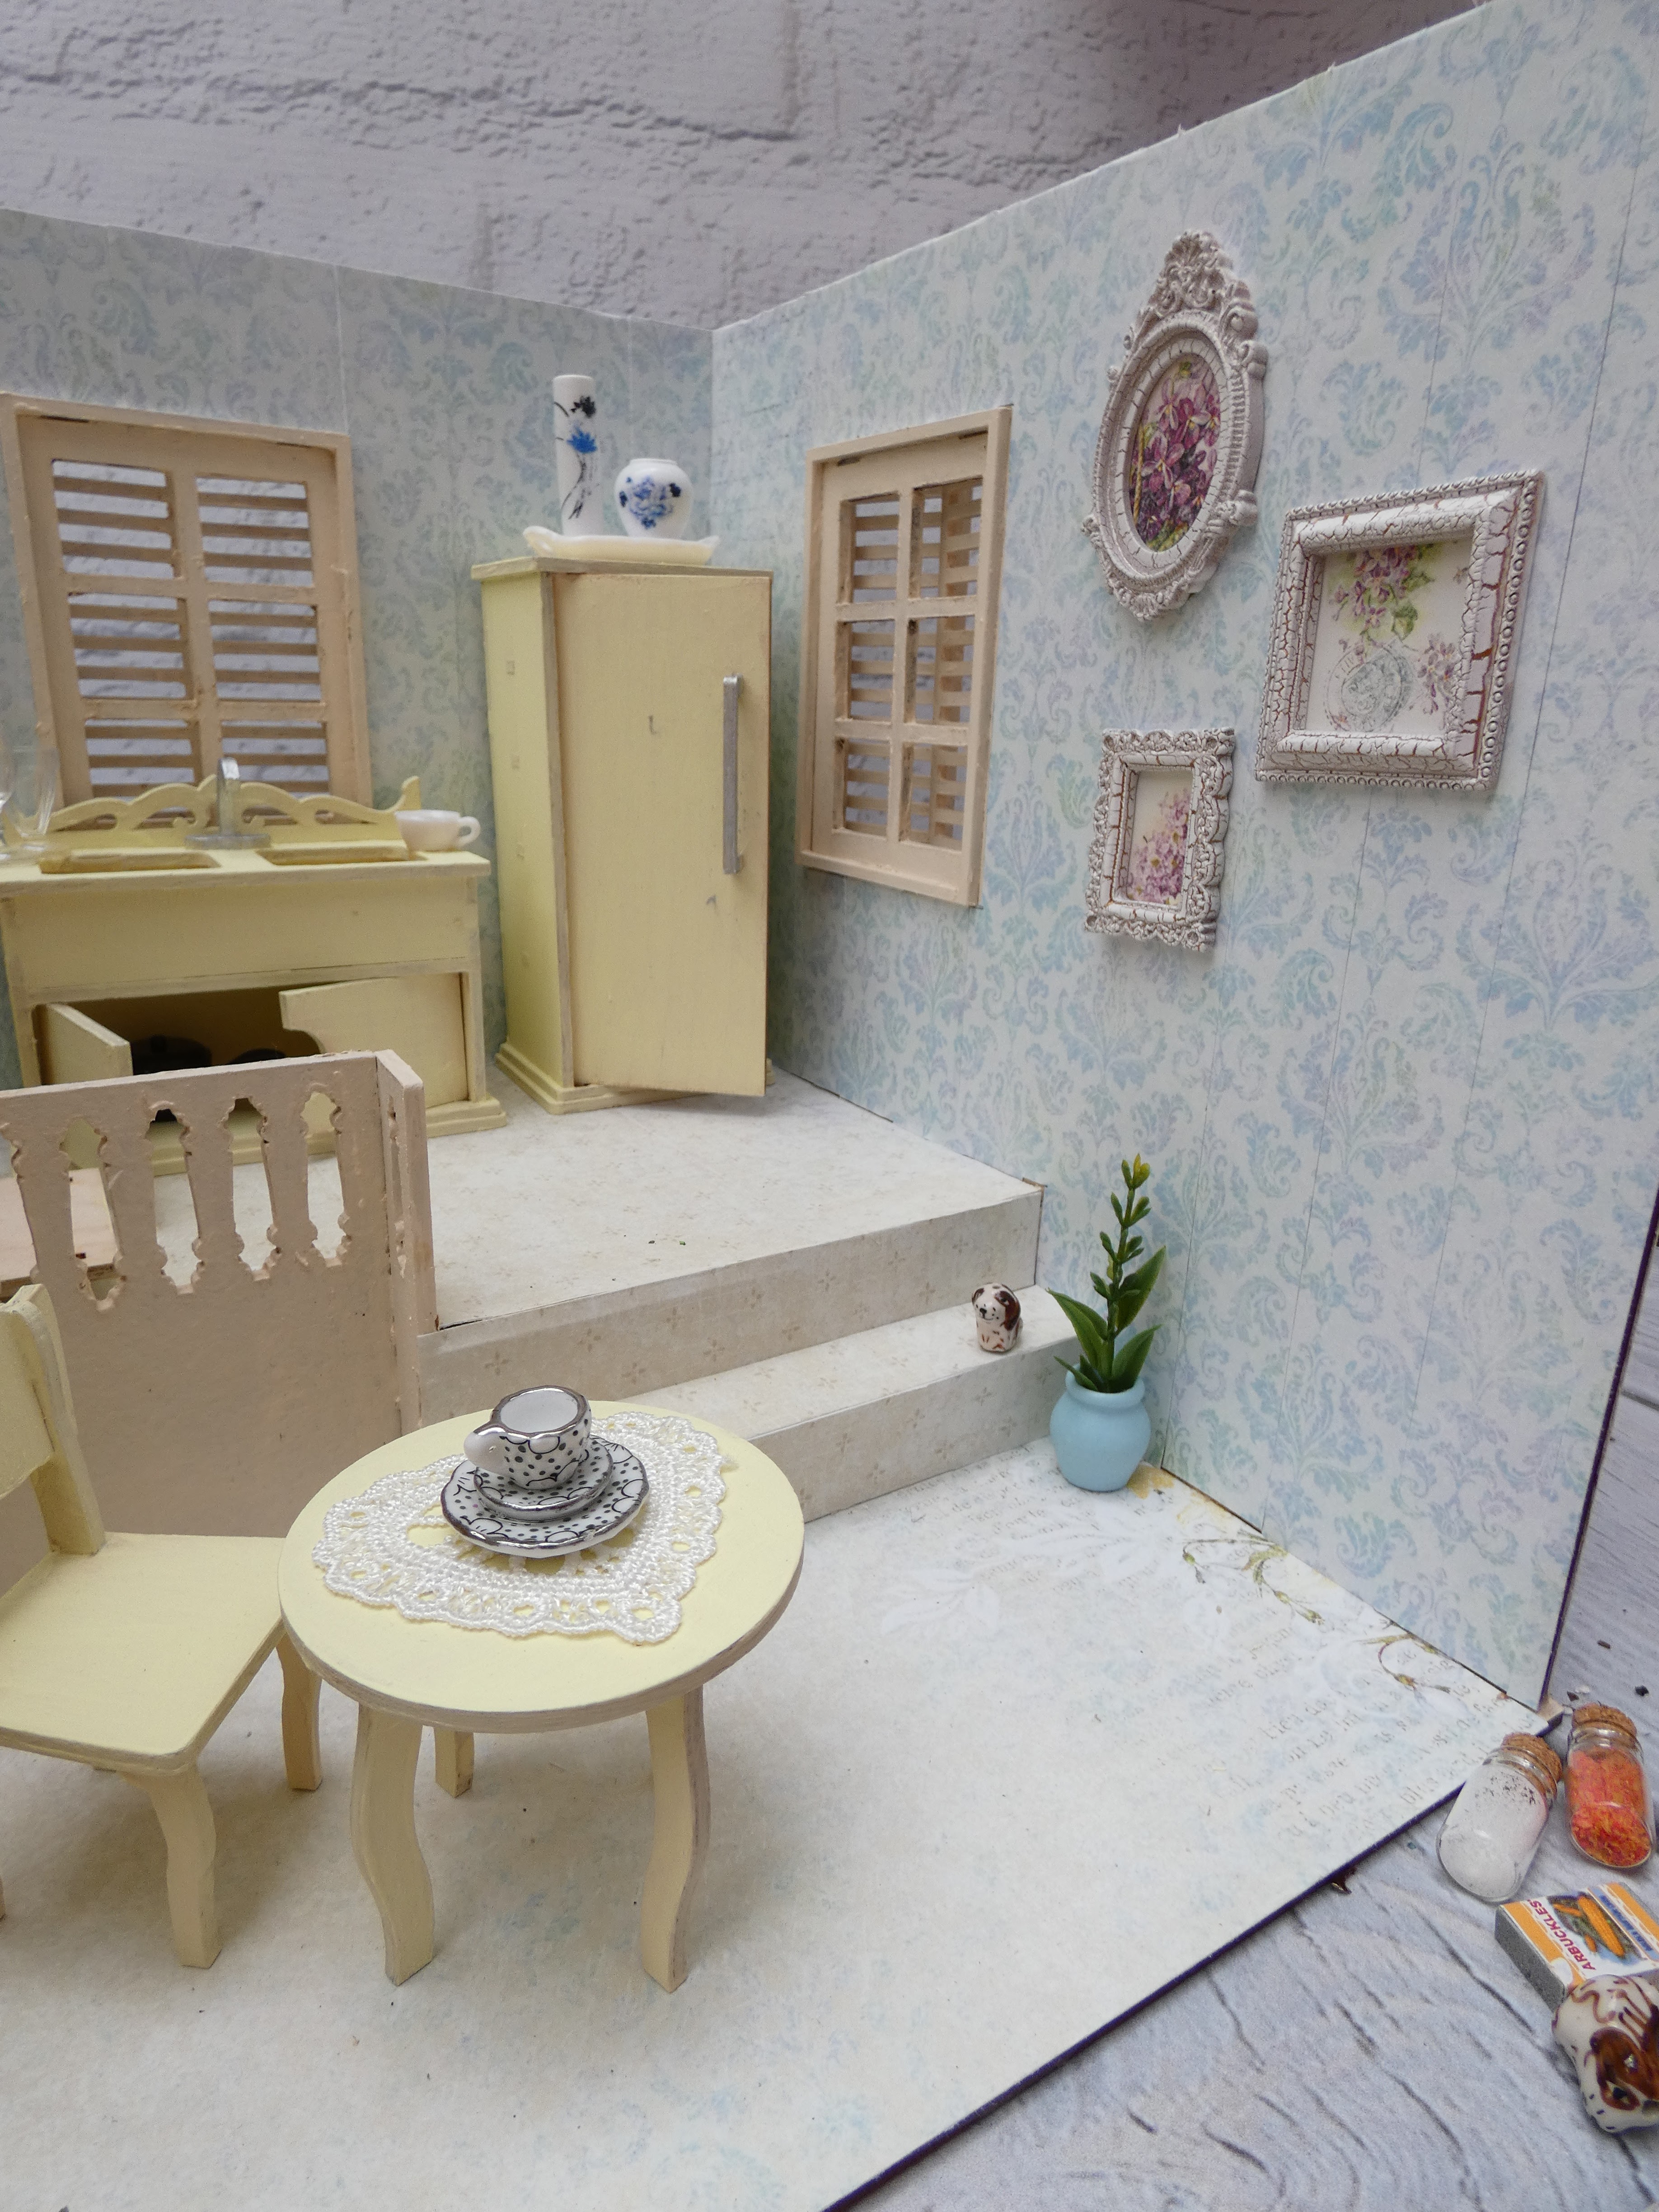
I have deliberately placed the word "little" in speech marks in the title because this piece is actually really quite lare measuring approximately 12" in all dimensions makign it really quite difficult to photograph. By leaving the furniture free and/or selecting other mdf furtniture kits you could have an interactive dolls house with different scenes - including living rooms and bedrooms. Imagine what fun your children/grandchildren would have playing with it. I did raid my stash of minature dolls house accessories for some of the pieces but there are lots of pieces from 14 Craft Bar as well.

The starting point for this project was the large room mdf piece. I painted the window elements and shutters with Butter matte paint. Having done that I coved the outside surface of the side panels with Primroses papers - as tthere are 3 sides and only two matching papers in each pack you will need two packs to make yours like mine. I then cutout the gaps for the window and slotted the outside elements of the window shutters in place.


I then assembled the inside elements of the room before wall papering the walls by adding 1" strips of paper and shapping them to fit around the elements just as you would if you were decorating your own home. I covered the floor with seperate papers so that the two levels looked slightly different.


 To fill the room with furniture I chose a kitchen with living room theme and assembled each piece then painted it with more of the butter paint. The book case was made using the plywood shelf kit


 The table from plywood round table  and chair was made from upright chair kit. I decorated the table with a little lace that was tucked in my parcel from Agnieszka - heart applique.


The cooker was made from another kit - 3d cooker.


The sink has two cute washing up areas and little cupboards underneath.

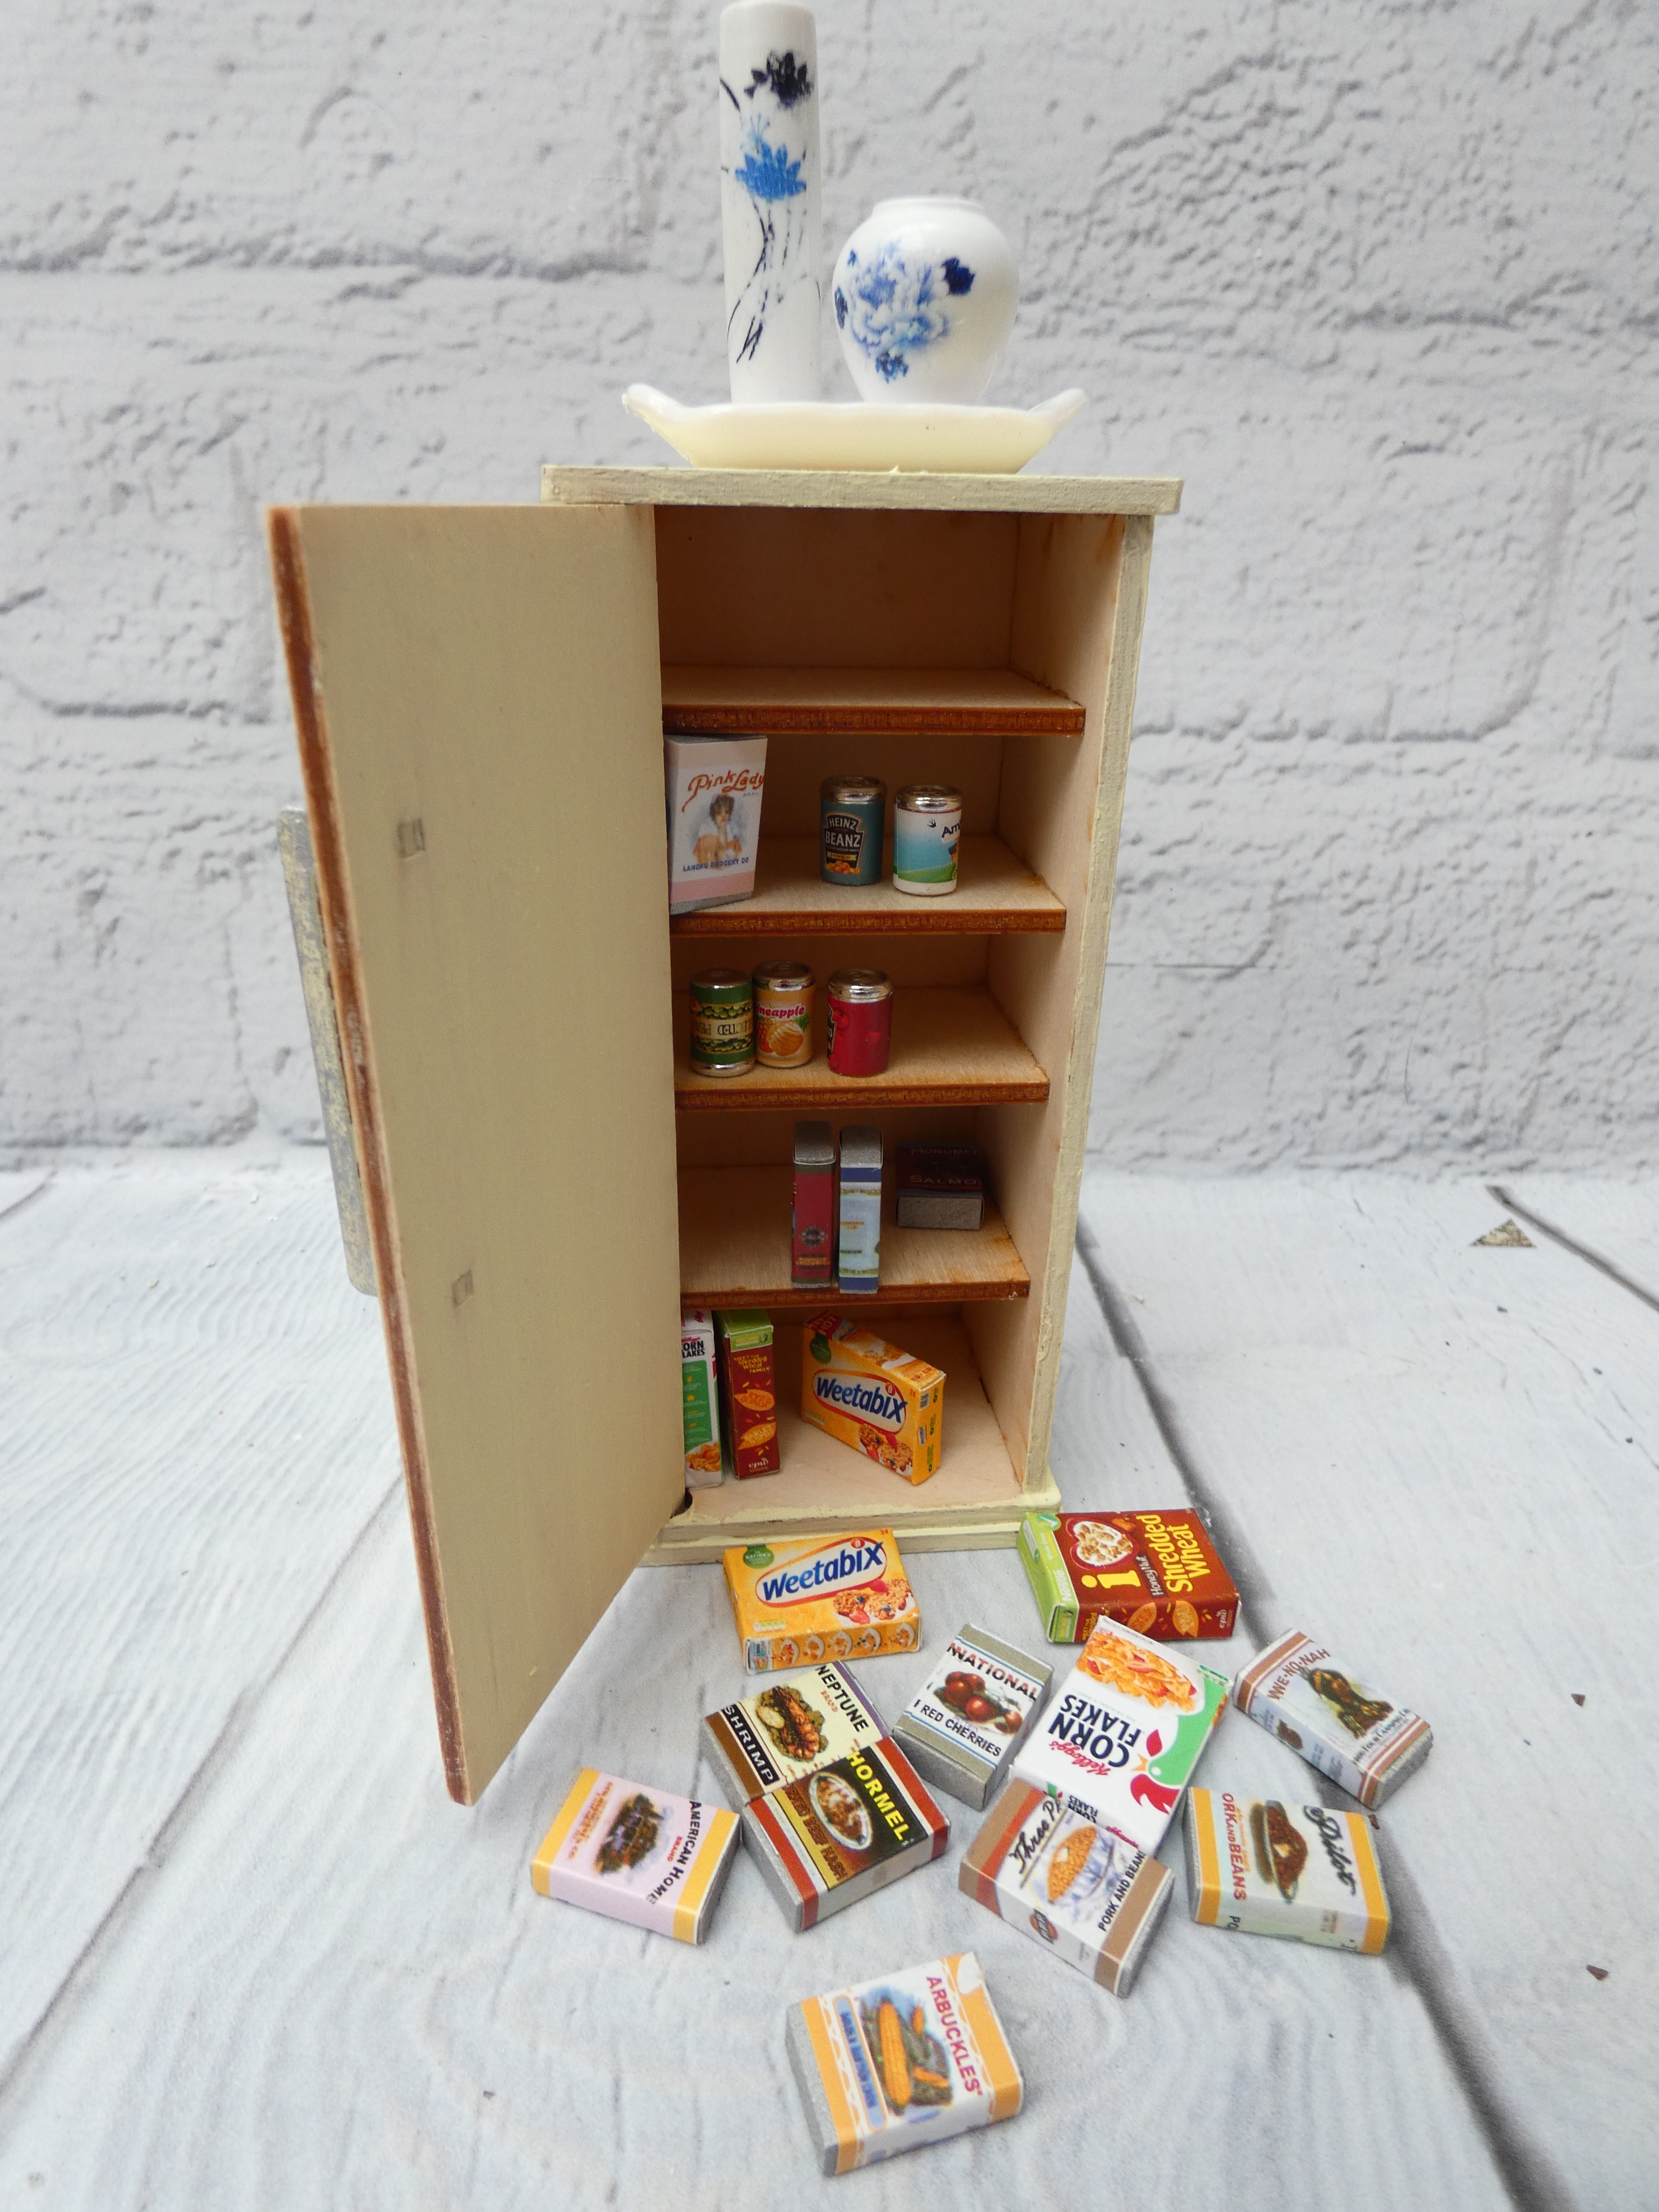
Finally no kitchen is complete without a fridge although I have filled mine with tins and packets of food making it into a kitchen cupboard instead.


To decorate the walls of the room I placed small frames over paper elements and then secured them inplace. There are a number of small resin frame moulds in the shop you can choose from - bohemian decor frame, oval heart frame, small oval frame and the  roccoco frame being just some examples.

I then added lots of miniature dollshouse accessories filling the pots with faux greenery fronm the leaves and twigs section of the webshop.


I had a lot of fun creating this piece and although I don't have any young grandchildren at the moment I am sure that they will arrive at some stage and then I can watch them playing make believe with this set. Stay safe and enjoy your family as much as you can making precious memories.