Showing posts with label tutorial. Show all posts

Monday, 9 May 2022

Libary Book Nook

Firstly I just want to say just how difficult this piece is to photograph - the completed piece is 23cm deep and the camera really does not do it justice. In real life you can see right to the back of the piece adn also clever placement of a "mirror" towards the back creates a reflection so that the box appears to go on and on.
 

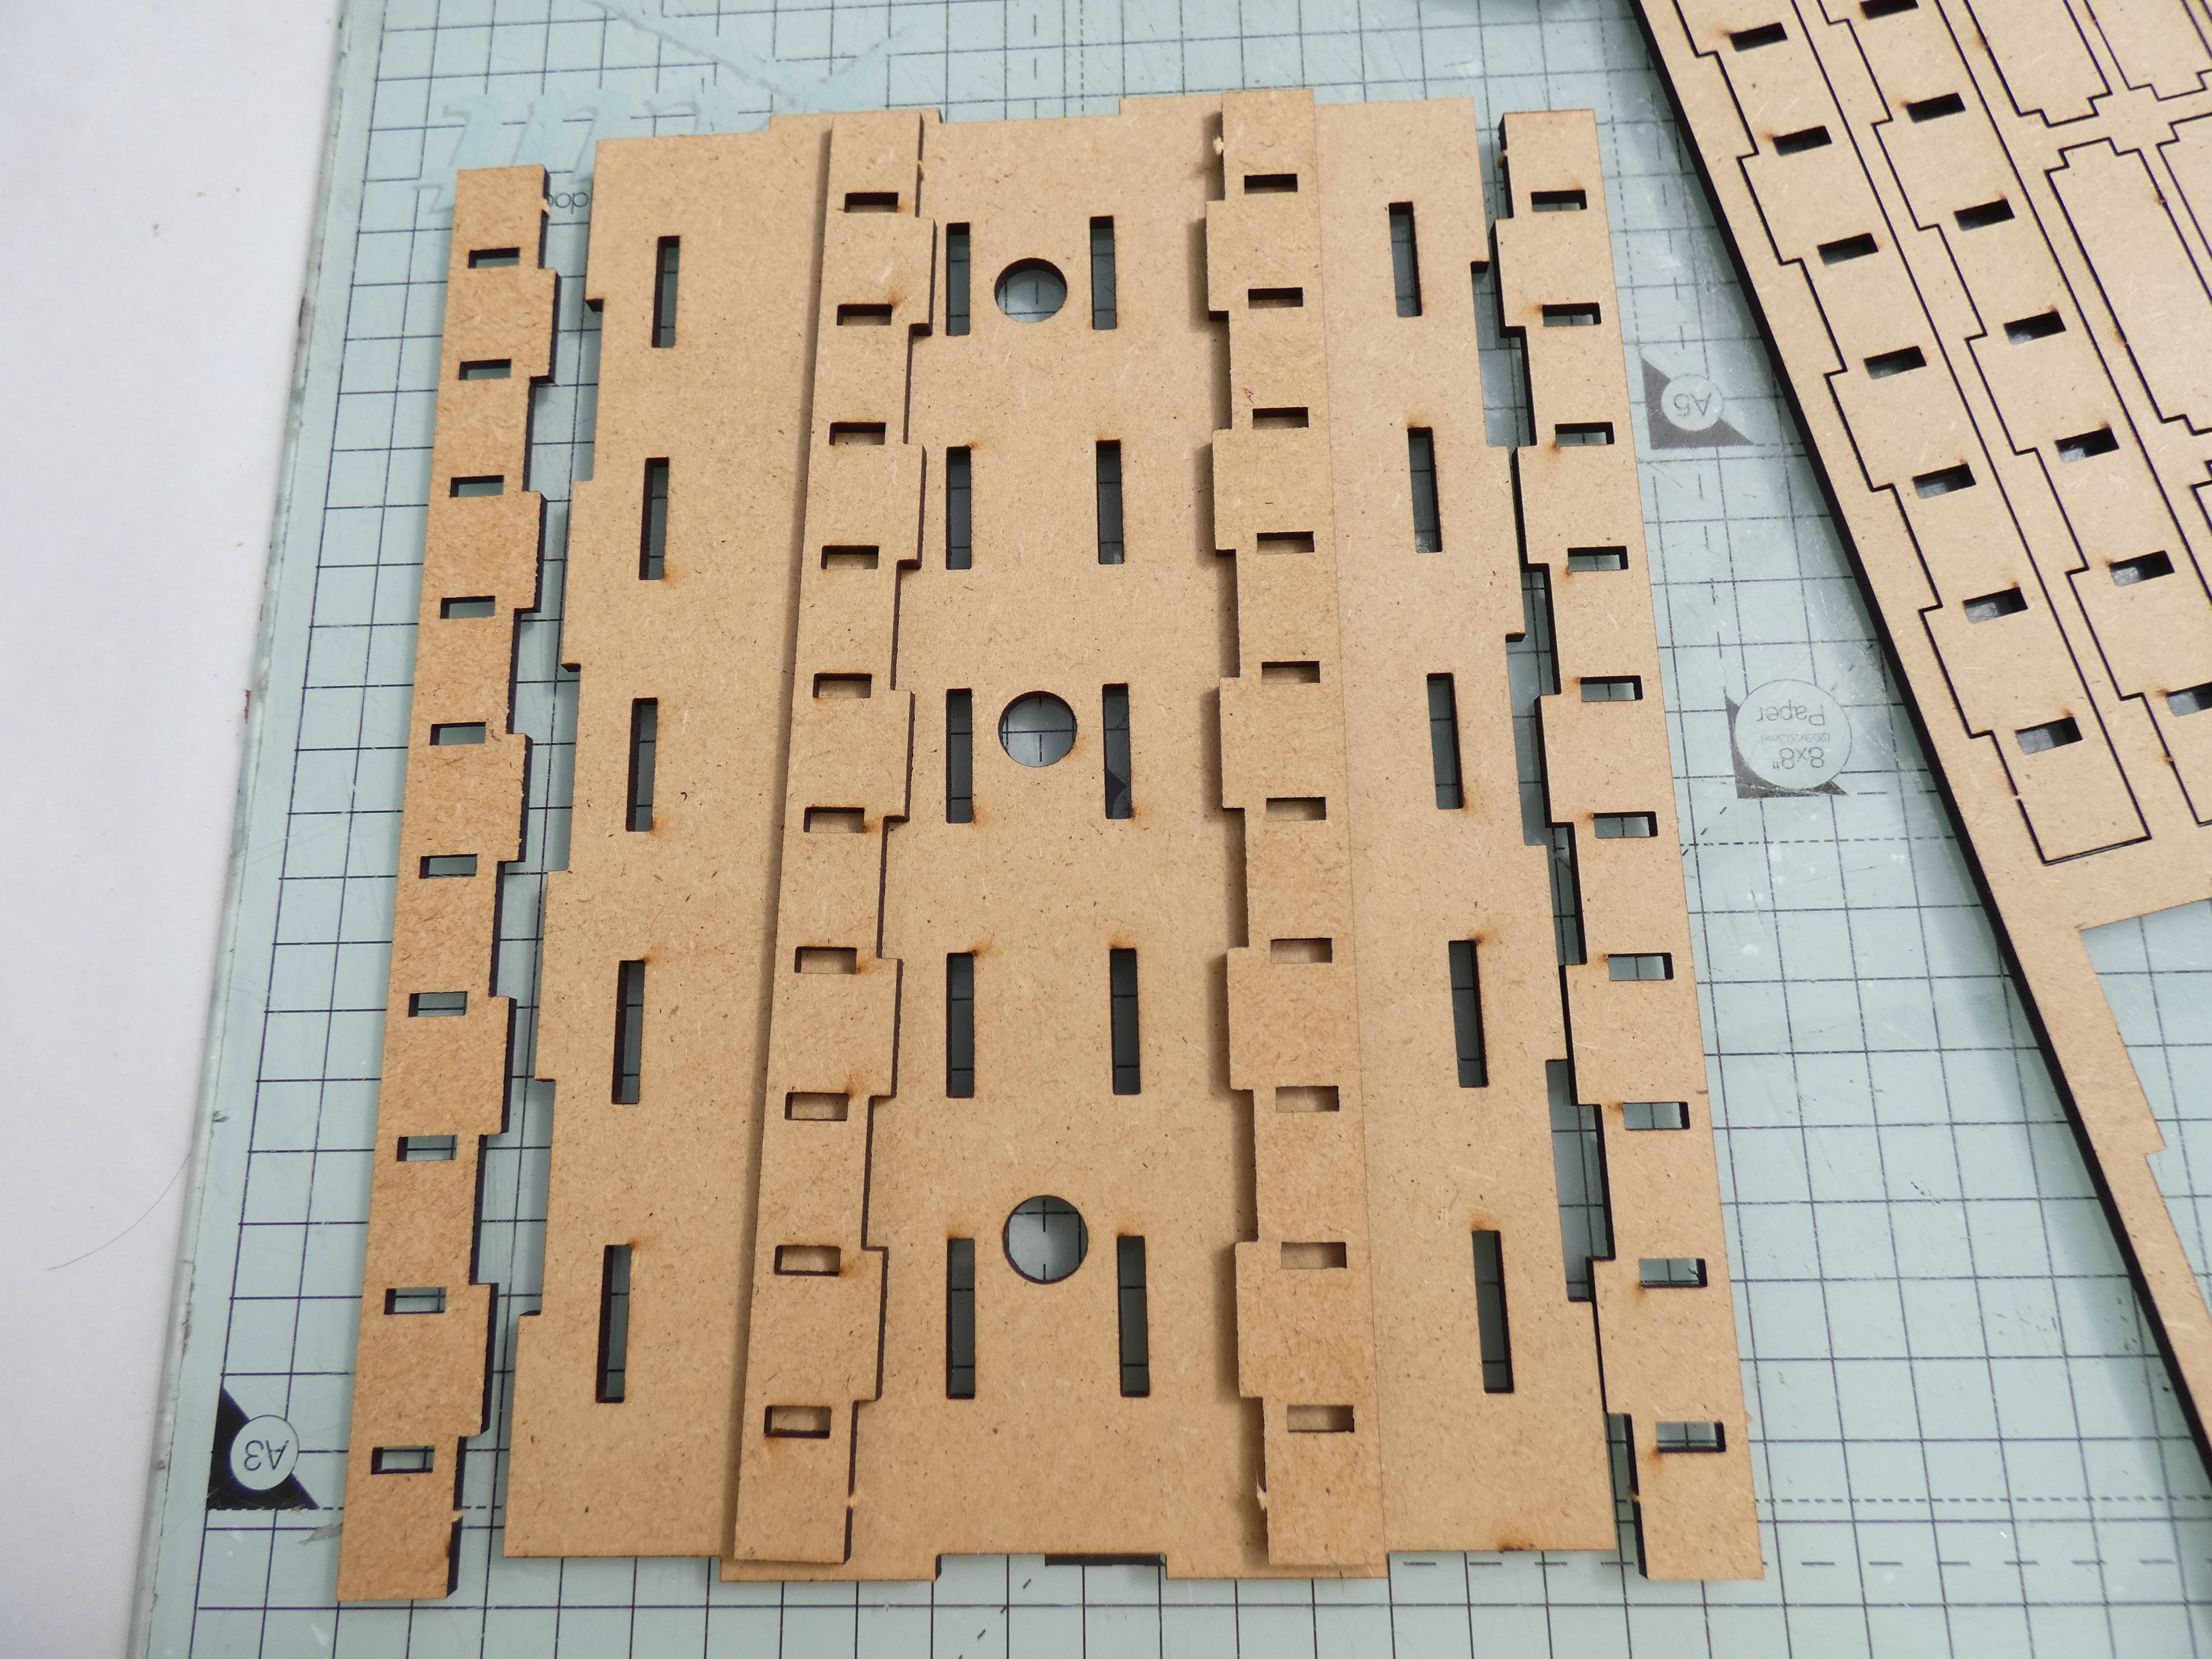
The Book Worm - libary book nook itself is relatively easy to put together - google translate allowed me to work out what the insciptions on the kit in Polish meant so I could easily identify the pieces however I really do suggest you have a trial run before you do anything else and then decorate the pieces BEFORE putting it together using Magic Glue.
 
Side Panel pieces:

To decorate my project I chose to work with Lady Vagabond 12 x 12 and Lady Vagabond Maxi Backgrounds papers partly because they have books within them.
 

Add strips to the panel as shown then add the sides of the shelves and then shelves themselves.


 Repeat for the opposite side of the book nook. On the revese of these pieces go two uprights to support them forward of the box. 


Next decorate the back panel with paper making sure to remove the paper from the round holes and cover both sides.

In the kit there is an odd shaped panel with 3 cut outs - this is the piece that allows you to create the look of the room never ending. I added a piece of acetate sprayed with Pentart mirror mist to this as there is no mirror in the kit. If you are not worried about this effect then I suggest you just leave the panel out and cover the slots on the top and base mdf pieces designed to keep it in place.


 At this stage I glued my side panels into place along with the side of the box - this image shows the back panel of the room, oblique mirror and left hand book case in situ. At this point I fed small craft lights through the holes and into the back of the book case - I have used a set for each side and would advise if you can you get lights that are as bright as possible.


This is the opposite side wall. The eagle eyed will have spotted that I have "filled" my libary with tiny books - there are over 140 of them between the two sides and you could quite easily add more. These may be a labour of love but are really quite easy to create: I took a 1.2cm strip of cheap copier paper cut along the short length of the A4 sheet and simply repeat folded it in place - the folds were then glued together in effect making a signature. I then took 1, 2 or 3 signatures and covered them with paper scraps 1.5 cm wide thereby creating the covers for my books. I think I used a total of 5 pieces of A4 copier paper. Once the books were completed I adhered them in place as shown.

Having got this far I could then add the side panels to the box decorating only the inside parts that were going to be visible - ie. the parts at the back of the panels behind the shelves. I At this point I fed small craft lights through the holes and into the back of the book case - I have used a set for each side and would advise if you can you get lights that are as bright as possible and added the back panel and the oblique panel at the same time.

Finally I decorated the back part of the nook which holds the switches discretely before completely the outside parts of the box.

To decorate the outside I simply added paper panels and then used lots of the diecuts, chipboard stickers and some fussy cut elements from the papers.

Right side:

top:


Left side:

Is this a labour of love - Yes - I think it is probably the most involved of all of the book nooks that are in stock and it was a lot of fun to create.


Tuesday, 4 May 2021

Glamorous layout

  Hi Everyone,

Today I would like to share a glamorous layout I have created with the stunning Glam Rock Collection. I have really got into the pinks, blacks and golds of this collection for this project. I have embellished with some lovely homemade foamiran flowers, shabby ribbon and fussy cut elements.

Below you will find a list of the products used. Also, keep an eye out on the 14 Craft Bar YoiuTube channel for the process video for this layout.


Thursday, 25 March 2021

Set of 6 Victorian themed Cards

  Hi Everyone!

March is the months for Women's Week and Mother's day, so here is some inspiration to create some feminine cards. I like to create my cards in bulk because you never know when you will need a card or be asked for one last minute! To create these 4 x 6 inch shaker cards I have used Craft O'Clock papers and coupled them with a Mintay Papers - Frame Book. 

A full list of products used is supplied below and don't forget to check out the process video on the 14 Craft Bar You Tube Channel!