Showing posts with label layouts. Show all posts

Monday, 25 September 2023

Fullness of Life

For today's make I started with a 12" square canvas and then layered my pieces on top of it - starting with a solid base is essential when you know you are going to be adding lots of dimensional pieces as it means you have a solid piece for displaying.

I started by making my focal piece using a mdf kit - window with shutters. Before assembling the kit I covered the back piece with some white gesso and once that had dried added the lady from the Steampunk 01 rice paper using decoupage glue (watered down magic glue will work too). As this image is currently out of stock you could use Alcie or the Mad Hatter from Alice 01  rice paper, the lady from simply beautiful rice paper or the couple under the flower arch from wedding 01 rice papers making this a very versatile style of project. Next I lended the white edges of the rice paper into the base by colour mixing my own shade of paint as this means the paper looks continuous rather than just plonked on.

The frame and shuters were then glued together before painting with brown paint and dry brushing with more white gesso. 


The back piece was then adhered to the rest of the window frame leaving the shutters open.

I chose two papers from the 12 x 12 Enchanted World papers deliberately selecting the side with no themed imagery on them as I wanted them to be back ground pieces. The first one I scuffed the edges with a pair of scissors and added  some brown distress ink before adhereing directly onto my canvas base. The second piece I cut to11" square and again scuffed and inked the edges . I deliberatelt added sine dustressed slits and curled the edges back on each side of this layer too for added interest.

I then autdiionely lots of my pieces so I knew approximately what pieces needed to be glued in place first. I chose to work predominatly with the floral images fussy cut from Alice Flowers 12 x 12 sheet but also added some elements from the Enchanted world extras pack.


If you compare the photo ablove with the finished piece you will see that I allowed the project to evolve as I built up the details. Having positioned and glued most of my pieces in place I then tucked in piece of chipboard taken from the Park Leaves set and also added in some faux vintage pink hydrangea flowers. To add a little more interest to the background around my imagery I used brown archival ink and paritally stamped images from a text background stamp. To make this easier for myself I warmed the stamp up in a microwave so I could take the rubber piece off the wooden block it comes on. 

Before adding my shabby ribbon 059 bow I dry brushed the p[apers and floral elements with white gesso and added lots of splatters with some of the brown paint I had used to paint the frame.


Monday, 7 August 2023

Summer memories - Olya & Aggie

 August is a perfect time for preserving and conservation. Some people preserve fresh fruit and vegetables for winter, some sundry herbs and flowers from their garden, and others start to preserve their summer memories. We are more of that last type :) Therefore our projects in the summer usually reflect some events, experiences, or just flashbacks of the season. 

-OLYA-

This particular canvas has been inspired by the incredible coast of South Frace, Cote d'Azur. Everything you can think of when imagining the perfect seaside holidays can be found there. 


- AGGIE -

This time for our joint post I decided to make a layout. Mediterranean Heaven collection and Sicilia collection perfectly match photo of my daughter.


Monday, 17 July 2023

You Are My Happiness layout

For this weeks blog I have chosen to make a picture/layout depending on what you choose to use for the focal image. I have worked with the 12 x 128 x 8 and extras Sea Stories papers and combined them with lots of chipboards, and natural elements along side some hand made foamiran flowers that I made during a live for 14 Craft Bar in June. The live can be found HERE.

 I started with a 30cm square frame and took the panel out of the back to work on - I then chose one of the 12 x 12 papers and adhered it to the frame panel before adding some details by applying chipped saphire distress oxide through a leaves stencil. To decide where I was going to place the stencilled details I roughly positioned the starfish mdf shape in place. Next I covered the starfish with paper from the 8 x 8 paper pad chossing a sandy toned paper.


 Before carrying on I fussy cut out all of the images in the extras paper pack and roughly placed them to create my composition - I took a photograph as a reminder but you will notice I did not keep to it completely as my project evolved over time. I also trialed where I was going to put some chipboard pieces - choosing seaweed treasures, layered borders and a large shell which is no longer in stock but shell 2 or starfish could be used instead.

Having decided roughly how I was going to place the elements I took everything off! hence the photo and built my composition in layers - I used gel medium and glue gel to place the elments in place as this gave me lots of wriggle room for building dimension and also slipping elements under each other.

 Having placed some paper images and seawood chipboards I then decided to change up my focal image and create a shaker element. To do this I worked with sea treasures shaker box cutting the couple image from the 8 x 8 papers and adhering it on to a piece of backbround paper cut to fit the square part of the shaker box. Once the glue had dried I added some tiny beads and sequins taken from several packs from shaker set category of the website before gluing on the plastic box and then adding the two layers of chipboard. I also made up the two layers of the sea treasures borders.

With these elements in place I continued to build my composition adding more seaweed and image elements until I was happy with the over all effect. The title of the composition is a chipboard sticker taken from wedding collection just proving you can mix and match across different themes. 

For the frame itself I painted it with a mid blue shade of paint and then rubbed a candle over the surface before painting with a contrasting very soft green paint. The candle wax stops the second layer of paint adhering meaning that once the paints have dried you can then rub back the surface with sand paper to create a distressed effect. I then put the layout into the frame but felt it still lacked something - I chose to add my foamiran flowers choosing complimentary colours from the foamiran section of the website. Finally I added some clear ice gravel from a floristry wholesales along side a sprinkling of tiny shells.


I hope you like the finished piece and if you make something inspired by it please tag me so I see it.


Friday, 21 October 2022

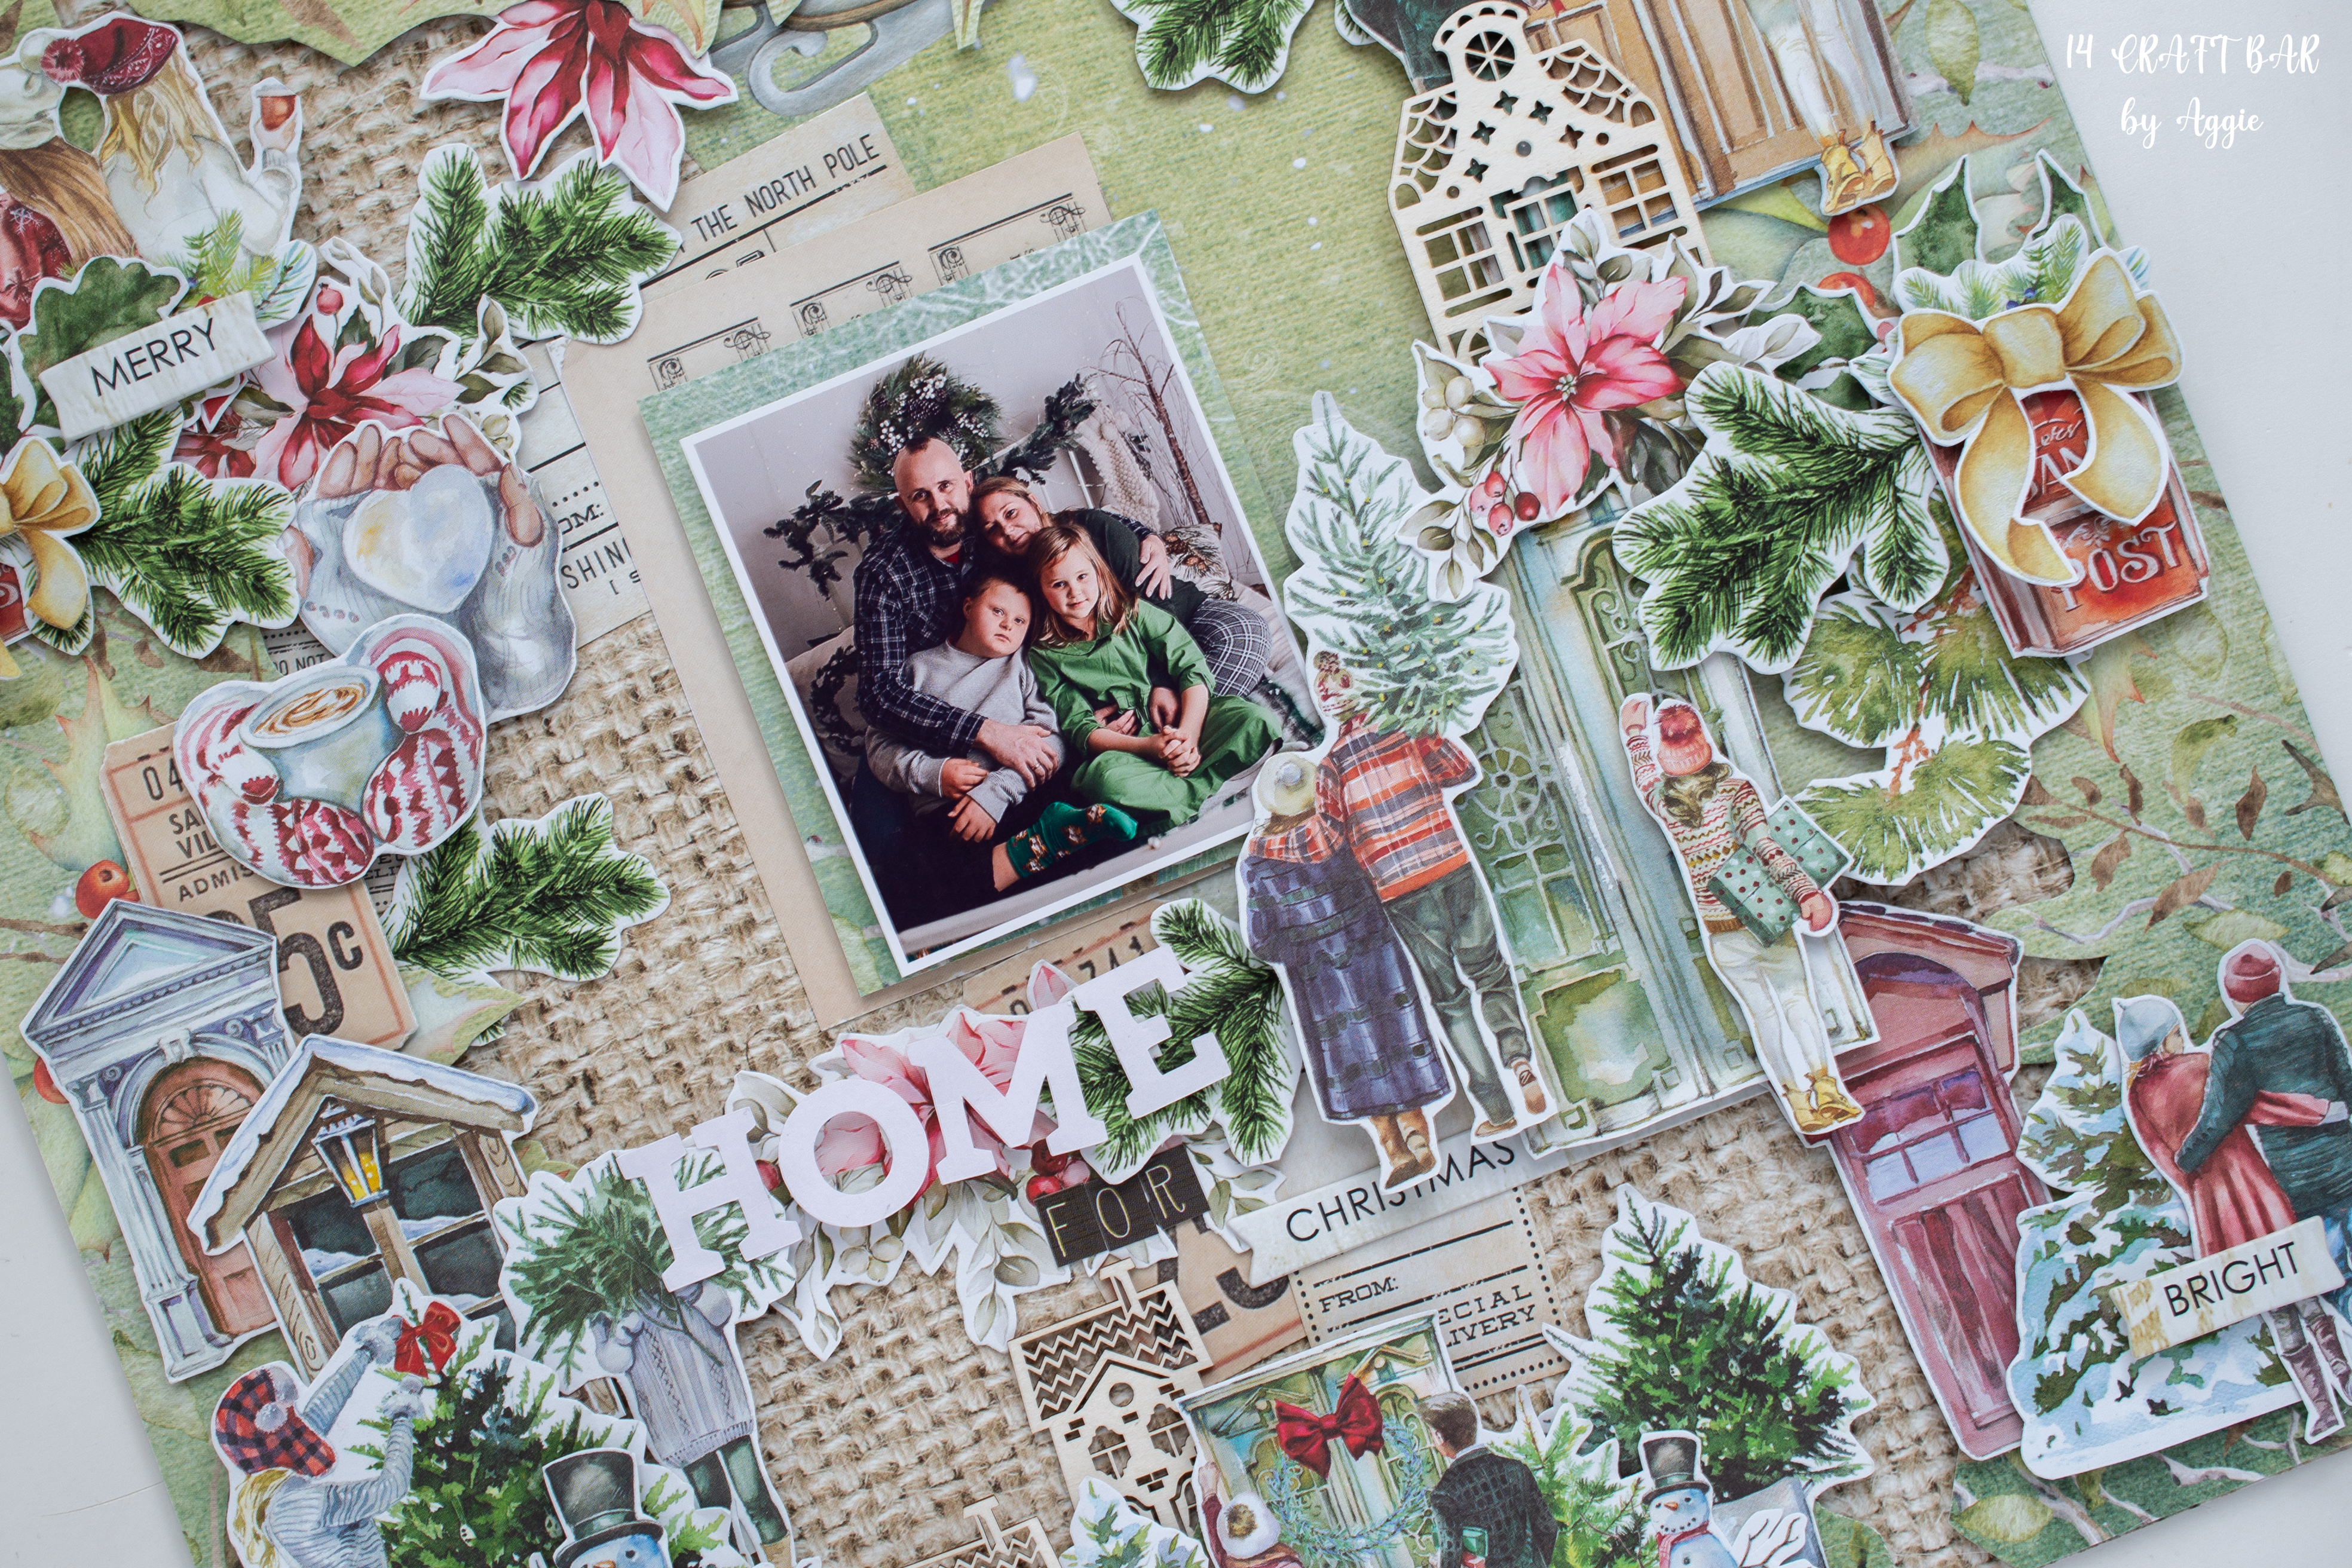
Home for Christmas layout

 Today I am coming with Christmas layout as my Dt project. I love making layouts and since I saw this paper with elements for fussy cutting I knew I am going to make one with them. They remind me how important is to have people to spend Christmas with.