I really enjoy makingalbums but sometimes the idea of making a "proper" album from scratch is just too much and that is when the Mintay album bases come into their own. I love the variety of shapes that these offer too. Although they do take a little thinking through I have found that book rings are often the easiest way to link the pages together. For this album I inked the page edges and decorative element with a mixture of two differrent blue distress oxide ink pads. Before decorating the front element I laid out the pages and decided on the format I wanted. As the album opens vertically you need to be careful with how you lay out your designs and also because I have added flaps to some of the pages this also helps with knowing where you are going to add magnets to hold the flaps closed as you turn the pages. Each page has a base layer of paper with distressed edges and faux stitching added with a micron pen. Photomats are white watercolour card, cut to size with corners rounded before inking and adding faux stitching

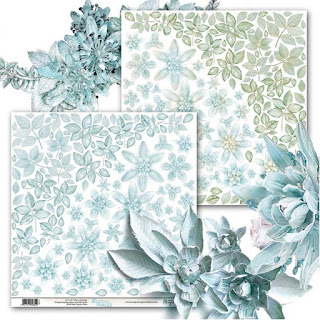
The papers I chose for this project were Summer Time by Margaret My Craft Time - this company has some beautiful paper collections which are well thought out. I particularly like that the cut off strip that ususally heads straight for the bin has lots of framed sentiments and I have used these through out the album.

There are several of these top lifting flap pages. The flaps were created with papers left over from cutting the base pieces and then scored to give a tab to adhere behind the base paper. A magnet was then placed onto the flap and concealed with a circle of paper. Having done that I added the second magnet to the back of the base piece of paper before adhering in the base paper onto the chipboard piece. The flap was then decorated with elements from the collection with an additional flap and magnet keeping the additional flap closed as you turn the pages.

The next style of page is a double pocket page - no magnets here so go ahead and adhere the base paper in place and then using left overs tear diagonal pieces to create two pockets. Throughout the album fussy cut elements and words have been added as little decorative details.
 The second type of flap page has a strip of paper added to the side of the base paper with magnet added to that and then to the back of the base paper before adhering in place. The flap was then deocrated with elements form the collection.


The remaining pages are all created with the same format of construction.Page 5


Page 6

Page 7 has only a single pocket as the paper scrap had such a beautiful image I didn't want to cover it up.

Page 8 has the horizontal flap positioned to the left.

 Page 9

Page 10

Page 11
I really enjoy makingalbums but sometimes the idea of making a "proper" album from scratch is just too much and that is when the Mintay album bases come into their own. I love the variety of shapes that these offer too. Although they do take a little thinking through I have found that book rings are often the easiest way to link the pages together. For this album I inked the page edges and decorative element with a mixture of two differrent blue distress oxide ink pads. Before decorating the front element I laid out the pages and decided on the format I wanted. As the album opens vertically you need to be careful with how you lay out your designs and also because I have added flaps to some of the pages this also helps with knowing where you are going to add magnets to hold the flaps closed as you turn the pages. Each page has a base layer of paper with distressed edges and faux stitching added with a micron pen. Photomats are white watercolour card, cut to size with corners rounded before inking and adding faux stitching


The next style of page is a double pocket page - no magnets here so go ahead and adhere the base paper in place and then using left overs tear diagonal pieces to create two pockets. Throughout the album fussy cut elements and words have been added as little decorative details.


The remaining pages are all created with the same format of construction.
Page 5


Page 6

Page 7 has only a single pocket as the paper scrap had such a beautiful image I didn't want to cover it up.


Page 10

Page 11


The back!

To give the decorative piece of the chippy more stability I took a cut out square topper from the paper pack and adhered it to the back of the chippy centering it behind the straps of the suticase. I then layered in front a circular topper form the papers along with a beautiful sea treasure chipboard before adding some flowers made from foamiran and some faux greenery from the leaves and twigs section of the website.
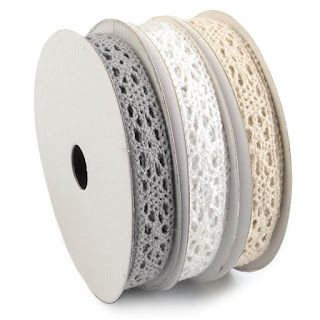
To complete the piece I tied pretty pastel shabby ribbon in white, shades of blue and a very pretty pink.
I hope you like this piece and try some of the products and ideas in this blog.