This is one of the projects I had in my head for a very long time. Finally I decided to make it mixing collections and papers. Sunflower and bee exploding box for Mommy to bee.



This is one of the projects I had in my head for a very long time. Finally I decided to make it mixing collections and papers. Sunflower and bee exploding box for Mommy to bee.

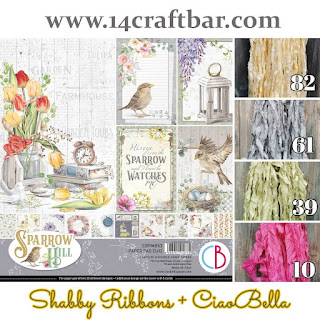
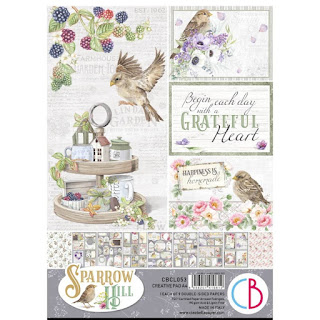
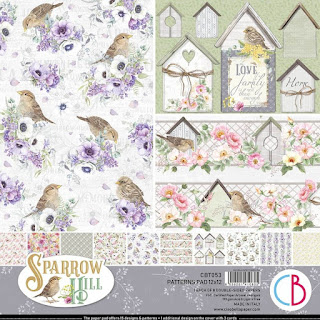
There are some truly stunning papers celebrating spring available from 14 Craft Bar and for this make I have used the Sparrow Hill 12 x 12 with shabby ribbons, 12x 12 patterns pad, A4 Creative pad and fussy cut pad. Please do not be off put by the title fussy cut pad as the 6 x 6 papers are decorative on one side giving you the benefit of smaller images for fussy cutting as well as decorative papers.

To make the base I cut a 12" piece of white card stock to 30cm and then scored at 10cm and 20cm along both sides before cutting out the corner panels. Its important to trim the cardstock to 30cm as it makes creating the lid so much easier.

For the lid of the bos I cut a piece of card 6" square and scored at 1" on all sides before cutting slits in the corners so that I created tabs for joining the sides together. You will find it easier if you also take a little slither off the tab on the edge that is going to sit towards the central panel.

Having created the base pieces I then cut paper 9.8cm square for the outside and inside panels of the box element and distressed the edges with my scissors before adhering them in place. On the inside I then added another layer of distressed paper this time 8.5cm square.

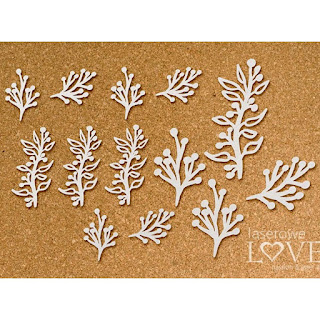
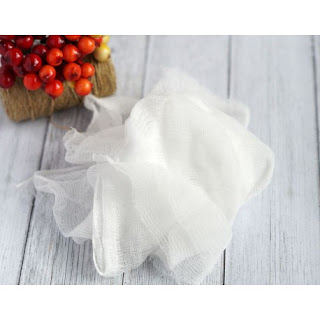
On top of the second quare I then added to two panels opposite each other a layered chipboard house along side paper elements from the collection, using foam pads for dimension and tucking in small pieces of cheese cloth and some spring flowers chipboards
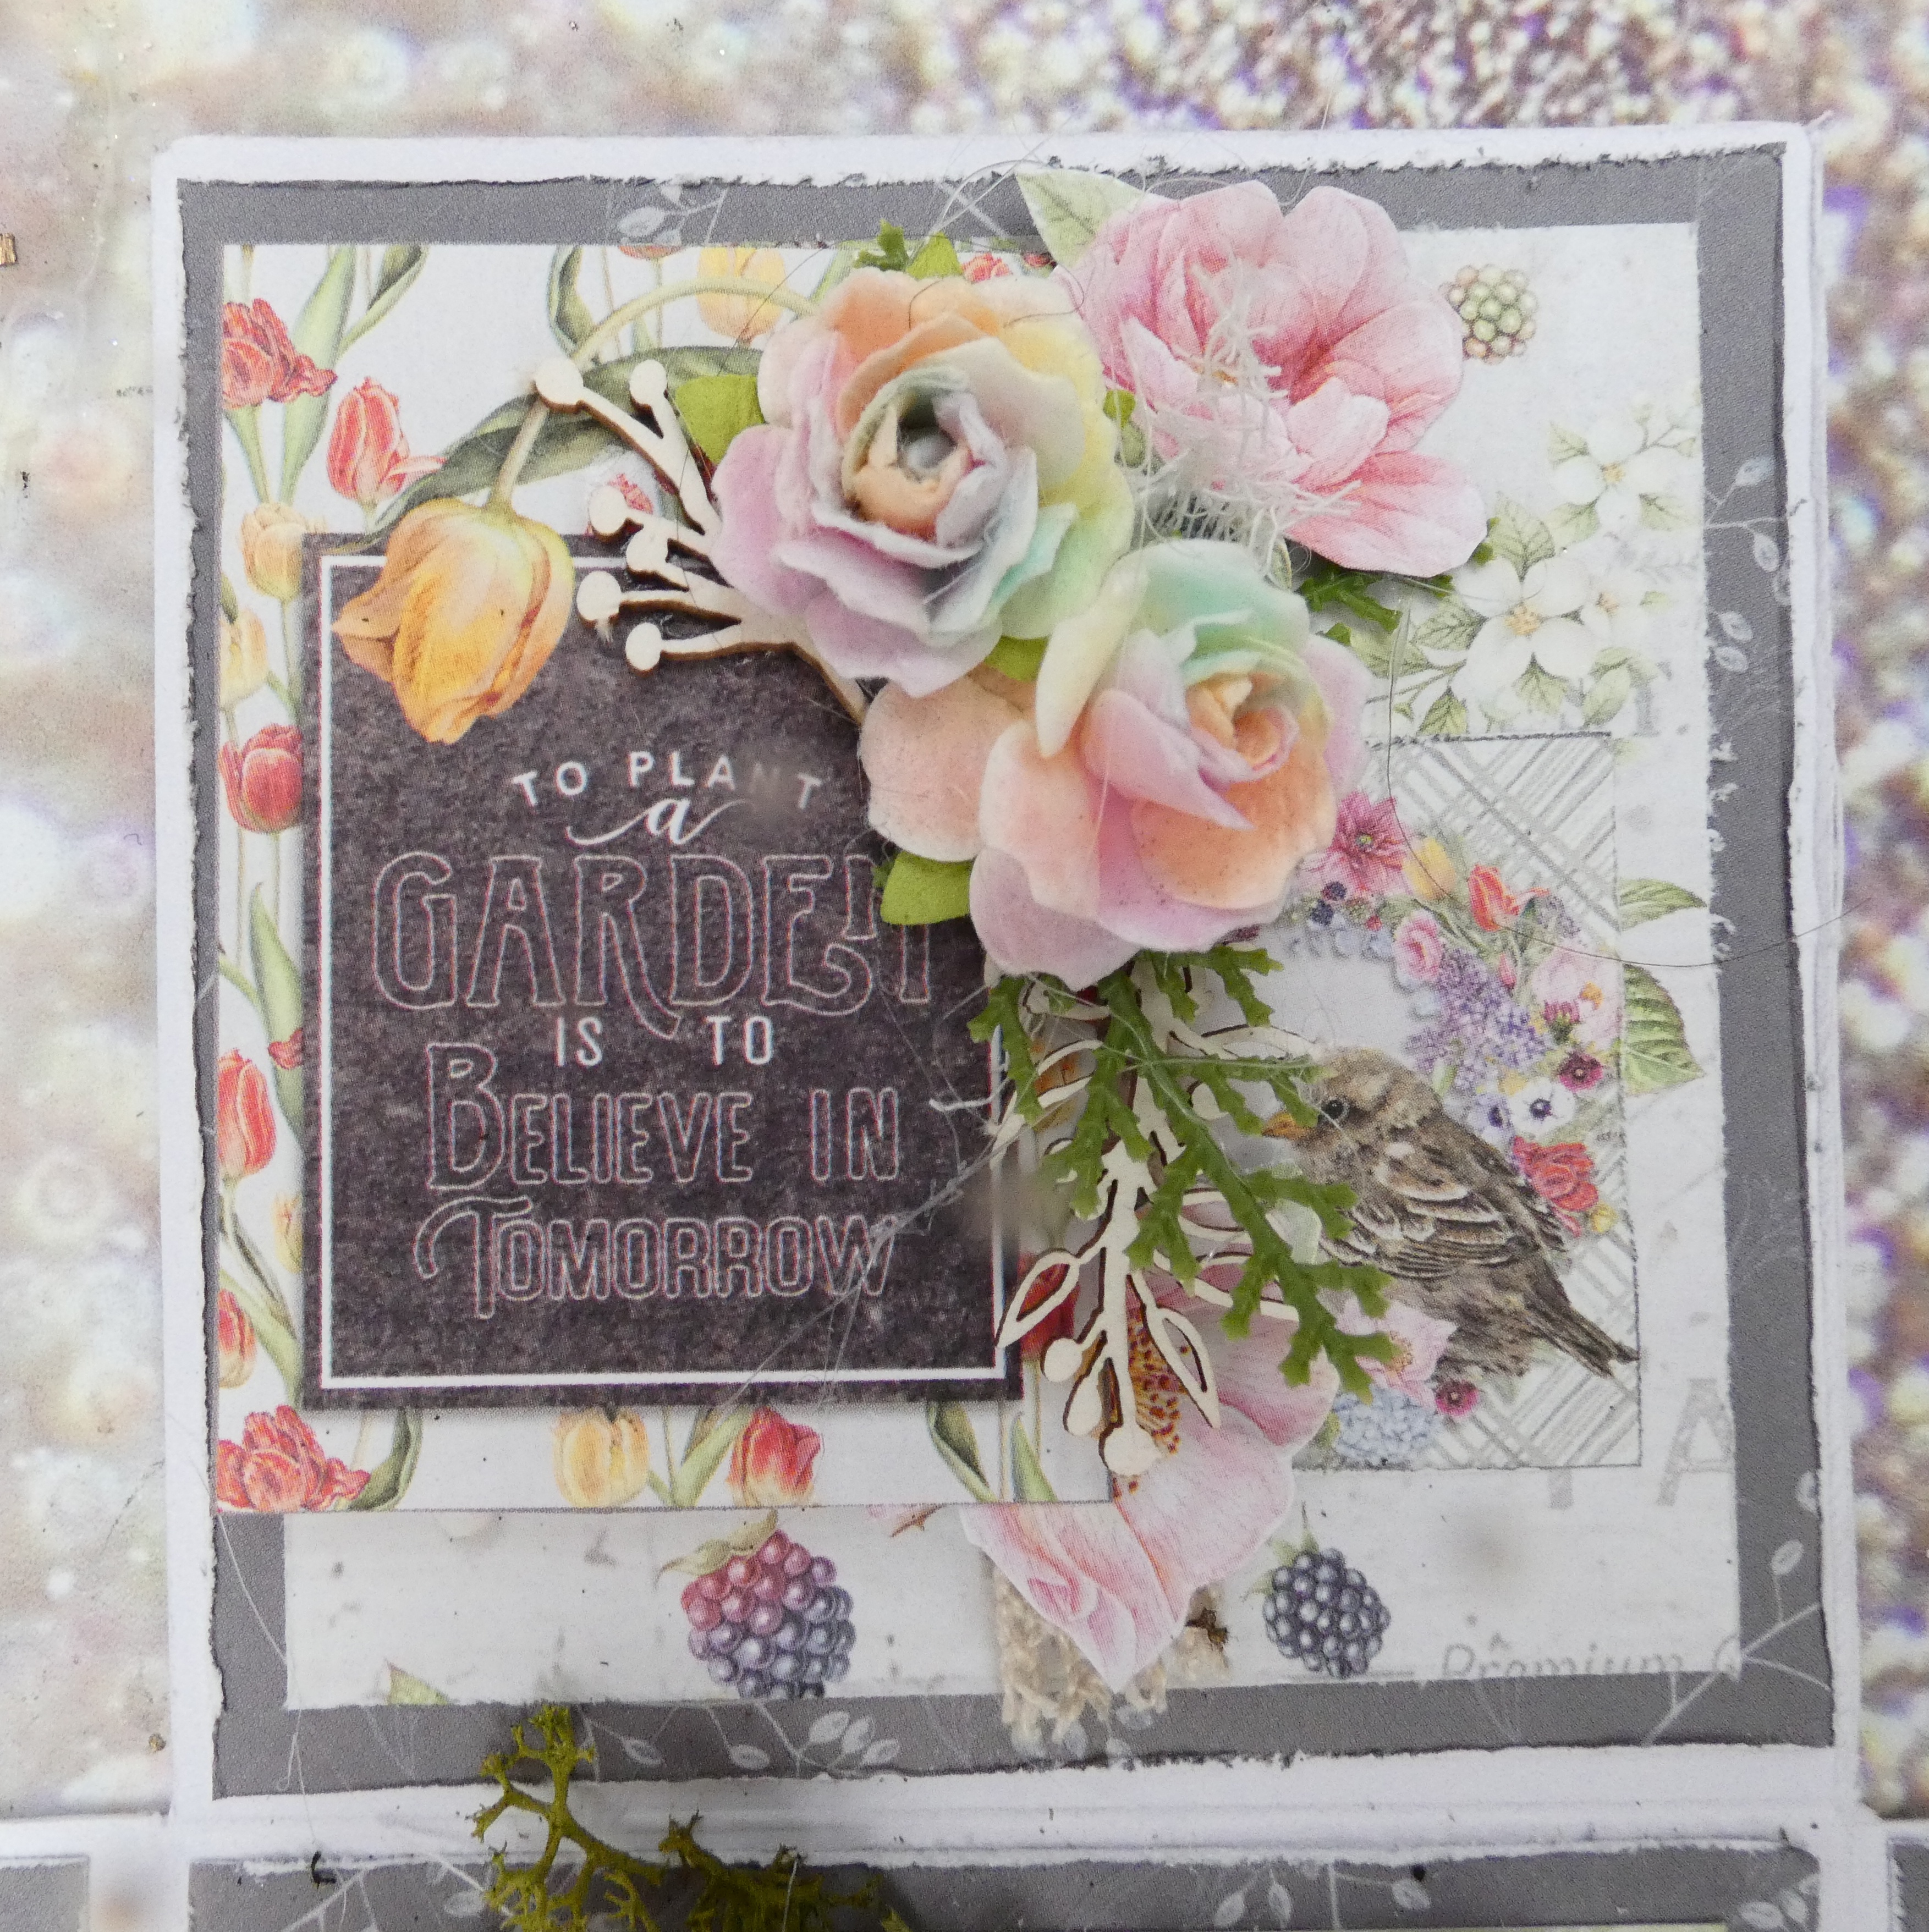
As I layered the pieces I tuched in some faux greenery similar to leaf 166 and then added some multicolour paper roses bought at the retreat last year. There are lots of options in the shop for you to choose from.
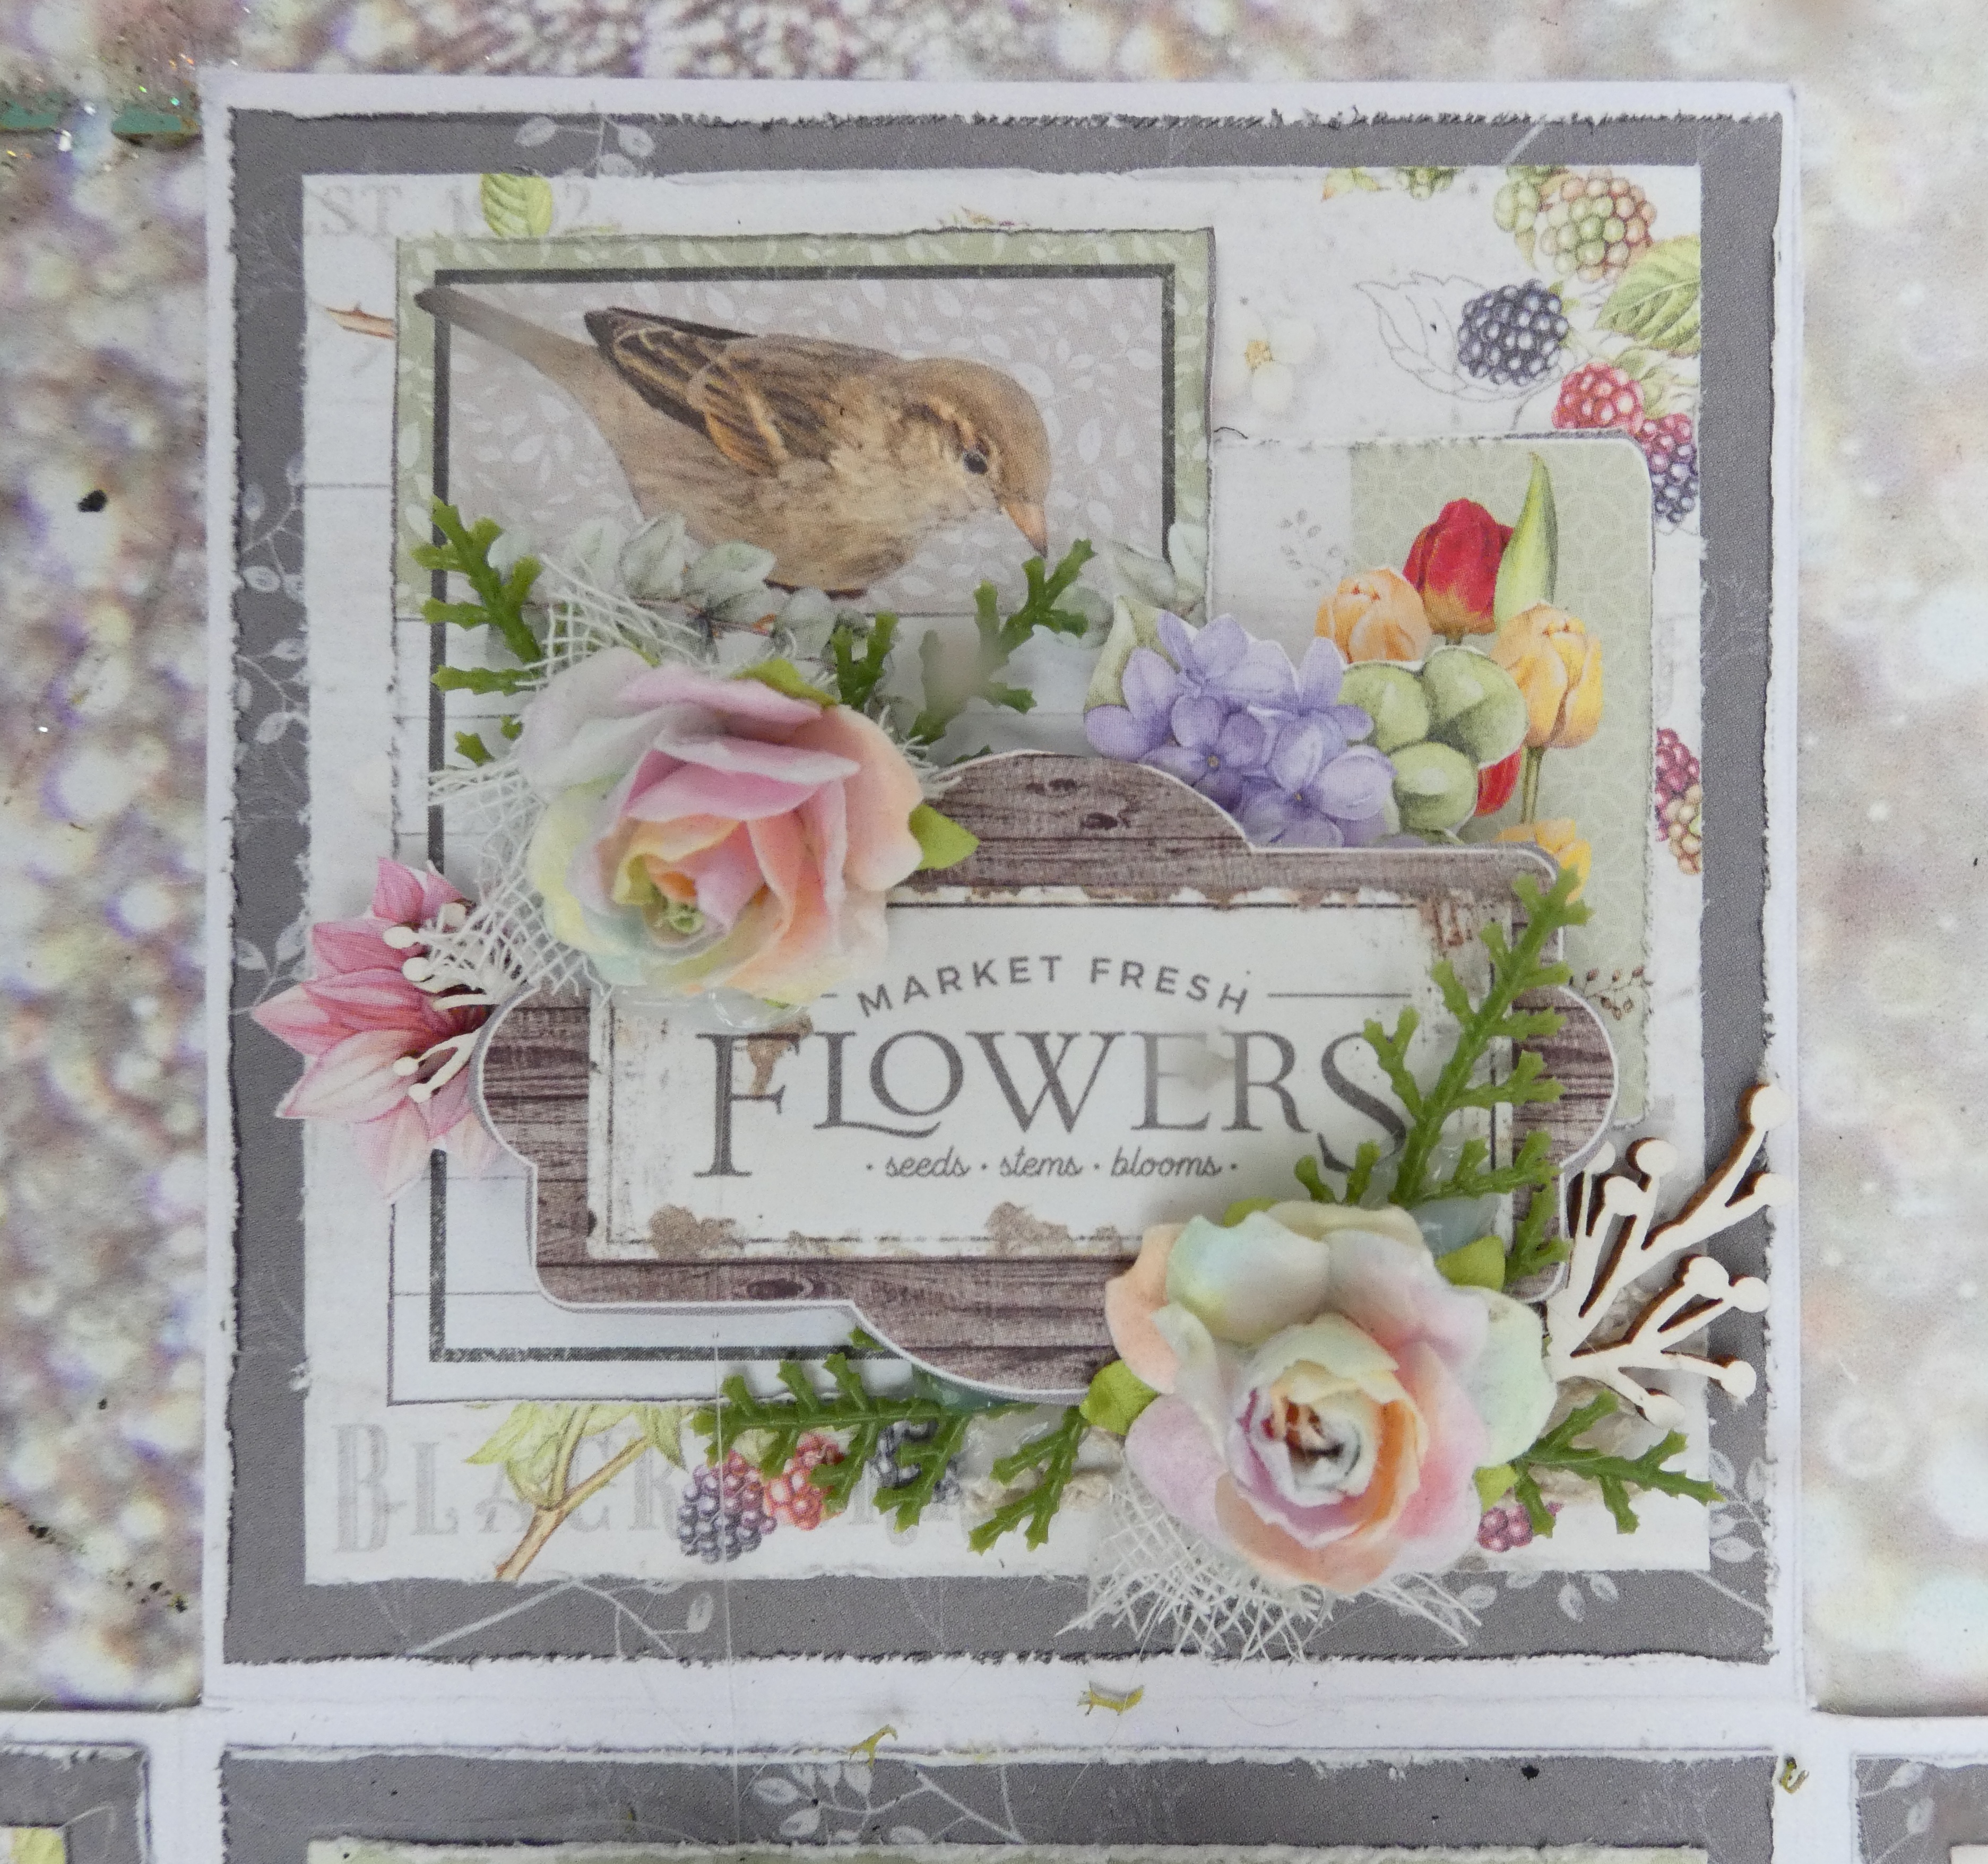
For the central part of the box I added a chipboard house surrounding it with little terracotta pots filled with reindeer moss, faux greenery and tulips cut from the paper pads. I added a little lace beneath the sentiment.


I lined the inside of the box lid with decorative papers before adding panels to the ouside of the box lid. The lid was then deocrated with by layering elements from the papers with a chipboard house from the set used inside the box, greenery, paper roses, cheesecloth and chipboards. Finally I tied some shabby ribbon around the edge of the box with a bow to finish.
.jpg)




I have had the 3D room scene kit in my stash for a while and decided that the Carol of Elves papers would work perfectly with it - in addition to the kit with the co-ordinating shabby ribbon you will also need a sheet of 05, 03 and 01 along with the chipboard ladder with ornaments.
The eagle eyed will notice that I have placed my window to the back of the scene rather than the side so its upto you which you prefer as teh two pieces with slots in will fit in either direction. BEFORE making the chipboard room up if you want to cover the pieces with paper you decorate the one with the window first - starting with the side that is going to be faceing outside, this way you can cut out the paper for the window panes and also the slots for the window box. Then cover the inside avoiding gluing down at the end that has to but up to the second panel and then cut out just the window pane areas.

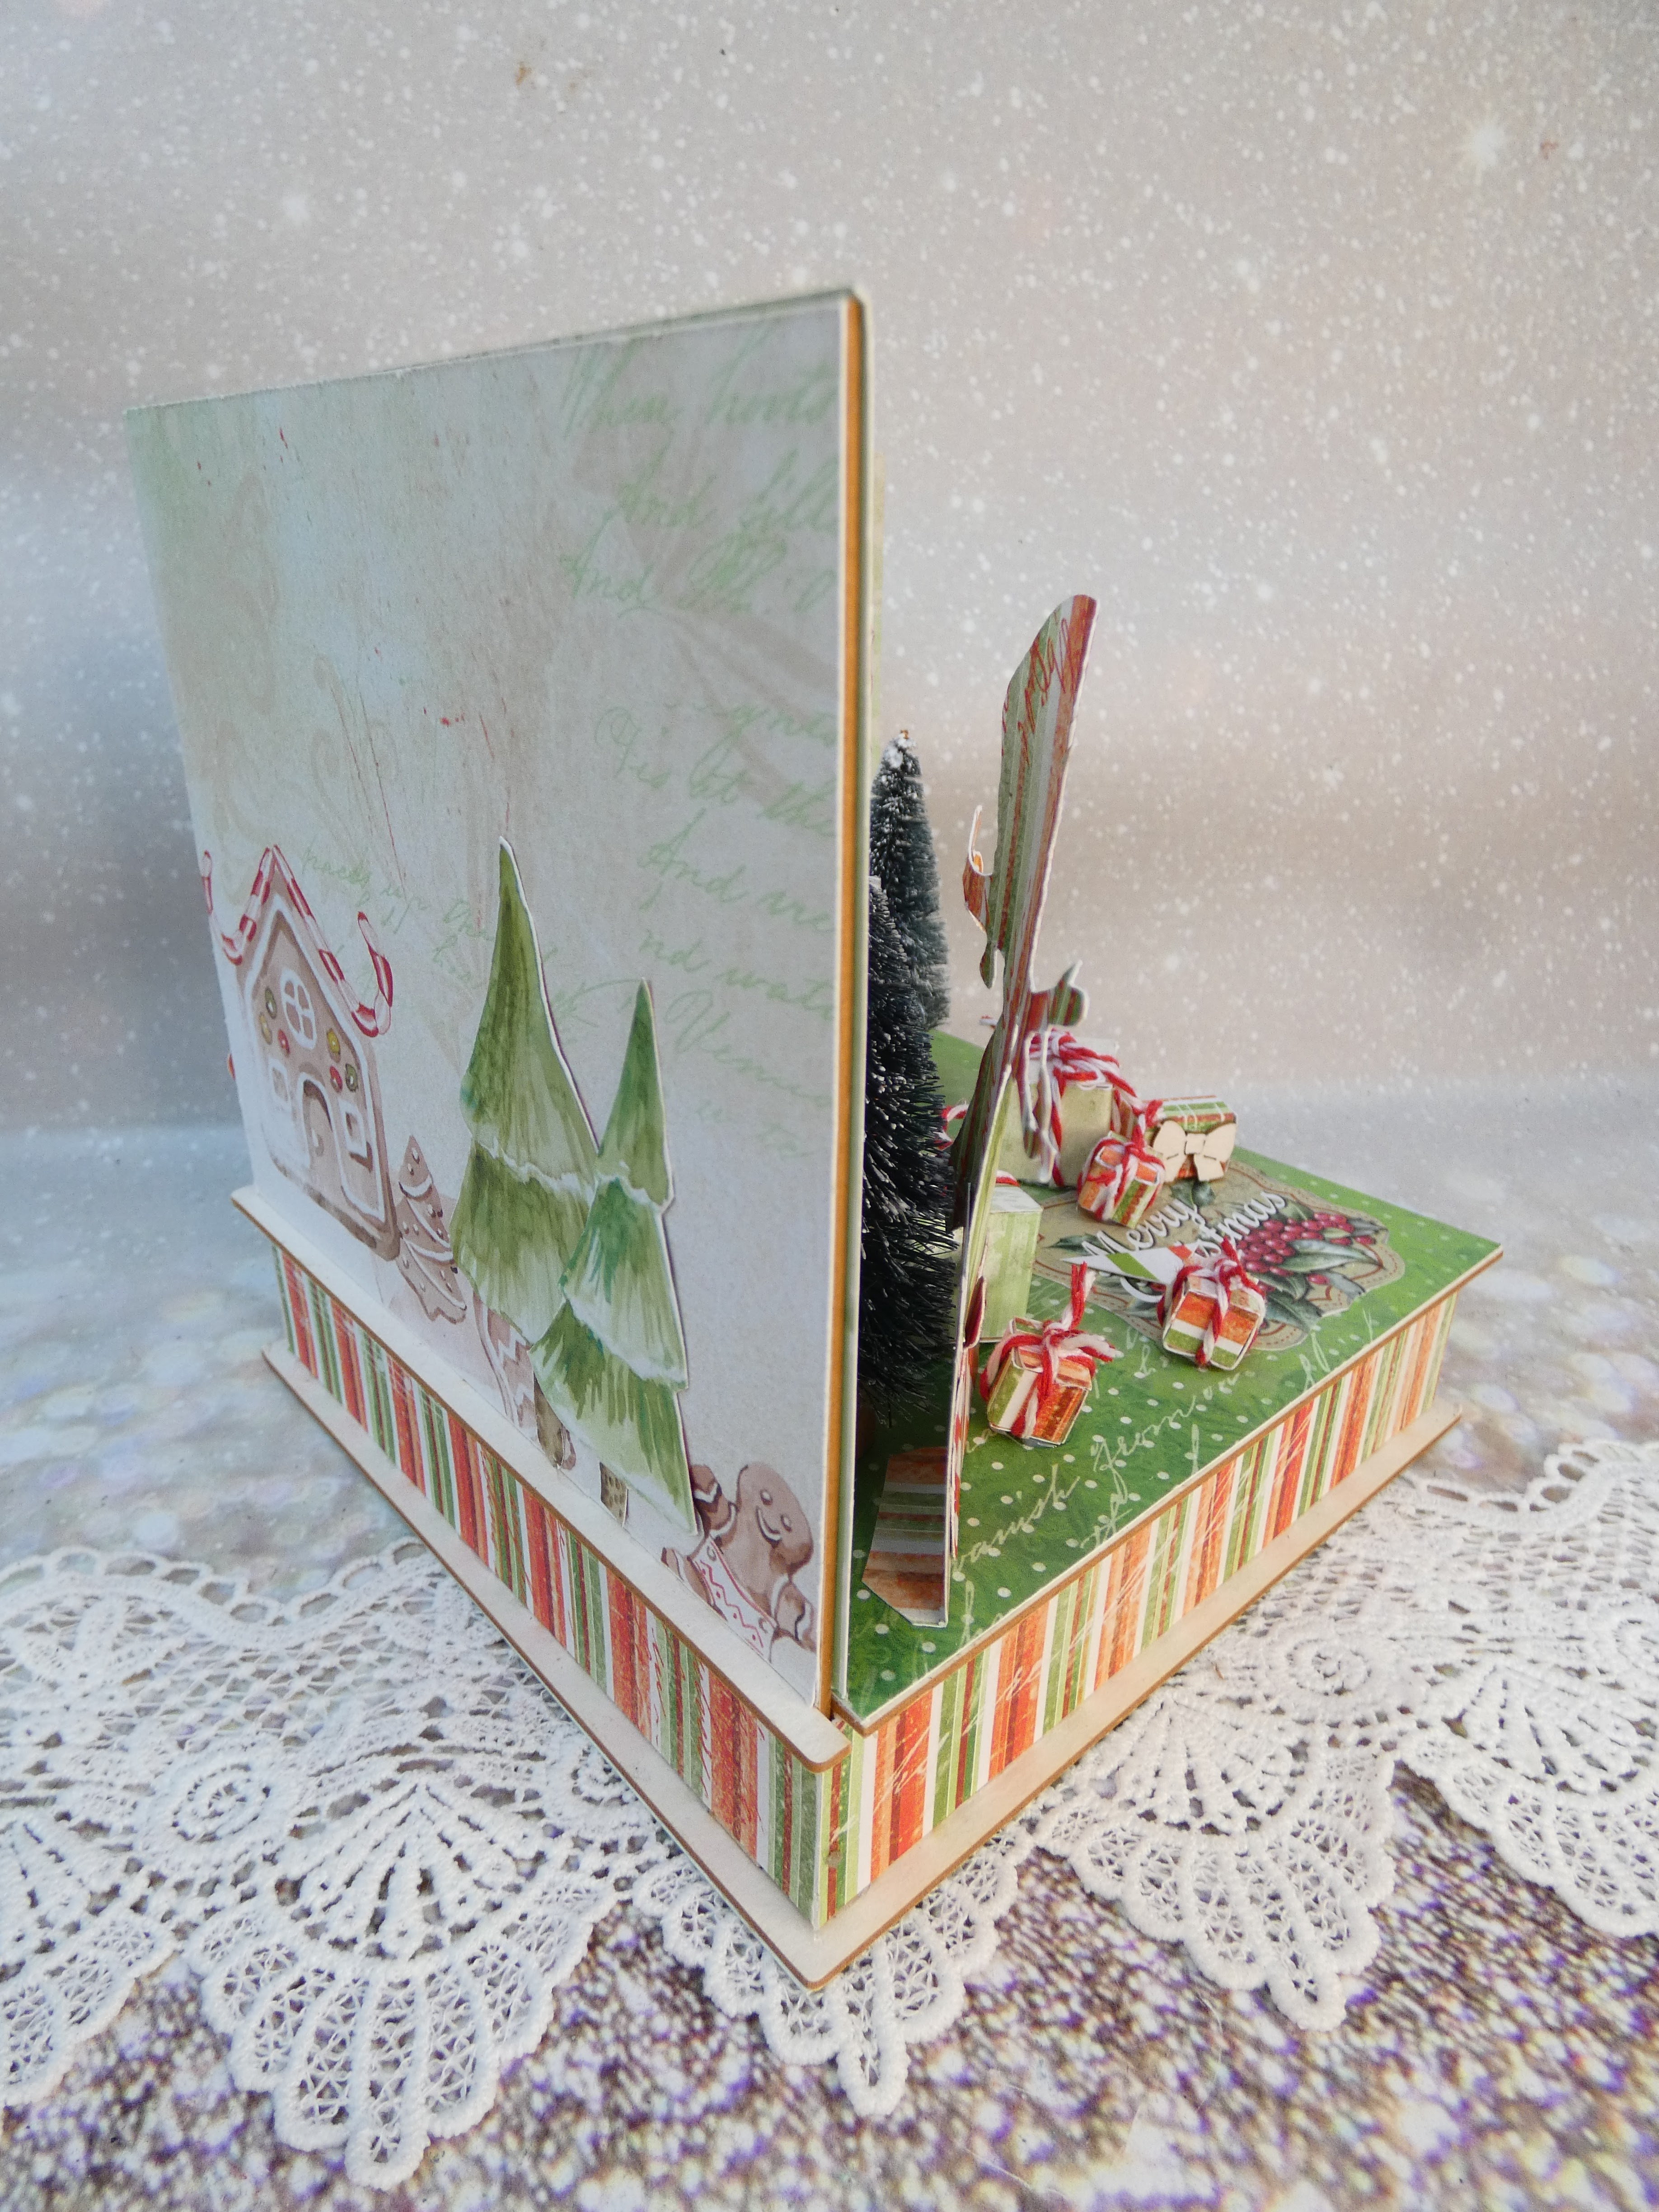

I constructed the ladder adding only two of the presents to the shelves and used off cuts of striped paper to decorate them. I took a cotton reel and covered it with more paper and then draped over a piece of lace to resembly a table cloth and then adhered a Christmas Tree on top of it before sitting it into the corner. I then added lace curtains to the windows. The ladder was then placed at an angle between the window and corner tree.
The standing elves were fussy cut out from paper. To allow them to stand I cut out the presents from one of the sheets and added a 1 to 2 cm score line - the bigger piece was adhere to the elves and the smaller one to the base of the box. I also added two more trees as I felt the dioramma needed something more.

My parcels were made by covering 2cm and 1cm wooden beads with decorative papers and then tied with red cotton twine. Before adhering these inplace along with the remaining parcel from the ladder kit I chose my sentiment (it acts like a rug) - there are no sentiments in the paper pack so I chose one that I felt worked well from the Christmas Vibes 12 x 12 papers.
To decorate the window box I used another sentiment from the Christmas Vibes collection and then tucked in holly leaves and added berries.
My next step was to decorate the box that goes into the base. BE CAREFUL it is not square and only fits in in one direction so identify this before adding the panel and draw pull to the box itself. Inside the box I have placed a this way that way album.


Essentially this is a concertina album tied at both sides so it opens one way when you untie one side and the other if you untie the other side. To constuct this I covered 13cm square pieces of greyboard with decorative papers. To make the pages I then cut stips of A4 card 5" high and scored at 5 and 10" leaving a short flap which was then used to attatch this piece to a second cut the same way. Finally a 5" high by 10" long piece of card scored at 5" was added. The first and last of these were then attatched to the inside of the album covers before decorating with decorative papers and white photomats. Before adding decorations to the album I took a piece of the shabby ribbon from the kit and divided it into 4 before attatching two pieces to the front and two to the back cover pieces securing them in place with decorative papers.


