Saturday 28 July 2018

For girl's birthday

Hello everyone!


      Today I would like to share with you the flowers I made for a friend’s little girl. For her 5th birthday, Kami received a special present from her mum : a magic wand, tiara & skirt embellished with foamiran flowers. I am proud of what our team effort achieved - priceless happy smile.
Enjoy!

Maria


Friday 27 July 2018

Foamiran Poinsettia Leaves

Good Evening Friends...

Once again Rajni Chawla from Timeless Creations. It's my turn today for some inspiration for 14 Craft Bar. Today, I am sharing my very first try with foamiran molds. I created 2 varieties of Poinsettia leaves using. I'll be creating Poinsettia flowers for my future project.

Molds for foam flowers are made from tough polymer and are used as forms to make prints on the leaves and petals from foamiran. This kind of print has a very defined structure of nerves and because of that, the flower that is made through this technique looks like a real flower. There are molds for specific flowers, specific leaves, and few universal designs as well...
 Check the complete range here...


Here is the list of materials used from 14 Craft Bar along with the direct link to their website.

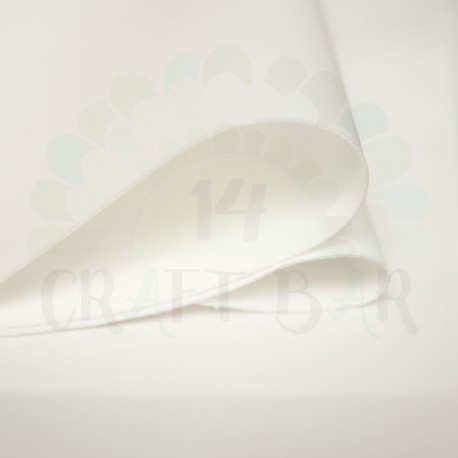
Red and white foamiran 
Polymer Mold 
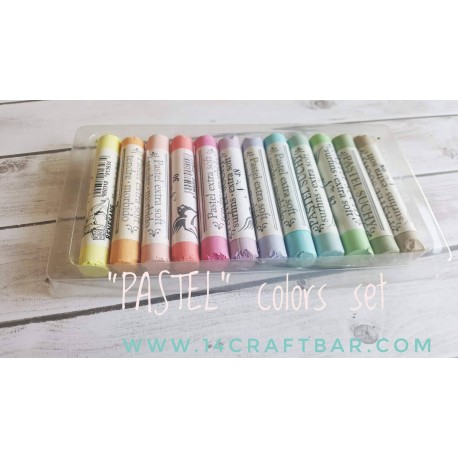
Soft Oil Pastels 
Green Tape, Florist Wire and Glue


Thursday 26 July 2018

Wedding card

Hi!
My proposition for today is a wedding card with a heart-shaped shaker box filled with sequins.
In the central part, I placed the cardboard of the wedding pair next to a paper rose made of stencil 01.
The shore was filled with lace border and pearls.
How do you like the whole thing?


Materials:

REGARDS!
BBart

Tuesday 24 July 2018

Exploding Box full of Flowers & Foamiran Flower Festival

hi :)
It's Emilia here :) I am coming with exciting project today :)
Project for my workshop during the Foamiran Flower Festival
hosted by 14 Craft Bar in Dublin in September :)
More about the festival HERE
I personally can not wait for the event as I love foamiran and crafting :)
so... on my class we are going to make exploding box in shabby chic style, 
full of foamiran flowers:


 Thank you :)
I hope to see you there <3

Saturday 21 July 2018

Happy Birthday Chrysanthemums

Hi Friends and Crafters, today I thought I would share some Chrysanthemums and a birthday card to display them on. These flowers are a great way to start your journey with Foamiran from 14 Craft Bar. They are easy and straightforward to make, although there is a lot of cutting.

You will need:
Ecru Foamiran (002)
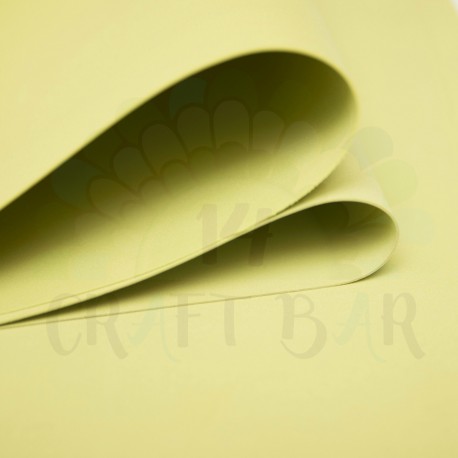
Green Foamiran (021)
Florist Wire
Aluminum Foil
Hot Glue Gun
Oil Pastels Red, Orange and Yellow Shades of your choice
Cream Card
White Card
Centura Pearl Base Card

Step 1: Cut a selection of circles in the amounts and sizes shown in the photo. I have also included a cutting guide here to show where to make your cuts

Step 2: Cut your circles as shown in the guide, making sure to stop around 1 cm from the center.

Step 3: Next shape each of the cut section, rounding off the edges to give a petal shape.

Step 4: Colour the petals using your selection of colours, reserve the deepest of your colours for the smallest petals only. Make sure each size of petal gets lighter as the size increases, leaving your largest petal the lightest of all.

Step 5: For the smallest 2 sizes of petals, place on the iron to heat, they will start to curl, let them drop and they will naturally form a cupped shape. The larger petals need to be heated and gently folded in turn.

Step 6: Take a small piece of scrap foamiran, large enough to cover a small ball of foil, colour this to match your petals. Secure the wire to the foil ball with hot glue. Thread one of the smallest petals onto the wire, add a drop of hot glue and secure as tightly as possible to your bud. Take another and secure slightly loser, repeat this with each consecutive petal, lastly add a green one which will form the greenery.

Step 7: Finally add a leaf to your flower.

For the Card:

Step 1: Use the pierced rectangles (tow largest dies) Cutting centrally in card measuring 7 1/2 x 6''. Cut the smaller from cream and the larger from white and secure together with Tacky Glue

Step 2: Emboss a piece of cream card, again 7 1/2 x 6''. Here I have used Tied Together by Couture Creations.

Step 3: Cut the poppy frame in white and the base frame in cream, layer together.

Step 4: Cut the decorative oval in white and a plain oval in cream, Layer them together.

Step 5: Assemble the card as shown using foam pads to give depth and dimension to the decorative insert and the outer frame.

Step 6: Finally layer onto your base card made with Ivory Centura Pearl.

Here is a close up of the flowers.

Many thanks for taking the time to take a look today, I hope you have enjoyed the tutorial and the finished card. I hope you will join me again very soon. For now take care and Happy Crafting.xx

Thursday 19 July 2018

Foamiran Dahlias

Good Evening Friends...

Rajni here from Timeless Creations. I must have flowers always and always!!

For me, happiness is creating handmade flowers. I've always thought my flowers had souls and wished they had some fragrance. Today, I have some blooming bright Dahlias from my garden to share with you all. It was fun creating these using 14 Craft Bar supplies.
Here are some close up clicks...


I have used foamiran 003 Lemon, 020 Olive, 019 Lime, Stencil 03, Soft Oil Pastels, Florist tape medium green, Florist wire and Modelling tools from 14 Craft Bar.


Tuesday 17 July 2018

Wedding exploding box

Hi everybody!
Today I'd like to share with you a wedding exploding box. I made it using papers from Sentimentals paper collection. I decorated it with the wedding pergola chipboard and handmade foam flowers. I made the flowers using white and olive foamiran.


Thank you for stopping by!
Have a nice day :)

Klaudia


Supplies: