Showing posts with label Papers - Stamperia. Show all posts

Thursday, 10 August 2023

Magic Forest

For this blog project I have worked with the Winter Forest Book Nook kit. When ever I make these up I go into google translate and convert the engraved Polish words to English so I know what each piece is for. 

In addition there is a step by step video tutorial which can be found here: https://www.youtube.com/channel/UC-NOQPqKgJMhvb4d1nsZHvw/videos 

which it is advised you watch first. Of course I used magic glue to adhere everything in place.

Through out the project I used Magic Forest 12 x 12 papers and also a pack of the ephemera die cuts - I really like the later as they are not as chunky as traditional greyboard die cuts but are thicker and there fore more substantial than just fussy cutting images out from the papers.

When ever I make this type of project I, I have a dry run of construction and then take it apart and decorate as I go. To help with this process I took a series of photographs:

Dry run


Paper added to one side and back panel

The back panel has holes ot pass strings of lights through - I used three for this set and fed them through the bottom holes and left them unattatched.but coming out though the gap in the floor

Then I placed the floor and steps in place having covered the pieces with paper.

Next I took the lights and ran one set up each of the backs of the lanterns, bunching some togehter to form a ball to light the lantern and then took the light string back down the lantern before then running the rest of the string across to the opposite side then along the floor and then to the back of the book nook/ I used one set for each of the lanterns and then the thrid set I used to add more lights around the back.


Before going further I then added the elements that are on the right hand panel as you look at it - simply colouring the mdf trees and lanterns with distress inks. At this stage I also added the lady ephemera piece to the front of one of the lamps and other elements to further enhance the piece. I added moss to the floor for further details and to cover the string of the lights. Having go most of the pieces in place I then added paper to the remaining wall and adhered that in place leaving the top open to add the remaining trees and decorative elements. 

I decorated the inside of the top piece before adhereing in place and then decorated the outside top.


I addde paper and ephemera to the side panels.

The back of the nook has a space for the batteries - I papered the back and then used hook and loop strips to attatch my battery packs inplace meaning that I can remove then to change the batteries as needed. Then I added the remaining panel covered with paper and ephemera.


Though this may not use masses of products it is quite a lengthy project to make and I have to say I thoroughly enjoyed creating it. I think it would also look lovely dressed as a winter forest too.

Lit up I think it is so worth putting the three sets of lights in as it really does look quite ethereal and as though you have stumbled across a house hidden in the forest and protected by its griffins. 


Wednesday, 28 June 2023

Decorative Cart

I had the MDF candy trolley for a long time waiting for inspiration and then having collected lots of bottles decided that it would make a great place to show case them. Alternatively the cart is big enough for you to put lots of albums in to keep them safe or to use to put candy jars in at a celebration for people to help them selves from.

This piece is large! but not so complex to make. To cover it in one paper though would require you to have at least 3 of the same paper and if you are buying pads that seems a tad extravagant to me but never fear I have a solution.

I started by making the cart up leaving off the wheels and painted it in a pastel blue paint - the country green would work well as an alternative or even country rose avoiding areas that I knew I was going to cover with paper.


I chose to work with Rose Parfum 12 x 12 background papers and cut triangular pieces to size for the end panels and then distressed the edges with vintage photo distress oxide before adhering in place.


For the roof and bottom of the cart I simply measured the size of the arch shape and cut strips that size from three different papers from the paper pack. I distressed the edges with the same brown ink and then adhered them as show before sanding off the edges and then adding more of the brown ink to the curved edges. I then glued the wheels into place.#


 For more decorative details I took some extra light clay and cast 4 pieces of the long ornament B mould which was in stock when I made the piece and then additional pieces that I cut the flowers from only. You could do this with the decorative baroque mould using the central element for the wheels - alternatively you could decorate the top and base areas with long ornament C and use the large rose from the rose and bud mould for the wheel decorations. Once the clay was dry I painted it with same paint I had for the cart before dry brushing with white gesso.


I do hope that by showing how to decorate this large MDF piece I have taken the fear out of making such a large piece as broken down into steps its really not that complicated. I know I really enjoyed making it and then filling it with my altered bottles - that's a blog for later on this month so please watch out for it.


Monday, 5 December 2022

Welcome Home sign

I love a handmade Christmas and this piece would make a wonderful gift for anyone at this special time of year or could be placed in the entrance hall to welcome people into your home. It is deceptively easy to make!

The make is created on a 12" deep canvas which was painted in a metallic brown colour so that the sides that would be visible blended into the natural tones of the products used. I took a single sheet of paper from the Home for the Holidays collection and carefully measured to create a frame the width of the canvas surround. The outer piece was then turned over and adhered to the frame and the central square piece placed into the recess of the canvas. 
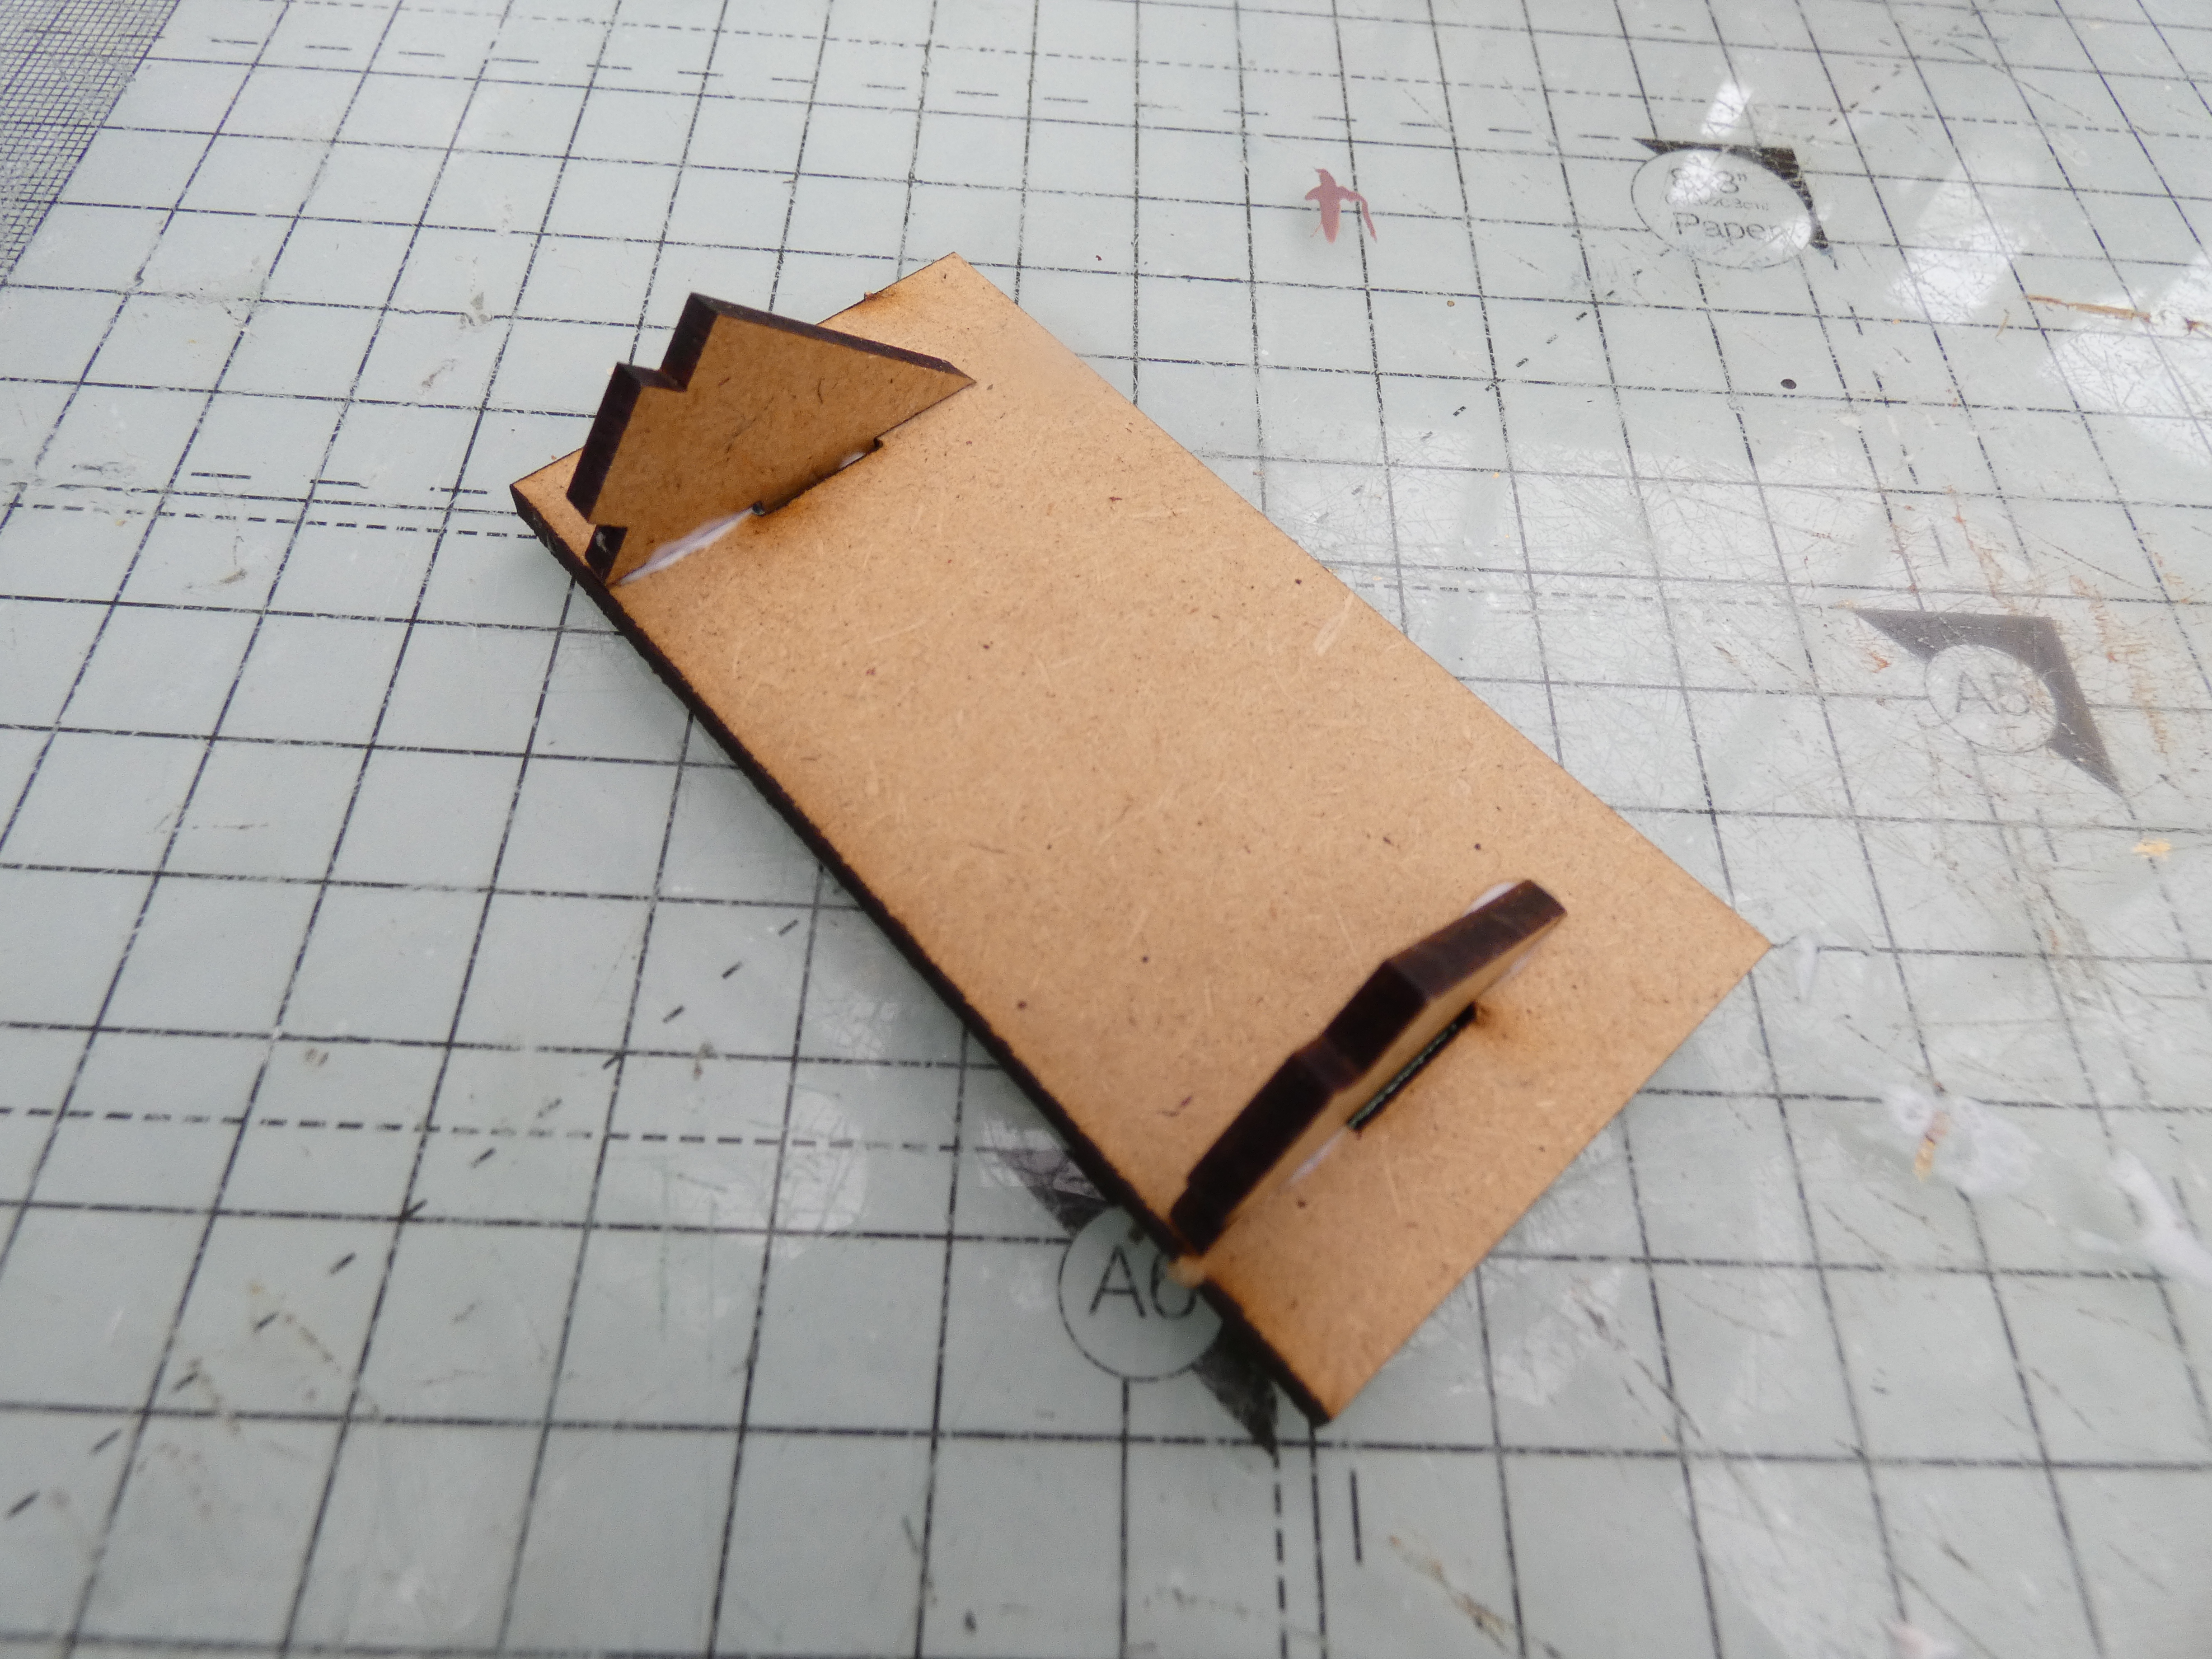
I did spent a little time fussy cutting flowers and berries from the collectables set that goes with the papers before adding lots of natural elements. I knew I had to use lots of pine cones some of which had been gifted to me by Marisol when at the September retreat - she had specially gone up the mountains close to her home in Andorra to collect small ones and I wanted to really do them justice. I also added some smaller cones from the shop. 

 I placed the bigger pine cones in place at the bottom of the frame and then tucked in the fussy cut floral elements. Then I filled in gaps with moss before adding in the smaller cones and some red magnolia flowers.  To add more texture I tucked in Holly Leaves and added berries taken from the Twigs with Buds.


For the top corners I used the same elements but also added in some chipboard pieces - the exact one is no longer available but two of these broken up would work just as well. 


 Finally I added lots of snow paste but artic snow paste would give a similar effect and  I know that Agnes shared a reel on how to make your own with white primer paste mixed with 3D powder. Whilst the paste was wet I liberally sprinkled on some white glitter.


Monday, 18 July 2022

Diagon Alley Book Nook

I knew the minute that I saw the Flourish and Blotts book nook that I just had to make it - currently the base is out of stock but for those of you who bought it and need some inspiration or constuction help Agnieszka Barska has agreed that this blog can be published. It does use lots of other products from 14 Craft Bar and I aslo raided the miniature dolls house things that I had at home.

There is a video on the Snipart Website to help construction but here is a photographic step by step. I started by using google translate to identify the componenets (they are eteched in the holding mdf in polish). Having done that I started my making up the component pieces.

The window pieces were easy to identify and look like this when put together:

Then I made the awning that goes on the same panel making sure to align the angled pieces so that it would sit flush on the wall.


The wall was then covered with Pentart Structure paste but you can mix your own by adding powder to modelling paste. I was careful to ensure that I did not put the paste over any of the areas that things need to slot into during construction.

I then added small pieces of extra light clay to the top of the awning so that it looked like it was covered in tiles. I left these to dry completely before painting it with a mix of grey and black creating a darker tone for the first layer. I then added a wash of watered down vintage grey and wiped it back. The holding parts of the awning were then painted with red brown paint. The window frame below this was then painted with reddish brown paint and the top part with the custom gree/blue mix used for the main window frame and the sign.

The window frame was painted with a custom mix of green and blue paints. These pieces were then added to the side panel. along with the sign which comes in the kit. The broom sticks were made by tacking a garden twig and adding string to the end secured by wrapping black cotton around it. The string was then shredded and these were placed on the top of the window. On the shelf of the window I added small vials and some tiny hand made books.

 Next I tackled the  angled panel that goes at the back of the piece panel - these are the component pieces. on the right the top pieces are the awning, the middle thin pieces are actually the step and the other piecs the window frame and door frame.


The wall was covered with the structure paste and then the pieces painted with a mix of beige and brown paint. before adhering all the pieces in place.

 For the right hand panel which forms the side of the box I made up the lantern before painting with the reddish brown paint.


The window frames for this panel were also painted reddish brown before the frames and lantern were adhered to the side panel covered with structure paste.


For the floor of the box I first added the side walk to the area beneath where the book shop window sits and painted this with wtaered down reddish brown paint. The cobblestones were created by rolling balls or extra light clay and then placing them on glue added to the bottom panel before squashing them so that the balls joined together and I had a flattish surface but could still see the identity of each piece. Once this was dry it was painted with watered down reddish brown and also some of the custom mixed grey paint.


The inside of the box lid was covered with paper from lady vagabond backgrounds.The areas that the lights go through were then cut out (the circles in picture below) and the slots also cleared of paper. I then covered the top of this piece again cutting out the slots and circles.


Having created the component parts two background panels were covered with paper which is important as you can see through the windows so they needed filling with some details. DO NOT Glue the left hand panel to the other panel - there are two spacer pices to lift the whole thing forward.


For the opposite panel I covered and then glued the top piece over.


Next I secured the panels as shown to the base and top of the box. For illumination I used two sets of lights - one I fed through the hhole in the top so that it went behind the bookshop and then hot glued the lights in place around the windows so that the bulbs peaked out into the wholes in the mdf. It will look a mess but don't worry you will not see it. Once the lights were in place I added the end and back spacers and the roof.


The second set of lights I fed down the other side through the hole and then across towards the lantern scrumpling a few up together and pushing them into the lantern before taking the rest of the string and adhering them in place on the back of the angled section.

The panel at the back of the box was then covered with texture paste only on the side that was going to be visible i.e. not covered by the angled panel. I then added some extra details with a little wall fountain befoer adhering this in place. along side the other panel.


At this point the top of the box has the light on and off switches. To conceal this the kit comes with an odd shaped piece of mdf and panels with were glued together  making sure they were orientated correctly with the longer piece to the right and the cutout to the back of the box. I lined the inside with paper and the covered the outside with structure paste. I also covered the rest of the box outside with more of the structure paste and then added a wash of dark grey paint to resemble a plastered wall.  When doing this it is best to do the two pieces separately and to be careful not to have too much over the pegs that slot into the top of the box.


I hope you have found this helpful and here are some more photos:


I hope you have as much fun constructing yours as I did mine and adding all of the little minature furniture pieces to make yours truly unique.