Showing posts with label stamps. Show all posts

Tuesday, 30 August 2022

Craft O'clock papers - Aggie & Gida

Hello!

This month we decided to use papers from the company we don't really use much. But we decided anyway and we treated it as a kind of challenge. So this month in our joint post we decided to use papers from Craft O'Clock.


- AGGIE -

I used collection called Robots Adventure and made very boysh card, which is so unusal for me cause I always have problem with male projects. On first sight the card looks very chaotic but I wanted it to be. You can see lots of different textures and elements so I hope the card will be interesting for boy who will get it.


- GIDA -

 Hi Loves!

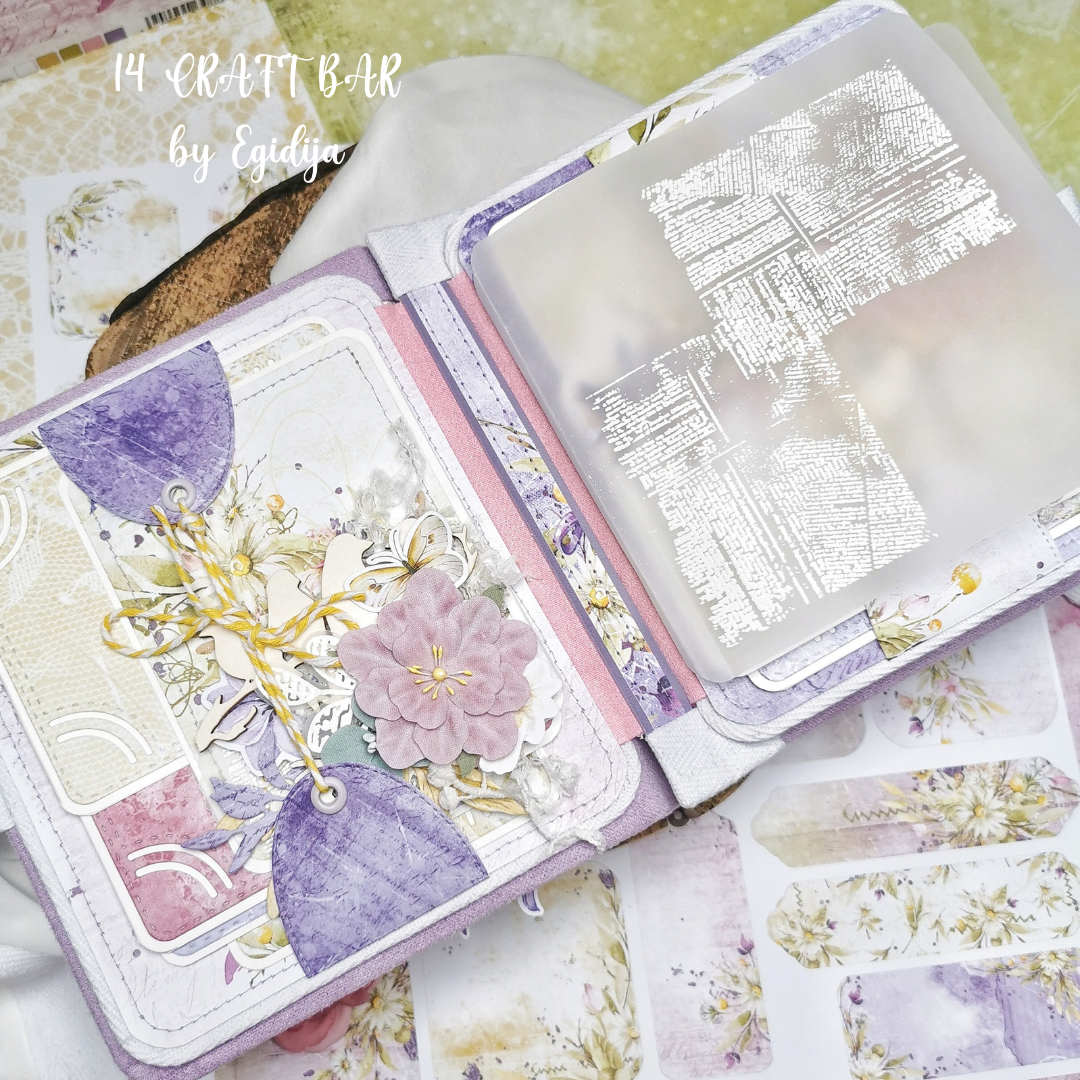
For our joint post this month we decided to make our projects using a particular brand. We decided on Craft O'clock and I will be very honest it was my first time working with paper from Craft O'clock just because its not my usual style. That being said I still really loved the paper and made a mini album with the collection Summer Flowers.


Monday, 20 June 2022

Simplicity

This album has been made with the idea of documenting a trip to an industrial relic from the past - we are lucky enough to have a rich heritage which is important to pass on to our children and visiting historical sites is a perfect way to combine education with a fun day out. For this album has been made using the 6 page 20 x 20cm white album base together with Codex Ribbbon kit  plus an extra set of 12 x 12 papers.

I started by constucting the album base this time using the Hazy Street Laminated cover adding some brown archival ink to the edges to mute the green colour and tie it into the colour palette of the papers. For the cover I layered paper pieces trapping in a length of shabby ribbon to act as a tie and then added some bird chipboards - there are lots to choose from in the shop and also some chunky glitter. For the back I trapped the ribbon between more paper elements. All papers have been distressed and inked with a brown inkpad. Once the pages had been completed I tied more ribbon around the spine and then added some smaller pieces to decorate the spine.


I have used a base piece of paper for each of my pages that is 19cm square and then layered on top of this - these were then added AS I made each page. All white watercolour card pieces have been distressed with brown ink and random stamp details added using partial stamping from the codex stamp set.

Inside front cover and page 1:

The cover has a pocket created by simply cutting one of the left over pieces from cutting the base papers and then tucking in a 6" card blank decorated with more papers. Added details cut from the paper pack were then adhered to the pocket.

Page one has a top lifting flap created by cutting a piece of paper 71/2" tall by 41/2 wide and scoring at 1" along the long side before corner rounding the bottom. The flap was then adhered to the back of the base paper before that was adhered to the page blank. Onto the base paper I then added a 61/2" matt of white watercolour card topped with a 6" piece of decorative paper.

The front of the flap was then deocrated with paper elements from the collection.

Pages 2 and 3:

For these pages I created landscape opening flaps using 41/2 by 71/2 strips of paper scored to give a flap that would open either left or right depending on the page. These flaps were then adhered behing the 61/2 square white photomats.


Pages 4 and 5 are decorated with simple photomats:


Pages 6 and 7 both have top opening flaps with added details:


The starting point for thes pages is the same as page 1 but I have then added an extra flap ontop of the first one - To do this I used a piece of decorative paper 33/4" wide by 61/2 tall and scored at 1" from the top to create the hinge. This was then adhered in place and covered with a white photomat cut to size.


Pages 8 and 9 have landscape orientated flaps:

This time the 41/2" by 71/2" strips of paper were scored to give a 1" flap and then adhered behind the base decorative paper onto which a white photomat was added. Decorative elements from the paper collection were then adhered on the front for page 8 and behind for page 9. White photomats were then added to the inside of the flaps.


Page 10 and 11are decorated identically to pages 4 and 5:


Pages 11 is the same format as page 1 with the addition of  a pocket on the lift up flap created with elements from the papers.


The inside back cover is made in the same way as the inside front cover:


 I have deliberately chosen not to add lots of dimension to the inside page decorations as I felt the papers said enough and it was more in keeping with my intended use for the album. Of course the beauty of making your own is you can choose to add more or less depending on your own taste and of course the shop has plenty of things suitable for this. As always I wish you a safe and enjoyable time and look forward to seeing any makes inspired by this post.



Monday, 30 May 2022

I See Magic album

All things magical and mystical have arrived in the 14 Craft Bar shop - there are lots of stunning designs from papers to chipboards and so much more so if you have not shopped recently I would hightly recommend a visit. For my make this week I have used the Forest Witch 12 x 12Forest Witch 8 x 8Forest Witch self cutting sheet (and for those of you who are adverse to fussy cutting there is a die cuts elements pack) and also the cards sheet to decorate my 10 page kraft 20 x 20cm album base.

I added a layer of wadding to the outside of the album base before covering it with a custom cover piece from Craft'Oclcok - the one I used is no longer in stock but given that I have covered most of the front and back with a sheet of paper from the paper collection there are alternatives you can choose from such as Faded Memories Laminated Sheet. I love these sheets as they are so big it means you do not need to piece paper strips together and the addition of wadding gives a very luxurious feel to the finished album. I then secured the page inserts across the spine of the album before adding the extra pieces of kraft card that come in the pack to hide the cover turn over and page insert areas. This gives a very professional finish to your album.

The size of the pages means that to fully cover the pages you will need several packs of paper as you will only get one page from a 12 x 12 sheet or you will use lots of your double sided 8 x 8 papers. So I have employed a niffty trick to economise (I had only picked up one 12 x 12 and one 8 x 8 pack when at the retreat). The choice is of course yours. I cut my 12 x 12 papers at 71/2inches tall and 6 inches wide meaning I was able to use a single sheet for two pages and also had a very usable 31/2 by 12"  strip for using to add flaps and pockets to the pages as I decorated them. All papers were distressed with scissors and vintage photo distess oxide ink.

I created photomats from 4 x 6" pieces of kraft card adding details with a stamp from the codex leonardo set. I did not want full images just some added interest and so I held the stamp in my hand slightly curling it for inking with vintage photo distress ink and adding the partial stamped image around the cards.

Once all of the preparation was done I then set about decorating the inside of the album

Inside cover:

To make the pockets through out the album I took one of the 31/2 by 12" strips and cut it to 71/2 inches long before cutting in lengthways in a curivlinear fashion to give me two pieces which are then laid on top of each other to create two pockets. An embellishment clustter was then created with element scut from the papers and some chunky brown glitter.

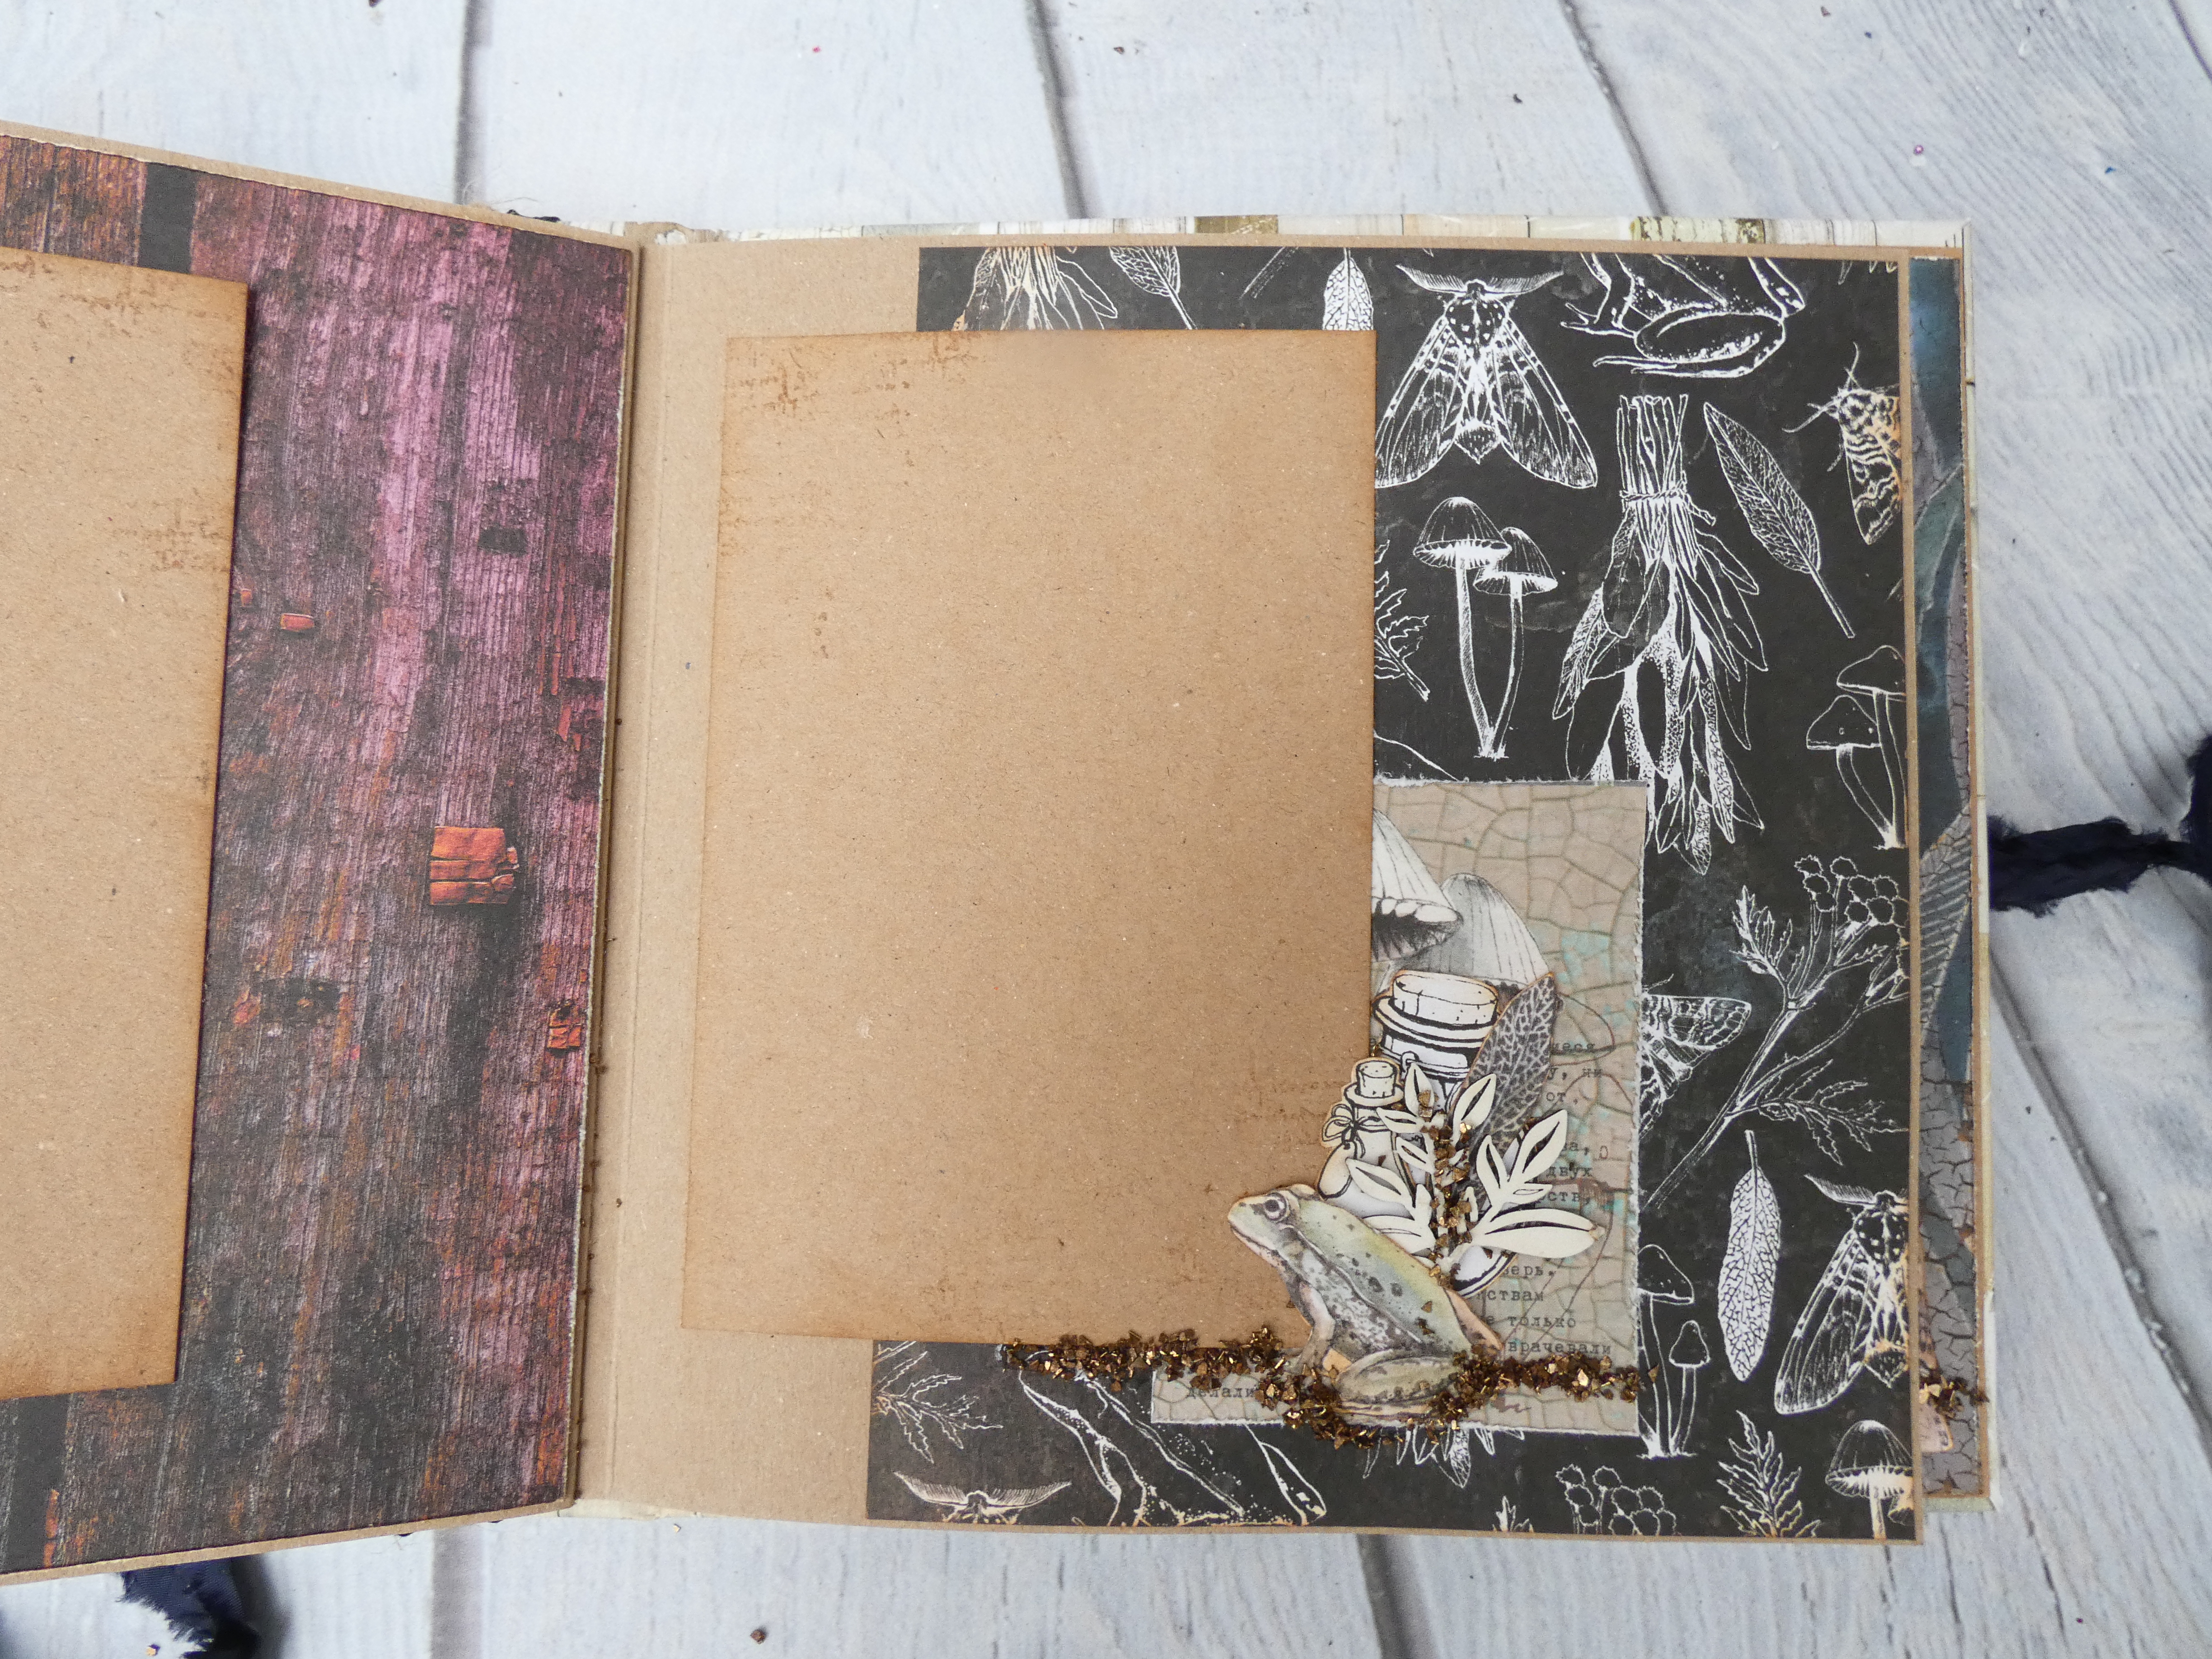
Page 1 has been laid out as shown below:


Placing the photomat over the edge of the patterned paper is the trick for using partially covered pages. Behind the photomat is a piece from the cards pack. The text is in a Coptic font and so through out the album I have tucked it behind the focal elements so that any text adds a layer of interest but the whole is not visible so it does not matter what it actually says - obviously if you can read the text you can use them in a more prominent position.The  chipboard piece comes from botanical diary but you could just as easily choose pieces from the new Harry Potter section of the website particularly where I have used birds chipboards later on in the ablum. The cluster has been created with paper image, chipboard and then more chunky glitter.

Pages 2 and 3:


Pages 4 and 5:


Pages 6 and 7:


Pages 8 and 9


Pages 10 and 11:


Pages 12 and 13:


Pages 14 and 15:


Pages 16 and 17:


 Pages 18 and 19:


Pages 20 and inside back cover:


For the front cover I secured a piece of Navy shabby ribbon around the whole of the cover using papers cut to 19cm tall and 18.5cm wide- making sure that I did not add any glue/tape to the spine part as I did this. I then wraped some more of the shabby ribbon round the central pages along with two pieces of twine securing them in place by knotting around the ribbon that goes around the whole album.


For the front of the album I layered scraps of paper, fussy cut elements and a card from the paper pack with an assortment of chipboards that have been in my stash for I don't know how long - again there are lots to choose from in the shop. The spiders web comes from elixir web set. My sentiment was made by triming the I see magic in your eyes chipboard piece. The zodiac signs panel is no longer in stock but there are lots of mandala shapes that would work or maybe the Hogwarts Castle engraved chipboard would be a great alternative. 

I hope you like the album which I have deliberately kept to a fairly simple page format as it is so large already. Do tag me in any make that is inspired by this post so I can see what you have been making.