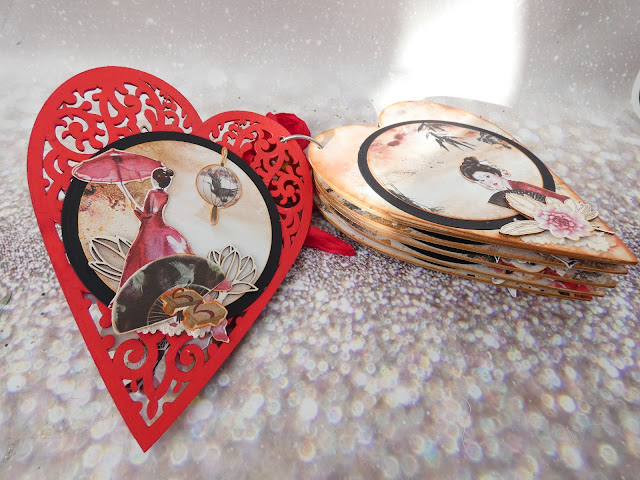
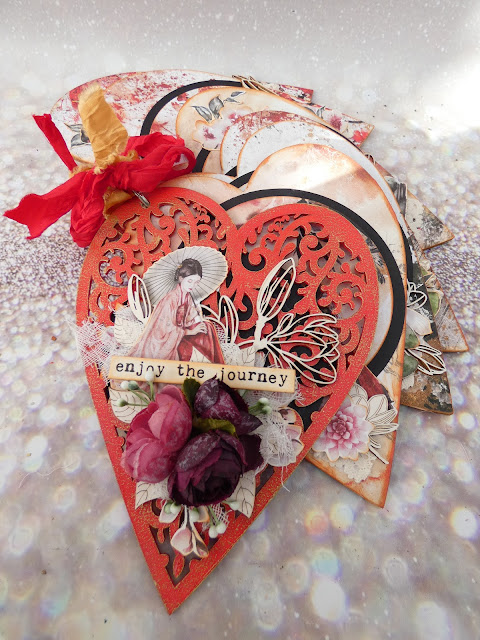
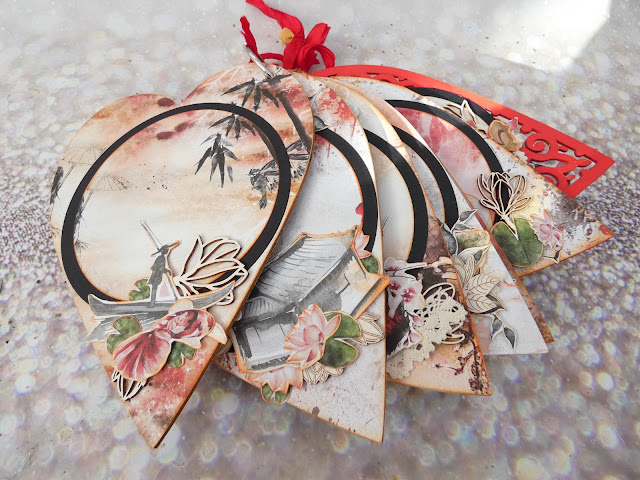
Do you need a valentine's gift, or may be you have enjoyed an oriental holiday in the past or had one planned then this shaped album could be just the make for you. For the base I chose to work with a heart shaped chipboard album and the Painted by the Wind paper collection. To start with I painted the filigree top piece with red paint and then added some gold wax to highlight the texture. I then left this piece until I had created all of the inside pages.
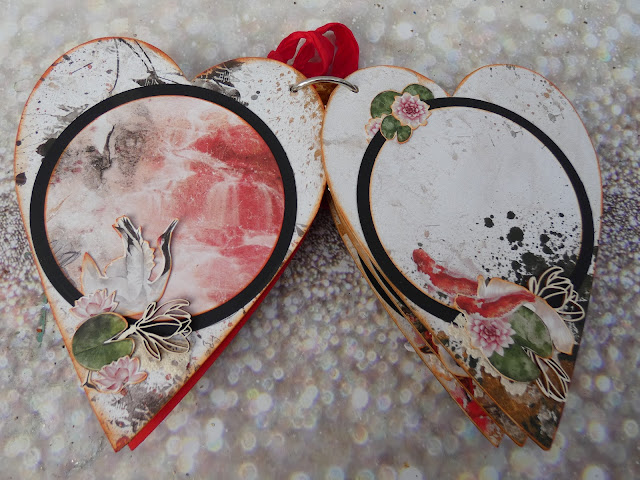
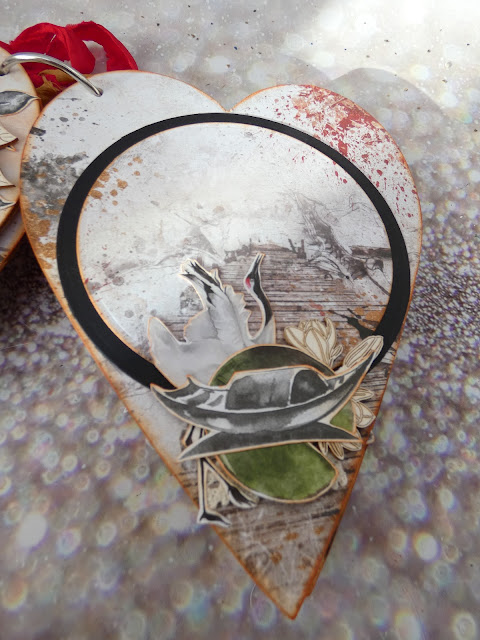
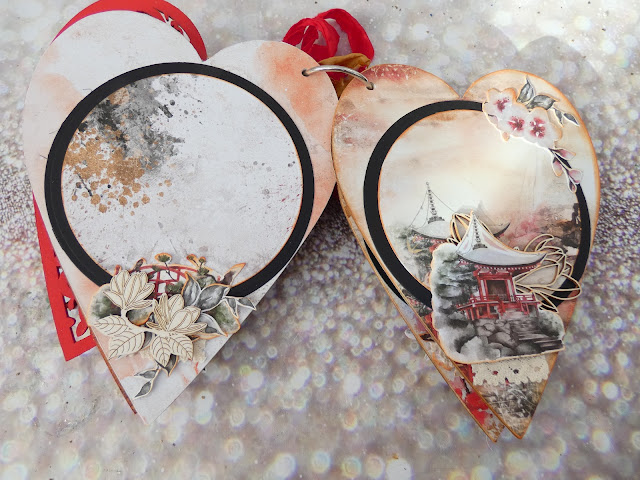
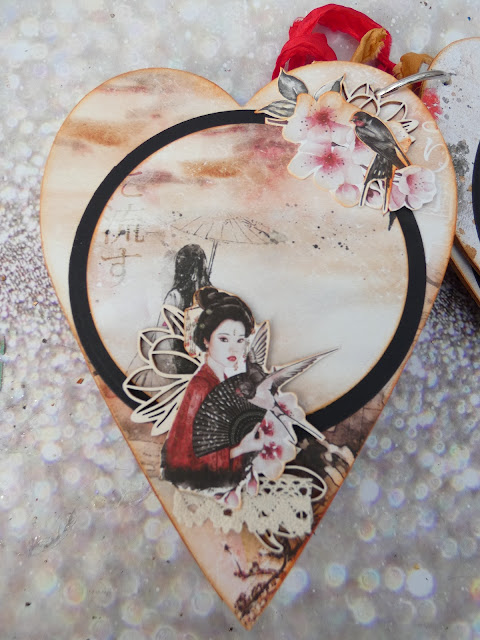
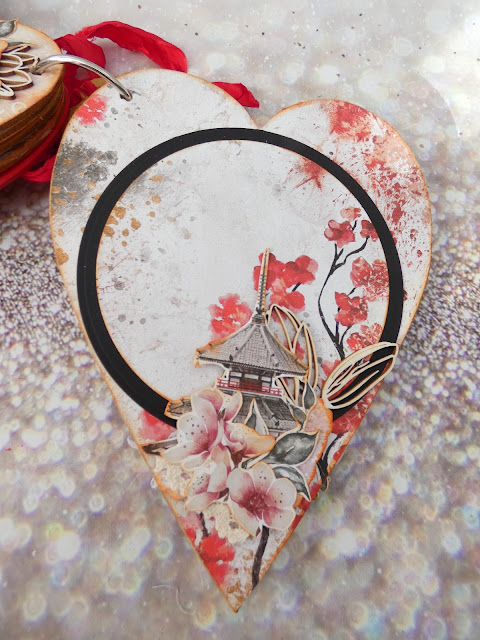
I chose to cover the plain chipboard heart pieces with 12 x 12 Painted by the Wind papers adhering them in place with Magic Glue. The edges of the papers were then sanded back to give a neat finish before adding a little red/orange (crackling bonfire distress oxide) ink to the edges. Having covered all of the pieces I die cut circles in black card to fit on the base and then added a smaller die cut layer of paper taken from the 6 x 6 pad. These were edged in ink and adhered in place. The black border is an ideal place to add journalling if you want to once you have added photos to the circular mat.
The next step was to add decorative elements cut from the set of extras along side chipboard elements - through out the whole album I used pieces from open work Magnolias and filled Magnolias sets. In addition I tucked in small pieces of lace chosen from the large selection in store.
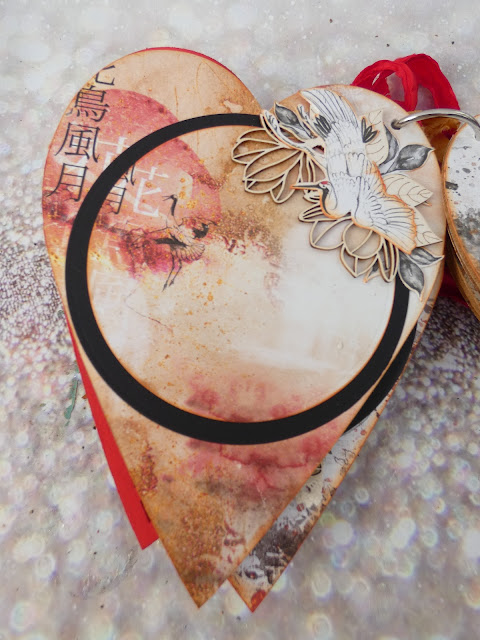
Having completed all of the pages I then turned my attention back to the filigree front piece. To decorate the front I added a large magnolia chipboard, piece of cheesecloth and paper elements before adding some beautiful faux silk peonies along with some berries. To cover the glue that showed through to the back I simply added a die cut black and then paper circle and another embellishment cluster.
To hold the album together I punched holes in the solid pieces off center and then used a book ring to hold them all together. Around the book ring I added a bow and knots of shabby ribbons in red and a gold tone
I do hope you like my make for this week and please if you make something inpsired by it post it on the I like 14 Craft Bar facebook page and tag me in the make.