

I know that at the April retreat some of the ladies saw this album and also bought the base on which it is constructed and so I thought a brief tutorial would work as a helping hand for everyone. The base is by Fabrika Decoru and comes in several different sizes and also with different numbers of pages - the one I have used is 20 by 20cm and has 10 pages making 22 sides to decorate and the cover so I am not kidding when I say my version is a mamoth one and uses lots of paer. However the 6 page albums and also the smaller versions mean that you can make smaller projects.
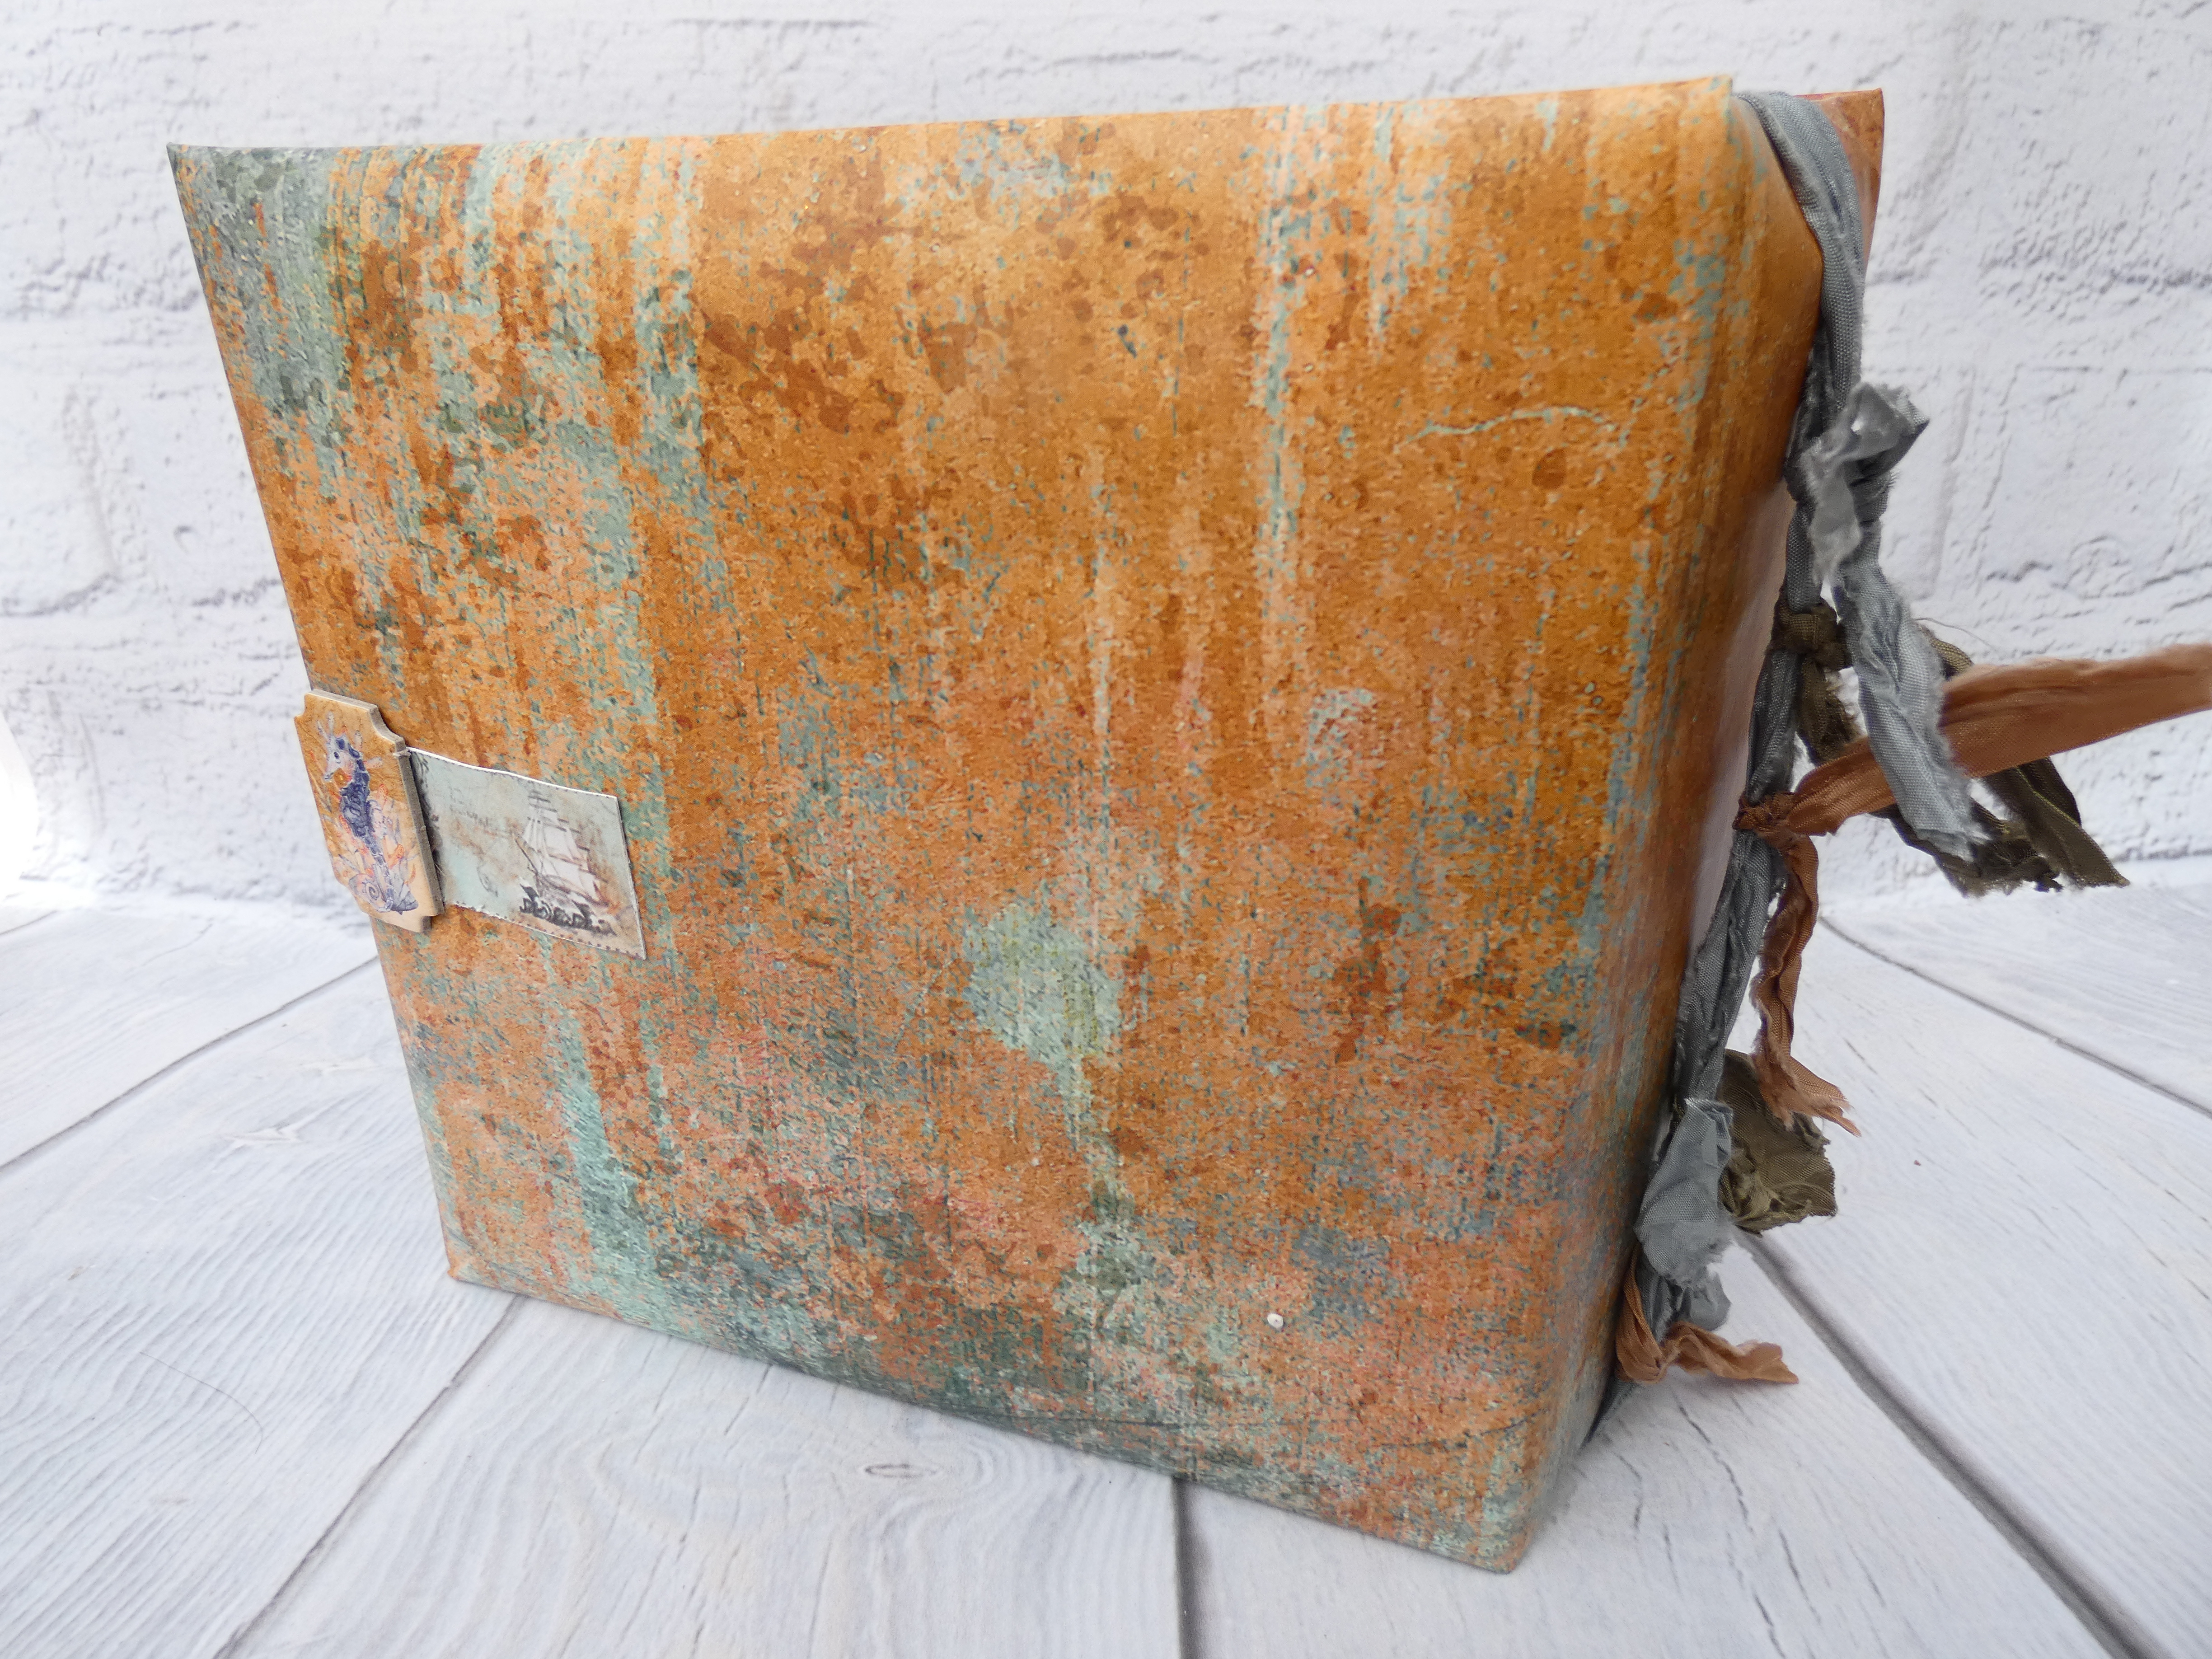
Inside the pack is a long cover piece - to give the album a luxury feel I glued quilters wadding to the side of the piece with the white strips across the side. Once this had secured in place I then chose to work with one of the unique cover "papers are designed to fit across the entire album base with spare to turn over and also have a plasticzed feel so will withstand handling over the years. The size of these means you do not need to paper piece your covering for the cover and can do it in one go. I chose Cover 15 Rusty Deninm for my make but there are definitely lots of options to choose from. I placed my wadding covered album onto the back of the cover sheet and then folded over the edges, mitreing the corners and securing with a fast setting strong glue.
The next step is to secure the pages - these come already put together so all you need to do is centralise them on the spine area and glue in place - this covers neatly the area where the decorative paper has been secured in place. Finally and also in the pack are two plain pieces of card which go on the inside front and back cover to conceal the rest of the paper edges and give a really professional finish.
After that its really up to you how you want to decorate your project. I have used:
Ocean Deep extras, 12 x 12, 6 x 6, the journal extras set (currently not in stock but you can make your own pockets easily enough) and the chipboard die cuts. If you are using the 10 page album you will need at least three sets of the 12 x 12 papers. If you are using different papers and the shop has lots to tempt you then I suggest you purchase 2 of the 12 x 12, one 8 x 8 and one 6 x6 pack to ensure you have enought to complete your project.
Pieces from tracing papers vintage, universal and ocean deep.
Sea Treasures tropical fish large, Sea Treasures shells large and thuja twigs chipboards
and finally some grey cotton lace.
Like most of my makes there are repeating styles of pages through the album and there are lots of tuck spots and flaps increasing the number of photographs and amount of memorabillia that can be stored safely for posterity. Before adding the extra flaps I covered each page with paper cut to size. Through out my album my embellishment clusters consist of a piece of decorative tracing paper with a torn edge, paper elements from the packs, a small piece of lace and a chipboard.
The inside front cover has a pocket with pull out folded card and a 15cm piece of smooth white card with added punched circle and twine to make it easier to pull out.

Page 1: I have used flaps through out the album - here I have tucked a panel of paper around the edge of my white photomat and then added the cluster on top.

Pages 3 and 4 are the reverse of each other. To create a pocket inside and add an extra flap I took a 71/2"" square of paper and scored at 23/4 from one side adhering the smaller part on three sides to the edge of the page.

When you open the flap there is a 15cm by 15cm piece of white card adhered on three sides only - this creates a pocket accessible from the front of the page.


Pages 4 and 5 are pocket pages using the journal extras set - these are simple enought to make if you take a 15cm piece of card and cut digaonally in half - then score 1cm in along both of the short edges to create flap for adhering to your page. Before you adhere them in place please cut off the littel ears created by folding the flaps under.


Pages 6 and 7 were created by adding a 6" card blank to the page to creat two areas for photographs .

Pages 8 and 9 are constructed in the same way as pages 2 and 3.

Pages 10 and 11 are pocket pages.

Pages 12 and 13 are card pages.

Pages 14 and 15 are flap pages.

Pages 16 and 17 are corner pocket pages.

Pages 18 and 19 are card pages

Page 20 and inside back cover are made in the same way as the inside front cover and page 1.

To complete my album I tied Shabby Ribbons 57, 44 and 61 from ocean deep collection with shabby ribbons set around the ablum and added shabby knots tied around the ribbon on the spine.
For the front cover I layered torn strips of paper, chipboards, lace and fussy cut elements before adding some chunky blue and brown glitter.
I do hope you like this project and it helps in making the albums that I know many of you bought at the retreat or already have in your crafty stash.


.jpg)


