

Most of you who know me will be wondering what has happened as I don't do traditional red and green for my Christmas makes but the wonderful Christmas Vibes papers caught my attention and of course I had to get the set with the Shabby Ribbons. To make this album you will also need the a the patterns padpad, the A4 Creative pad, the 8 x 8 and the 6 x 6. To add to the mix of making something with a different colour pattern I have also kept this as a clean style make rather than a shabby or grungy one.
The base of the album is an 20cm square Fabrika Dekoru album but you can of course construct a 6 page album from scratch or adapt the measuments for one of the albums that are in stock. I covered the album with red suede then added the pages from the kit. Before decorating the cover I then set about adding papers to the pages.
For the inside front cover I used paper 19cm square and then added a 19cm tall triangular pocket which measures 11cm at its base. Decorative elements were added to the pocket and then a 15cm white cardblank decorated and tucked into the pocket. I have used the same cardblanks through out the album which means this 8" album will hold at least 35 photographs.

To maximise use of papers I created flaps for some of the pages by cutting a 19cm strip of paper and scoring at 19cm to create a flap being mindful on which way I wanted the flaps to open when I did this. There are several pages in the album which have a small second flap created using 11cm approx pieces of paper scored at 1" and cut so it overlaped the first one. There are some big square toppers in the paper pack and for some pages the smaller flap was created by using these and scoring at 1" from the end I wanted to flod under. The smaller flap piece was adhered in place BEFORE adding the big piece to the album page. To keep the flaps closed I added magnets covering them with decorative elements from the papers. Behind the flaps is a card blank which opens vertically.


Page 2 is essentially constructed in the same way as the first page but I aligned the magnets so that the smaller flap sits underneath the one from the page background paper. The outside flap has a pocket added from the decorative A4 Creative pad with some tags also from the paper pack.


Page 3 is a pocket page - the base was covered with paper and then a 11cm high strip of paper was glued on three sides to create a pocket into which another card is slipped.


Page 4 has a 2" belly band decorated with more decorative elements and then a card slipped into place.


Page 6 is similar to page 2 in its construction.


Page 8 has a belly band.


Page 9 has the two flaps.
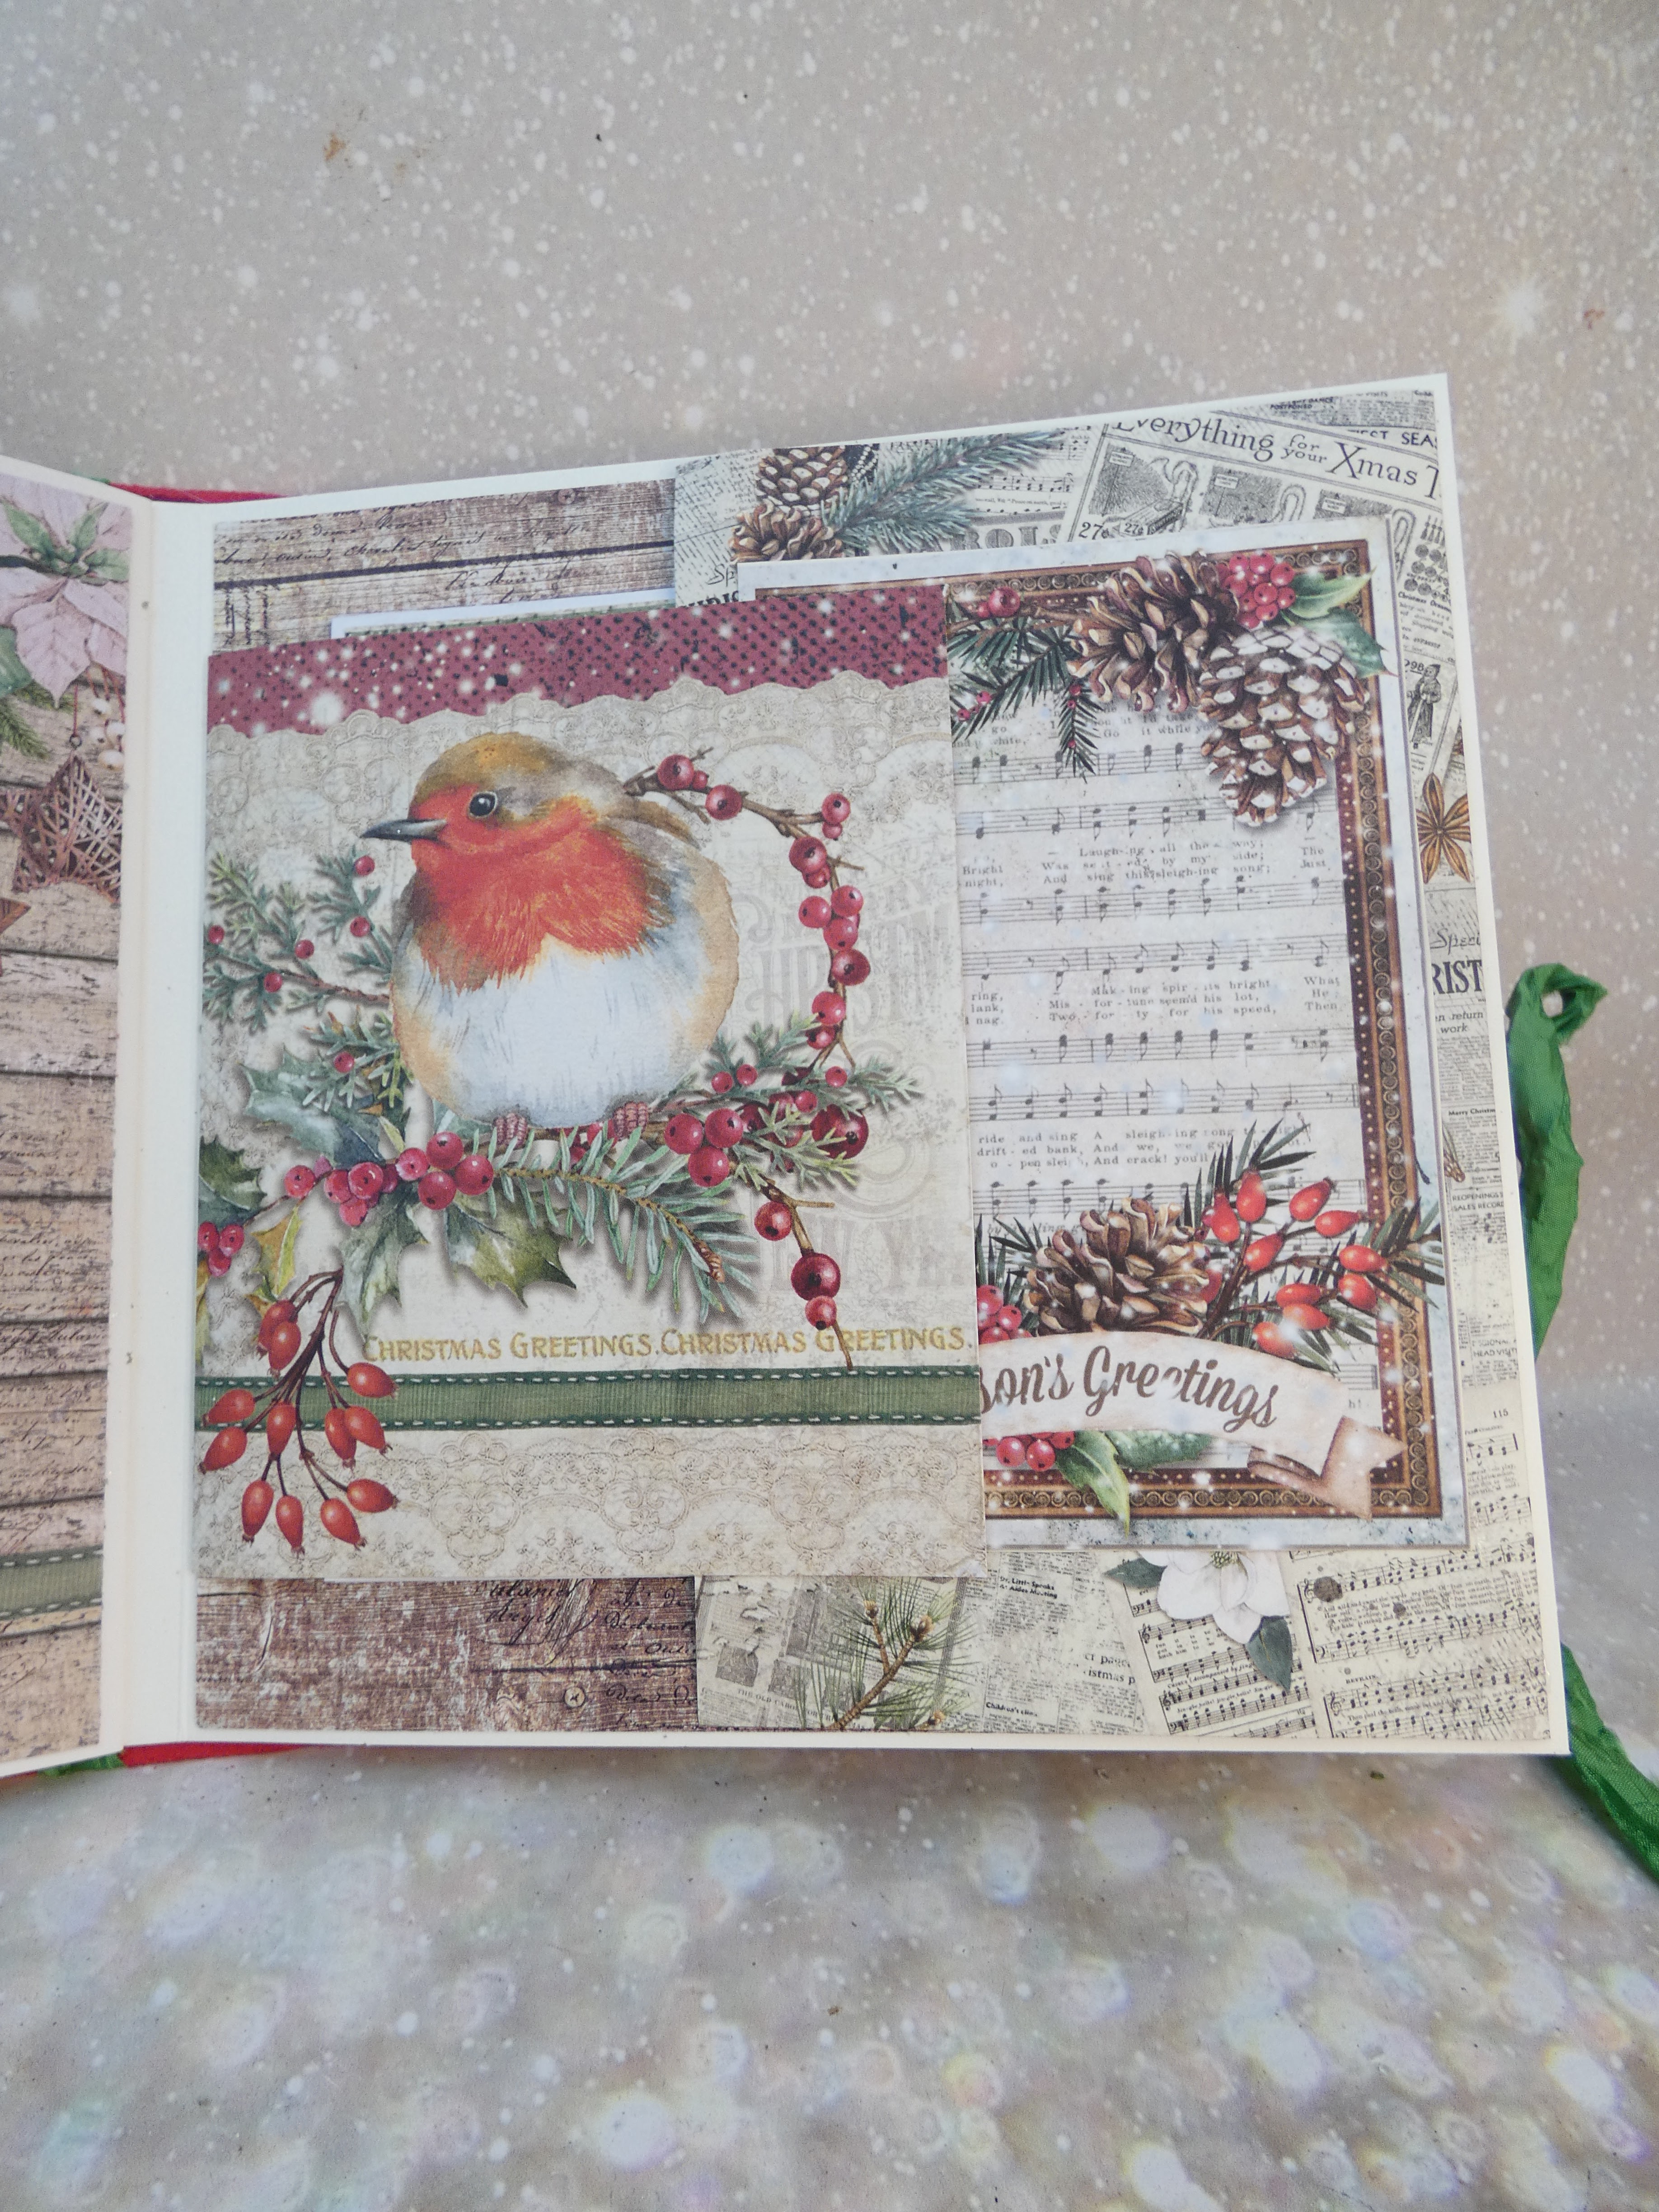


Page 12has two flaps and the inside backcover mirrors in the inside front cover.


Having decorated the pages I then turned my attention to the cover. I added some of the green shabby ribbon from the set round the center of the spine and twisted the two ends as you would if going round a parcel. The ribbon was then secured in place with paper from the collection.

I layered decorative elements on to the front cover - building up dimension with cardboard pieces so that the elements felt stable. I chose to use the filigree hello witner tree and then added cutout elements on top before tucking in holly leaves and silk plum flowers untill I was happy with the compostion. I added the word Merry Christmas and then a shabby bow.
On the back cover the ribbon is secured with decorative papers. Finally I added more lengths of habby ribbon under the crossed ribbon on the spine and knotted these inn place before adding a shabby bow. The long ribbon tails were then wrapped around the vertical ribbon legths fefore more hooly and a final flower completed the look.


